How do you set up the aperture of your mirrorless camera?
Step 1: find the right setting

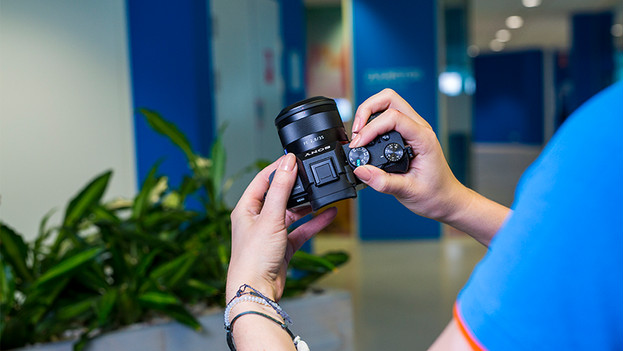
Grab your camera and turn it on. If you just want to adjust the aperture, set the camera to AV mode (Canon) or A mode (Nikon/Sony). In this mode, the camera automatically adjusts the other settings to the aperture you select. If your camera doesn't have this mode, you can use the M mode and set up everything manually. Choose the right setting by turning the control dial on top of the camera.
Step 2: determine the right aperture

To determine which aperture you need, you first have to consider the subject you want to photograph. If you're taking a landscape photo, choose a small aperture. When you're taking a portrait photo, you use a large aperture. A small aperture is indicated by a high number and a large aperture by a low number. Aperture values are written with a letter 'f' followed by a number. The numbers usually range from 1 to 30.
Step 3: set the camera to the chosen aperture

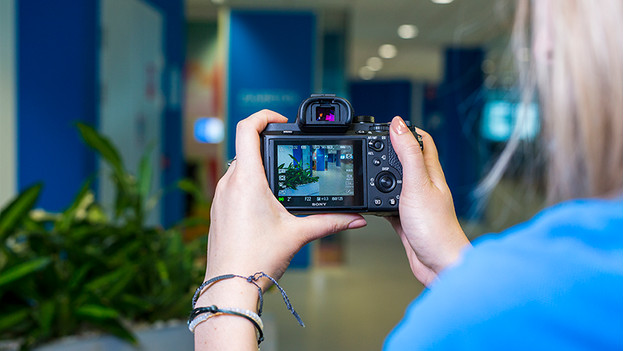
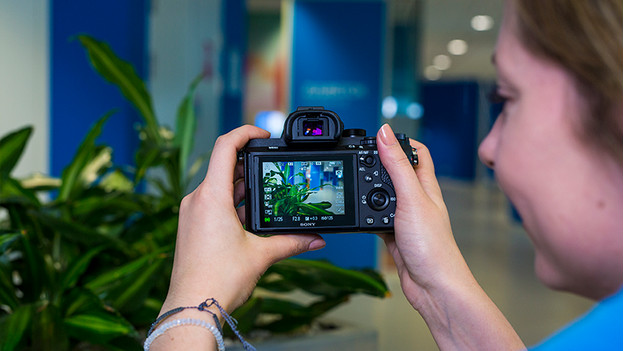
How you set up the aperture usually depends on what type of mirrorless camera you have. On starter models, you usually set up the aperture via the touchscreen or buttons on the device. An advanced mirrorless camera usually has a dial on top of the device that you use to determine the aperture. Open the aperture settings on the screen and select the value you need or choose the right aperture by turning the dial.
Step 4: take the photo

Have another look at your subject now that you've set up the aperture correctly. Does it look the way you want? With some mirrorless cameras, you see the effects of the settings on the image right away. Decide if you're happy with the chosen aperture. If you are, you can take your photo. Of course, you take a photo by pressing the shutter button. This button is usually located on top of your mirrorless camera.


