How do you set up the shutter speed on your mirrorless camera?
Step 1: find the right setting

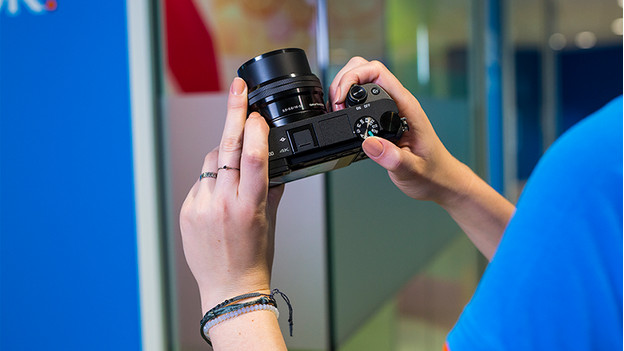
Most mirrorless cameras have a number of modes. With a semi-automatic or manual mode, you can adjust the shutter speed manually. Grab your mirrorless camera and turn it on. Find the control button with the different modes on it. Use this button to set the camera to TV mode (Canon) or S mode (Nikon/Sony). In this mode, the camera automatically adjusts the other settings to the shutter speed. In M mode, you have to adjust everything yourself.
Step 2: choose the shutter speed

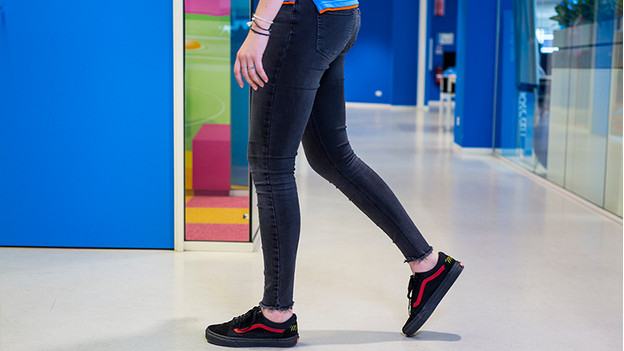
Think about what you want your end result to look like. This will determine the shutter speed. Do you want to freeze movement or should the movement be visible? Use a high shutter speed to freeze the subject. If you want to capture the movement of a subject, use a slower shutter speed.
Step 3: select the right shutter speed

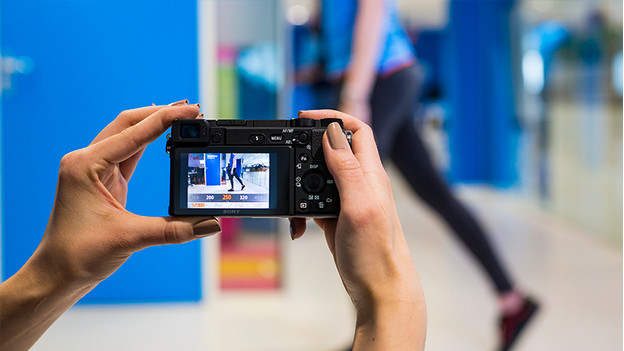
A lot of mirrorless cameras have a dial on top of the device. When you turn the dial to the right, you increase the shutter speed. When you turn the dial to the left, you decrease the shutter speed. Often, you can also set the shutter speed via the screen or via the control buttons on your camera. In that case, you go to the shutter speed settings and select the right speed. If the values turn into 1/1000, 1/250, and 1/1.3, you've found the right settings.
Step 4: take the photo

Once you've selected the right shutter speed, it's time to take your photo. With a slow shutter speed, it isn't a good idea to hold the camera in your hand while you take a photo. That's because the camera will be very prone to motion blur. It's best to place your camera on a tripod. You can even use the self timer if you want to be absolutely sure your photo turns out sharp. With a high shutter speed, this isn't necessary.


