How do you restore a backup in Windows?
You've created a backup in Windows and want to restore it. In this article, you can read how to restore a backup via the control panel or the recovery function.
Restoring various types of backups
There are several ways to create backups. With the control panel, you can choose which files to want to restore. With the recovery function, you can restore your entire system at once. First, think of what kind of backup you want to restore.
- Restore backup via the control panel
- Restore backup via the recovery function
Option 1: restore the backup via the control panel
- Connect the external hard drive to your laptop. Plug the USB connector of the drive into the laptop USB port for this.
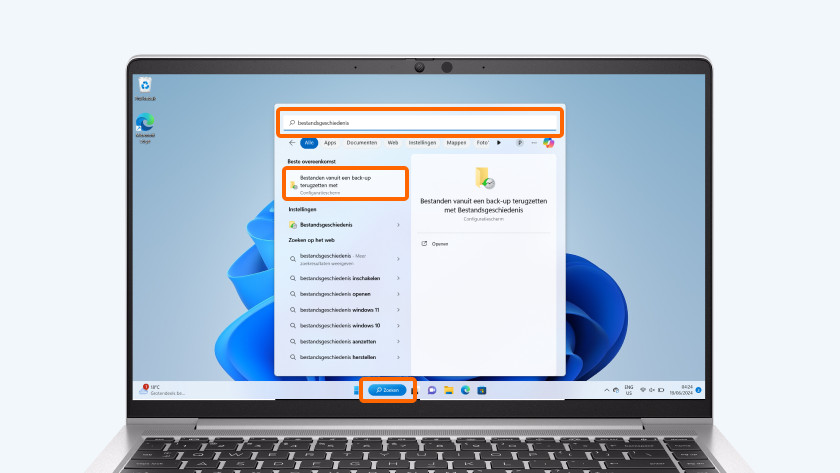
- Type 'File History' in the search bar at the bottom of the screen. Select the option Restore your files with File History.
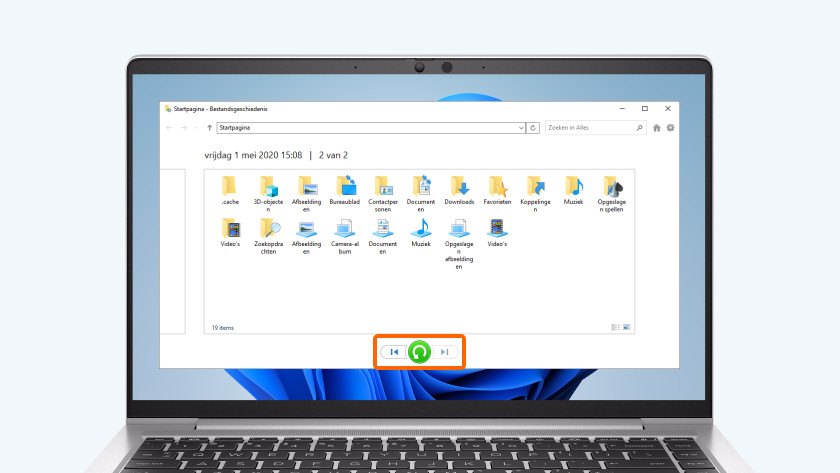
- You'll now see the backup files. Select which ones you want to restore. You can select the arrows on the left and right when you want to see backup versions from various dates. If you select the green restore icon, you'll create a backup.
Option 2: restore your backup via the recovery function
-
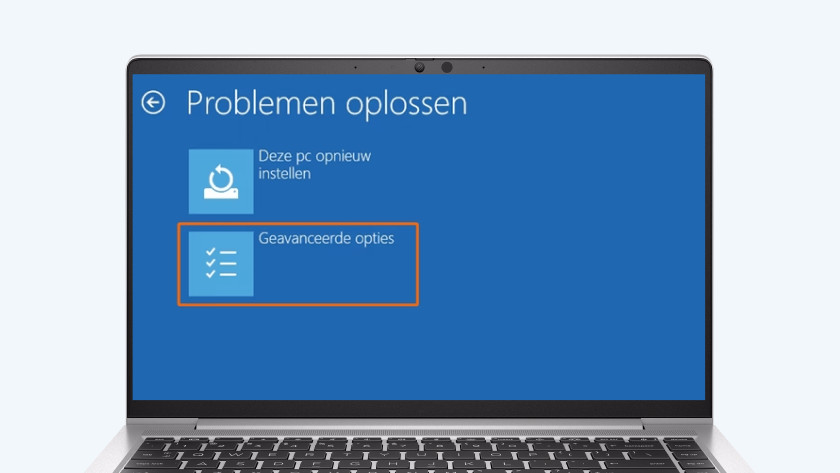
Select 'Advanced options'
-
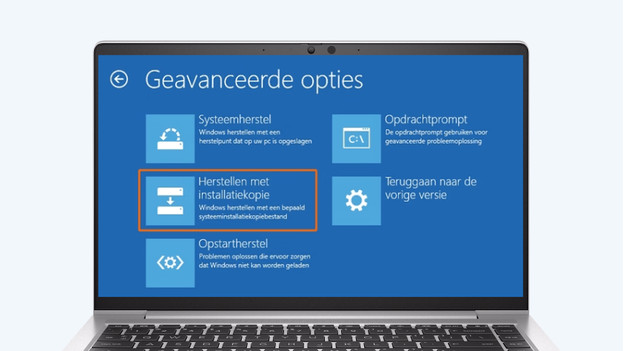
Select 'System Image Recovery'
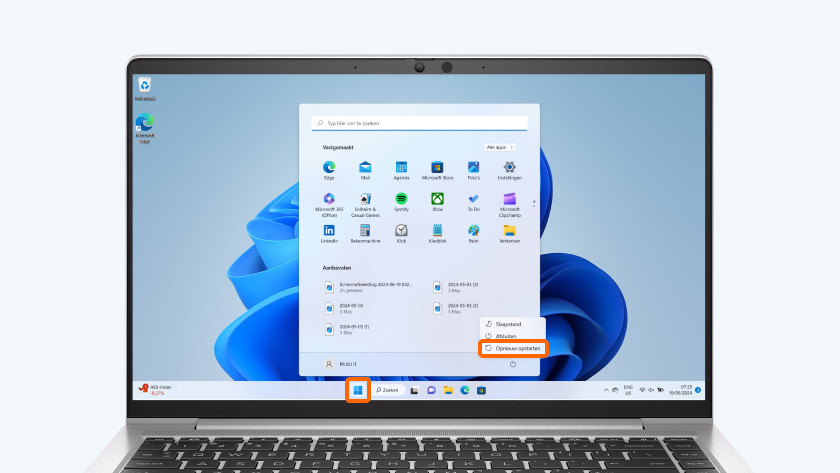
- Select the Start icon on the bottom-left of your screen.
- Select the power icon.
- Hold down the shift key on your keyboard and select Restart.
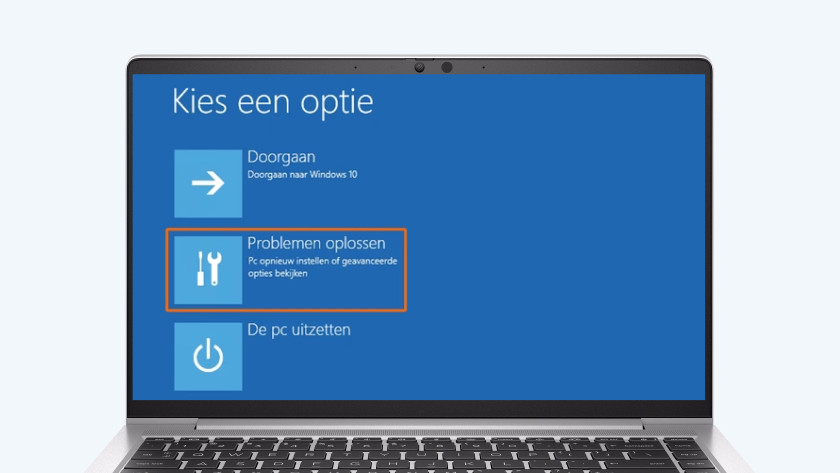
- Select Troubleshoot.
- Select Advanced options.
- Select System Image Recovery.
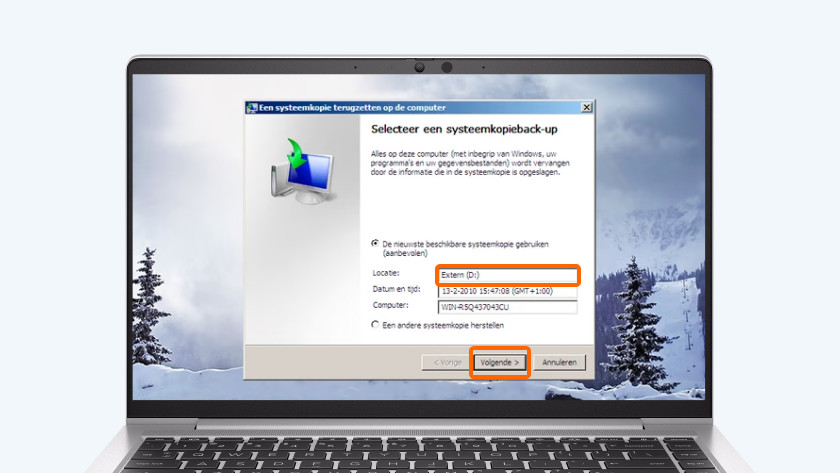
- Select the system image you want to restore. Select Next twice and then Finish. The backup will now be restored.

Article by:
Jos
Laptop expert.


