
How do you connect a docking station?
Connect a docking station in 4 steps
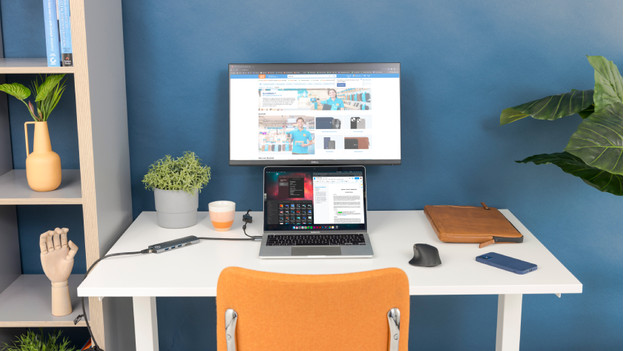
Connecting a docking station isn't very hard, but there are a few things to keep in mind. Follow the steps below and quickly get started with your docking station.
- Step 1. Install DisplayLink software
- Step 2. Connect the docking station to your laptop
- Step 3. Connect your monitor
- Step 4. Connect other accessories
Step 1: install DisplayLink software
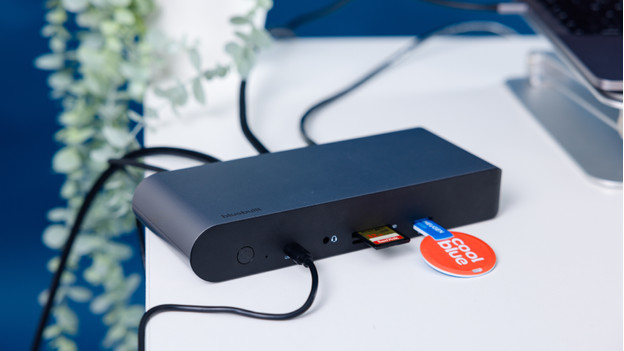
Did you buy a DisplayLink docking station? You'll first have to install the matching DisplayLink drivers. If you don't do this, the docking station might not work well. Make sure you do this before connecting the dock to your laptop. There are drivers for Windows, macOS, Android, ChromeOS, and Ubuntu.
Step 2: connect the docking station to your laptop
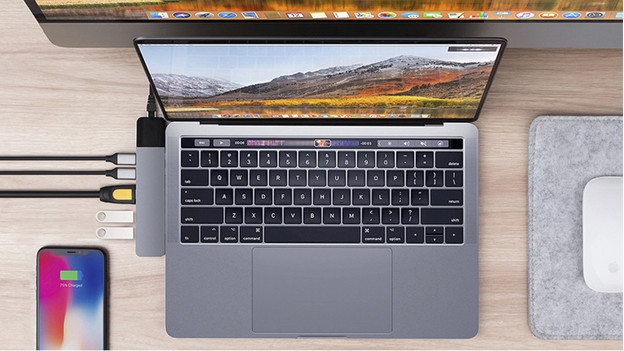
With most laptops, you connect your docking station via USB-C. For MacBook, there are also docks that you can connect to the 2 Thunderbolt 3 ports. This way, you can expand your 2 laptop ports to 9 or 10, for example. Plug the USB-C cable of the dock into your laptop, connect all your peripherals to the dock, and you're done.
Step 3: connect your monitor
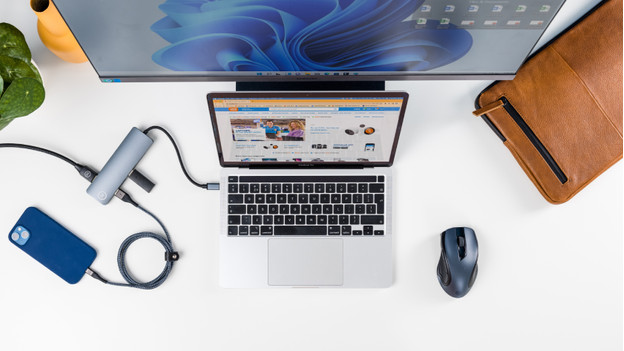
Connecting 1 or more monitors to a docking station is very easy. Make sure you first plug the power cord of the monitor into the socket. Then plug the HDMI or DisplayPort cable of your monitor into the matching port of your doc. The same goes for USB-C monitors.
Step 4: connect other accessories
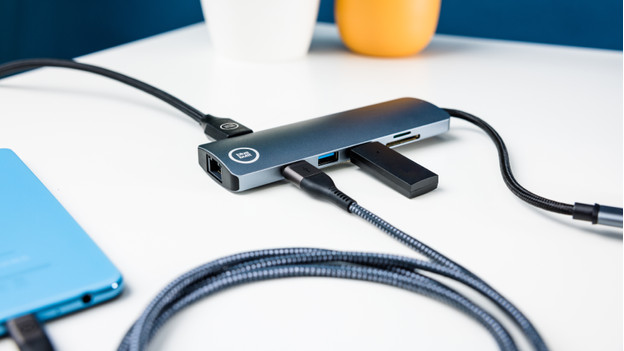
After connecting your monitor, you might want to connect other peripherals as well. Think of your mouse, keyboard, and an Ethernet cable. You can easily connect these to the matching ports. They'll connect to your laptop right away. After connecting all your peripherals, your setup with a docking station is complete.


