How do you solve WiFi problems during the installation of your Windows laptop?
Get started with your WiFi problem solutions
If you can't connect to the internet during the installation, you can easily solve this in a few steps.
- Step 1: check the WiFi connection
- Step 2: check the WiFi modem
- Step 3: download the WiFi driver
- Step 4: plug in the USB flash drive
- Step 5: install the WiFi driver
Step 1: check the WiFi connection

First check whether the WiFi connection is stable and if all your devices are connecting to the internet.
- Connect a different device to the WiFi, like your phone. Isn't this working? There might be a problem with the modem. Go to step 2.
- Stand closer to the modem with your laptop. It's possible that the distance between the laptop and modem is too big, which is why you can't connect.
- Check if you're using the right password.
Step 2: check the WiFi modem

If you can't connect to the modem, restart it.
- Disconnect the power cord from the modem. Does your modem have a backup battery? Remove it as well.
- Wait for at least 10 seconds before placing the power cord or backup battery back in the modem.
- Wait a few minutes until your modem is fully turned on. Often, the lights on your modem will stop blinking when your modem has completely restarted.
- Now connect to the internet. Doesn't this work? Connect an Ethernet cable.
- Still don't have internet? Go to step 3.
Step 3: download the WiFi driver

If the earlier steps didn't work, there's a good chance your laptop doesn't have a WiFi driver. Luckily, you can easily install a driver yourself. You need a different PC and a USB flash drive for these steps.
- Go to the internet and search: Wireless LAN driver + the brand of your new laptop + the version of the operating system + the brand of the processor of your new laptop. An example: Wireless LAN driver MSI Windows 11 Intel.
- Download the latest version of the driver via the support website of the brand of your new laptop. Make sure you download the driver that's specifically for your laptop model. Sometimes, you'll have to enter the specific name of your laptop on the support page to find the right driver.
- Store the downloaded file on an external USB flash drive.
Step 4: plug in the USB flash drive
-
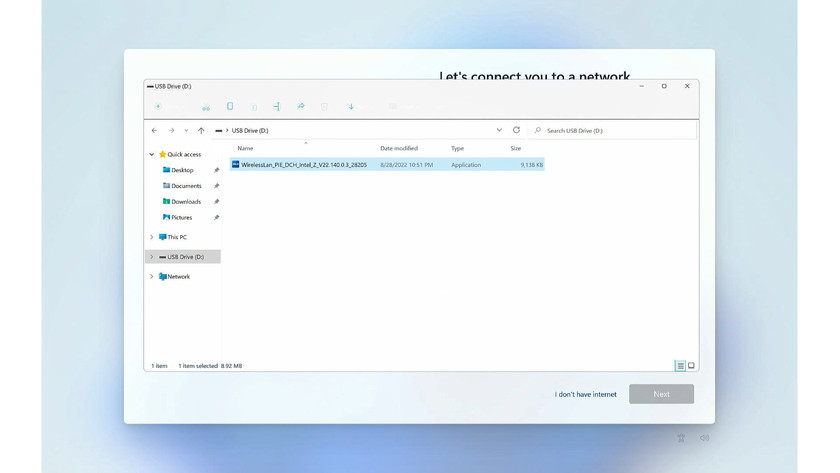
In the 'File Explorer' window, locate your USB flash drive.
After downloading the driver, plug the USB flash drive into your new laptop.
- Plug the USB flash drive with the driver into your new laptop.
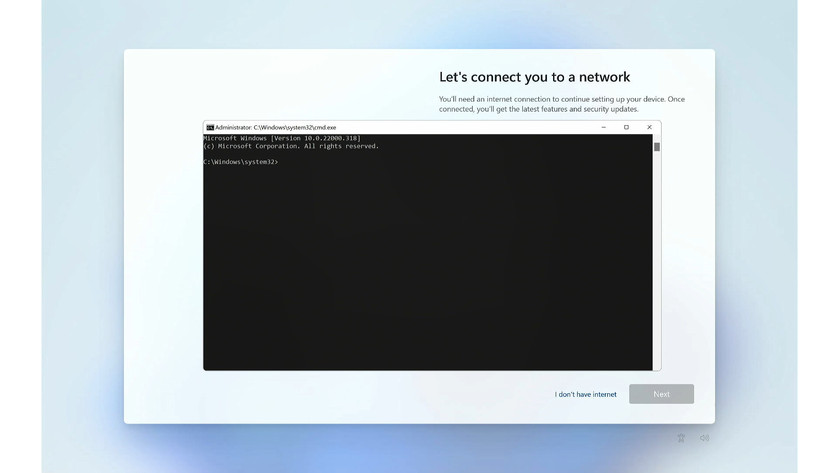
- Press 'Shift' + 'F10'. You'll now open the Windows 'Command Prompt' window.
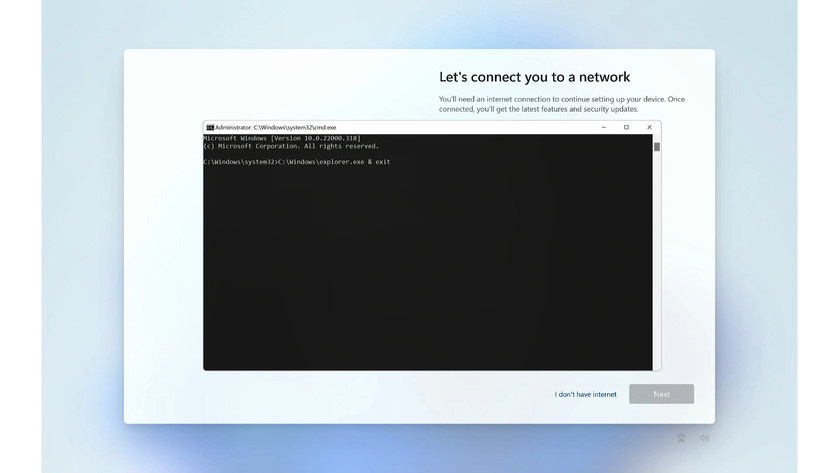
- Type 'C:\Windows\explorer.exe & exit' and press 'Enter'.
- A 'File Explorer' window will now open. It might take some time for all the folders to load. Find your USB flash drive with the driver in this window. The driver is often in a subfolder.
- Double-click the driver. Your laptop will now install the driver.
- Close the 'File Explorer' window.
Step 5: install the WiFi driver
-
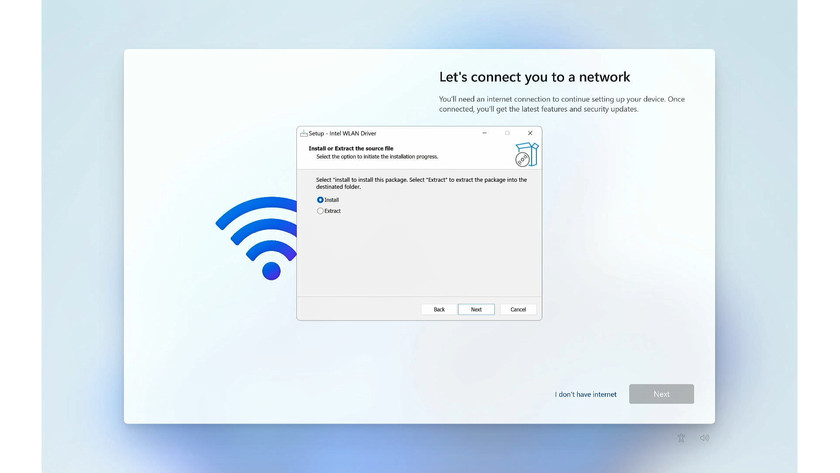
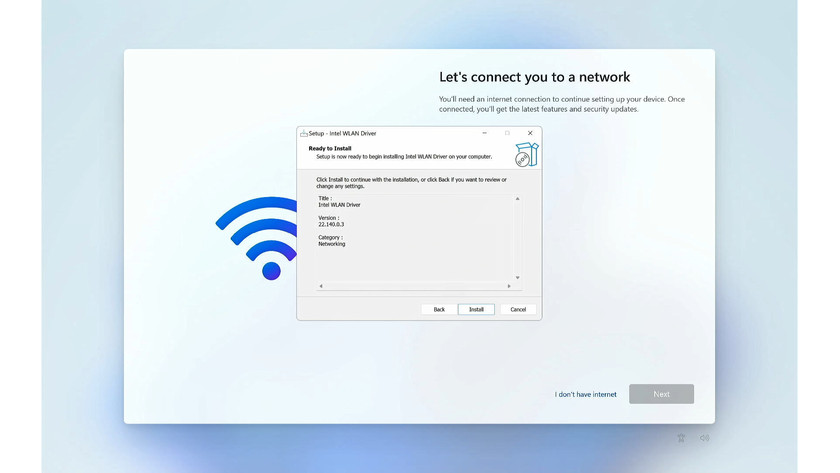
Select 'Install' and select 'Next'.
-
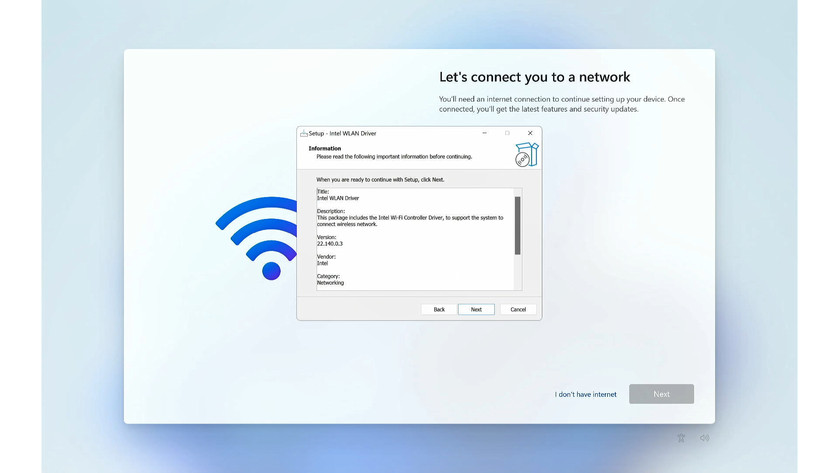
Select 'Next'.
-
Select 'Install'.
-
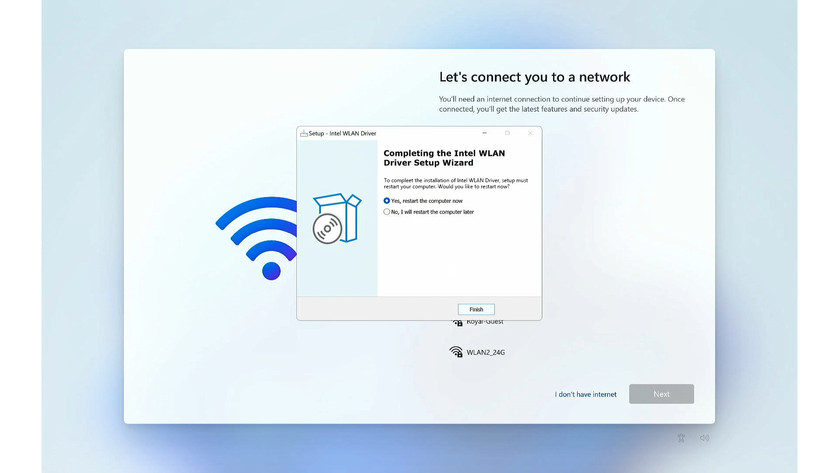
Select 'Restart' and 'Finish'.
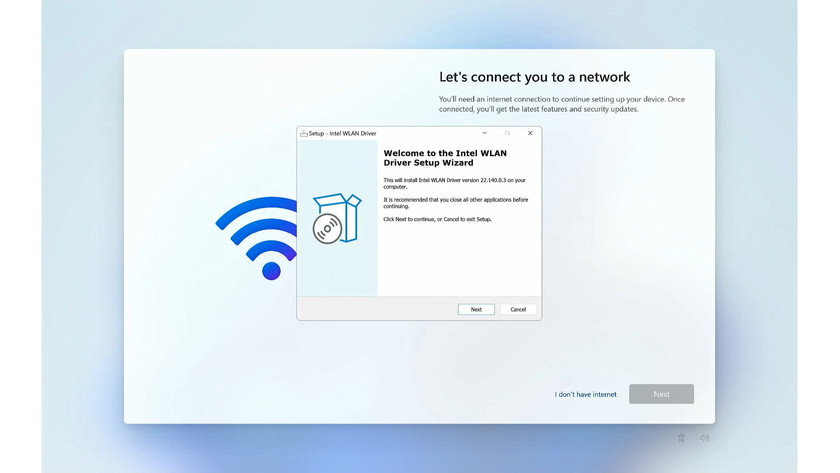
Now, there's an installation window for the driver on your screen.
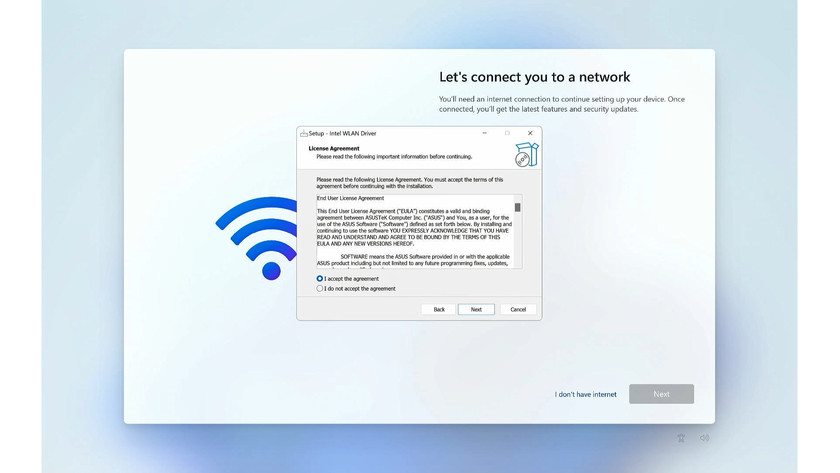
- Select 'Next' in the installation window and accept the terms and conditions.
- Follow the instructions on your screen.
- Choose install during the 'Install or extract' step.
- Select 'Restart' to finish the installation.
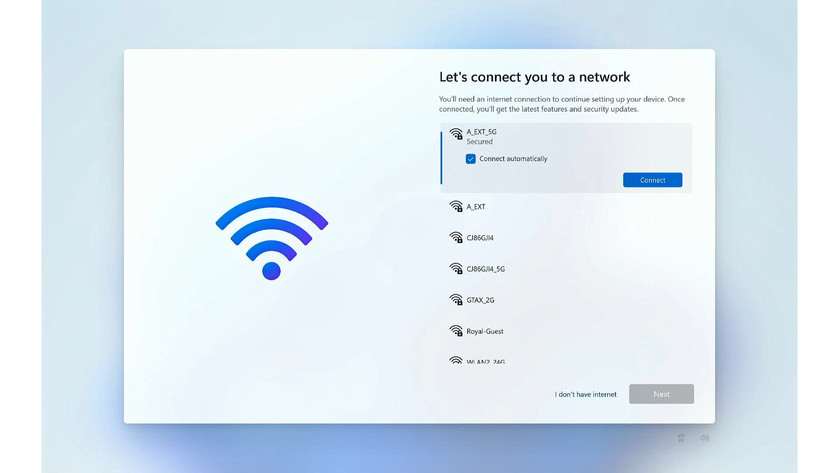
- Now connect to your WiFi network.
- Go through the rest of the installation steps and install your Windows laptop.


