How do you solve volume problems with your SteelSeries headset microphone?
Reset your SteelSeries headset in 4 steps

Adjust the settings for your microphone correctly. Follow the 4 steps below and solve volume problems with your microphone.
Step 1. Position the microphone
Step 2. Adjust the SteelSeries Engine settings
Step 3. Adjust the Windows settings correctly
Step 4. Set the correct audio format.
Step 1: position the microphone

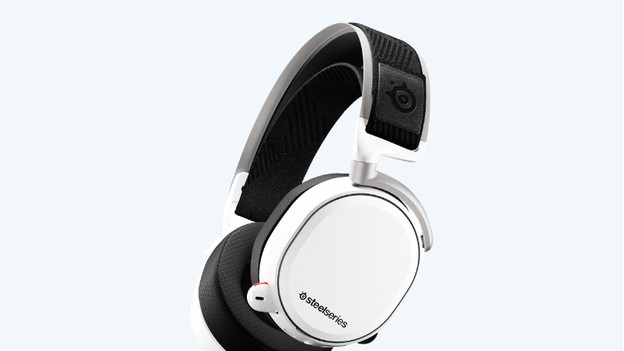
First, you have to position the microphone of your SteelSeries gaming headset correctly. You can do this by pulling the microphone as far out as possible. Aim the flat side of the microphone towards your mouth. Place the microphone at about 3.5cm distance from the corner of your mouth.
Step 2: adjust the SteelSeries Engine settings

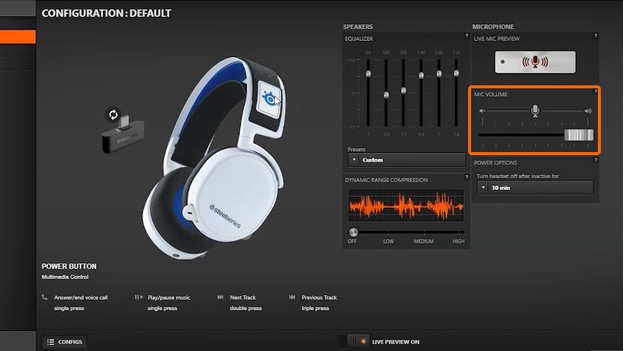
Open your SteelSeries Engine software on the PC. Don't you have SteelSeries Engine software yet? Connect your headset to your PC wired or wireless and turn it on. Download the software via the link below. Select your headset in the SteelSeries engine. Under 'Microphone', you can see a volume bar from silent (left) to loud (right). Slide the white button all the way to loud.
Step 3: adjust the Windows settings correctly

This step is for PC gamers only.
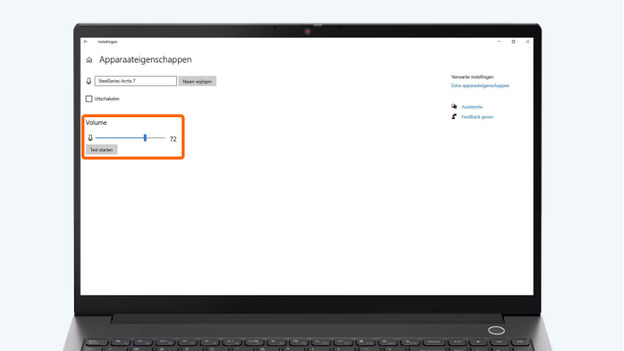
Go to the desktop of your PC and click the magnifying glass in the bottom left. Type 'Sound settings' and click the option that appears with the same name. Below 'Input', choose the right input device. That's the SteelSeries headset. Click 'Device properties'. Slide the bar below 'Volume' all the way to the right, until it indicates 100%.
Step 4: set the correct audio format

This step is for PC gamers only.
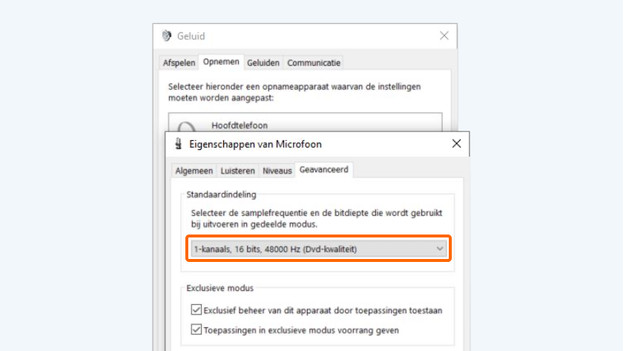
In this 'Device properties' window, click 'Additional device properties'. Go to the 'Advanced' tab. Below 'Default format', select the option with 48,000Hz. Your SteelSeries gaming headset is now ready for use, and your microphone works correctly.


