
Get started with the SteelSeries Arctis 9x
Set up the Arctis 9x in 5 steps
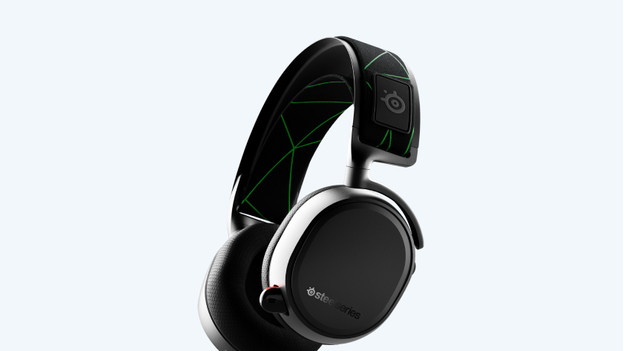
You can connect your Arctis 9x in different ways. For clear communication, it's important to set up the microphone.
PC
Step 1. Connect to your PC.
Step 2. Set up your microphone on your PC.
Xbox
Step 1. Connect to Xbox.
Step 2a. Set up your microphone on the Xbox Series X | S
Step 2b. Set up your microphone on the Xbox one.
Step 1a: connect to a PC
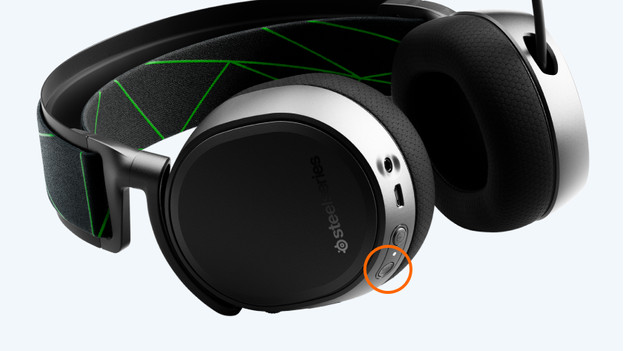
You can connect the Arctis 9x to your PC via the Bluetooth button or with the Xbox Wireless Adapter. Aren't you using the Arctis 9x on a PC? You can skip this step and the next one. Are you getting started on a PC? Read how to connect the Arctis 9x to your PC in this article.
Step 1b: set up microphone on your PC
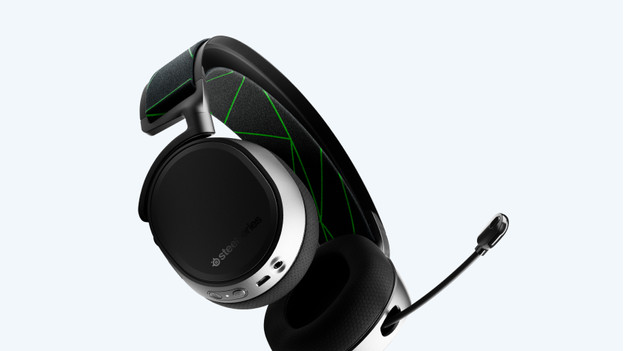
Set up the microphone of your Arctis 9x on your PC. You can do this by getting into the settings of your PC. Programs like Discord can help to set up your microphone too. Read the following article on how to set up your microphone on your PC.
Step 2a: connect to Xbox consoles
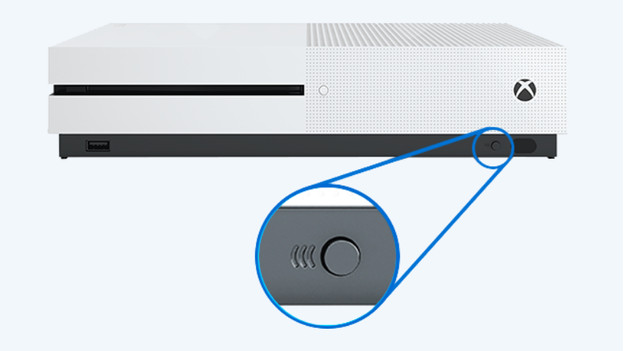
The Arctis 9x can also be connected to Xbox consoles. You can use the sync button on the Xbox one to connect it. To connect to the Xbox Series X | S, you'll first have to press and hold the 'on' button of the headset for a while. In the following article, you'll read how you can connect your Arctis 9x to your Xbox exactly.
Step 2b: set up microphone on the Xbox Series X | S
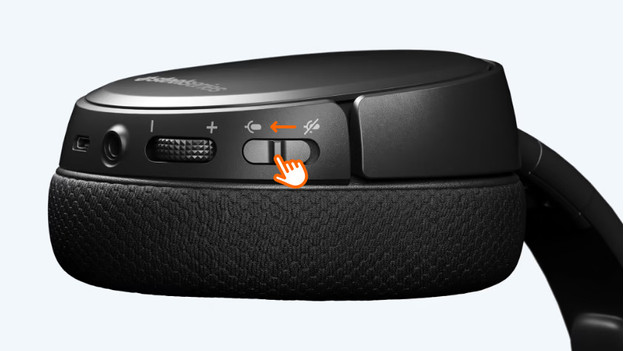
Clear communication is important on the Xbox Series X | S too. You can adjust this in the 'Audio' menu. In this menu, you can turn on the microphone and determine the balance and volume. Luckily, we've written an article for you. That way, you can set up your microphone on these consoles.
Step 3c: set up microphone on the Xbox One
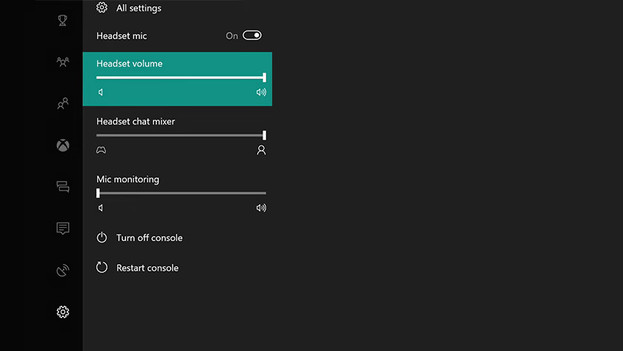
Set up the microphone of the Arctis 9x entirely according to your liking on the Xbox One. You can use the 'Guide' button on the controller for this, which will lead you to the settings. That way, you'll be sure your friends can hear you loud and clear during your favorite online games.


