
How do you install the Pico VR headset?
Set up Pico 4 Ultra in 5 steps
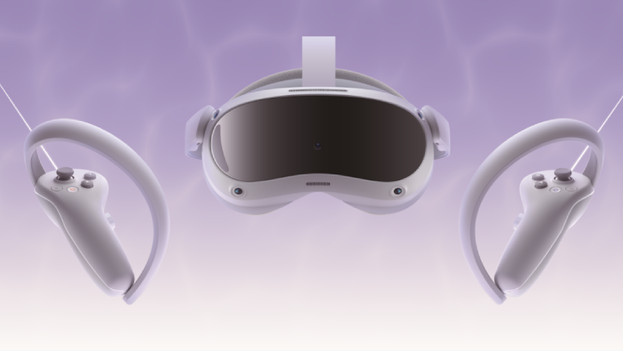
In this article, you can read how to set up the Pico 4 Ultra in 5 steps.
- Step 1. Create a Pico account.
- Step 2. Unbox the Pico 4 Ultra VR headset.
- Step 3. Turn on the Pico 4 Ultra and go through the steps.
- Step 4. Adjust the lenses of the Pico 4 Ultra.
- Step 5. Create a playing field.
Step 1: create a Pico account
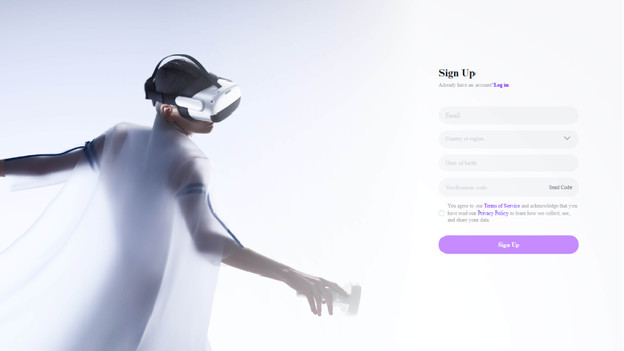
You need a Pico account to use the VR headset. You can easily create one via the Pico VR assistant app. Find the Pico VR assistant app in the app store on your phone. Once you've downloaded it, open the app and tap 'Menu'. Tap 'Log in' and 'Sign up' to create an account. Enter the required information and check your email for a verification code. Then, think of a password. You've created a Pico account.
Step 2: unbox the Pico 4 Ultra VR headset
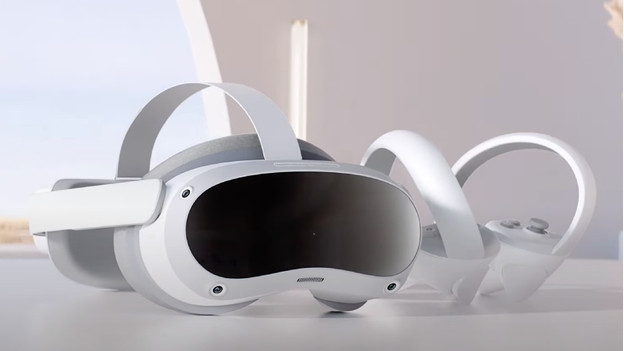
Once you've created an account, grab the Pico 4 Ultra VR headset. Because it's an active VR headset, all you need are the VR headset and the controllers. The controllers work on batteries, and you have to pull out the label between the batteries for it to work.
Step 3: turn on the Pico 4 Ultra and log in to your account
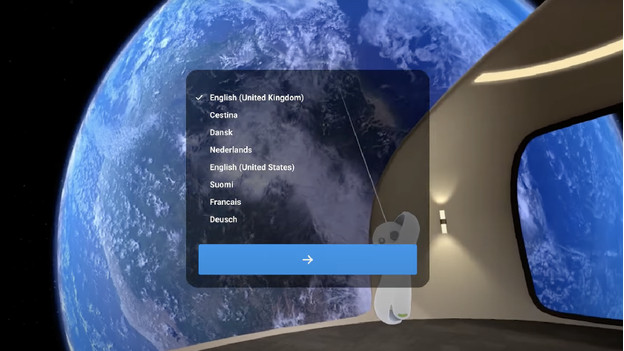
Put on the Pico 4 Ultra VR headset and press the on/off button on the side for 5 seconds. You'll see the screen turn on and you'll go to the home screen after some loading time. Choose your language, connect to your WiFi network and log in with the Pico account you just created.
Step 4: adjust the lenses of the Pico 4 Ultra
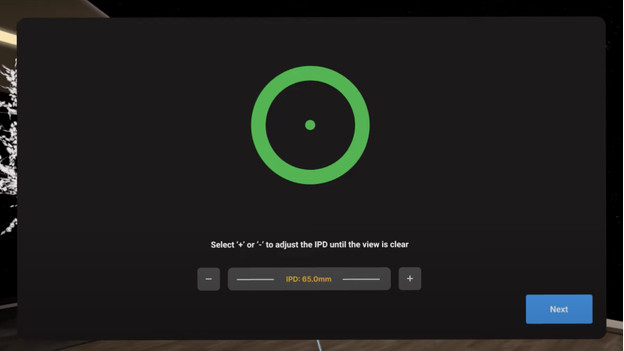
You'll see the option to adjust the lenses of the Pico 4 Ultra to your pupil distance. If you do this as accurately as possible, you reduce the risk of motion sickness. This way, you can continue to play for hours on end without getting motion sickness. Adjust the lenses until the screen is sharp.
Didn't you adjust the lenses properly? Adjust them in the settings.
Step 5: create a playing field
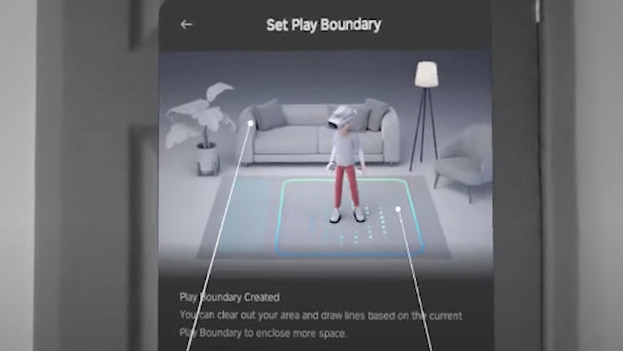
You need a playing field in order to safely play in VR. You have 2 options, select a standard circle or draw your own playing field. Choose whichever option is best for your situation. Make sure there aren't any obstacles in your playing field.
Once you've created the playing field, you're ready to start using the Pico 4 Ultra.


