
How do you print from your smartphone with a Canon printer?
What are you going to do?
You'll start preparing the printer and end with a print rolling out of the printer. How you can do this? Go through the following steps and you'll hold your print in no time.
- Step 1. Prepare the printer
- Step 2. Connect to the WiFi network
- Step 3. Download the app
- Step 4. Connect to the printer
- Step 5. Print
- Step 6. Scan
Step 1: prepare the printer
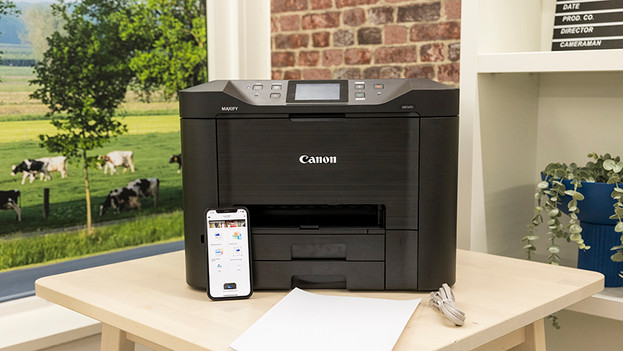
Is your printer still in the box, or haven't you set it up yet? Set it up first before you start printing. Already did this? Go to step 3. You set up a printer as follows:
- Unbox the printer and remove all stickers and orange sticky tapes.
- Install the cartridges.
- Fill the paper tray with paper.
- Connect the power cord to the back of the printer and switch it on.
- Choose a language on the display of the printer with the buttons.
- The printer will make a test printout to determine the grids for the printheads.
- As soon as this printout is done, scan it to set the alignment of the scanner.
Step 2: connect the printer to the WiFi network
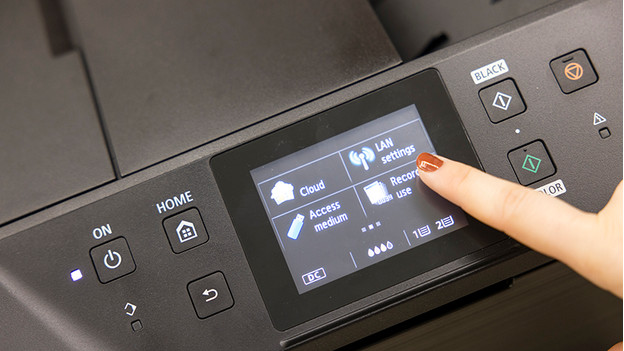
After aligning and determining the grids, the printer will ask what connection method to use. Select the wireless network to connect your printer to. If necessary, enter a password, and your printer is connected. In the following article, you can read extensively how to connect your Canon via WiFi.
Step 3: download the app
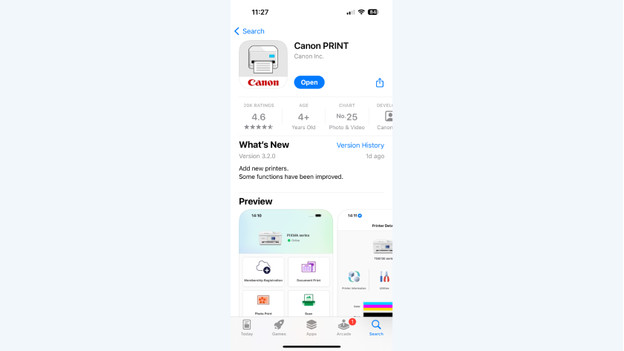
If you want to print from your smartphone, you won't need any drivers or other software. You can get started right away. Download the Canon PRINT app in the Google Play Store or Apple App Store. Open the app once it's finished downloading. Make sure your phone is connected to the same WiFi network as your printer, otherwise the app can't find the printer.
Step 4: connect to the printer
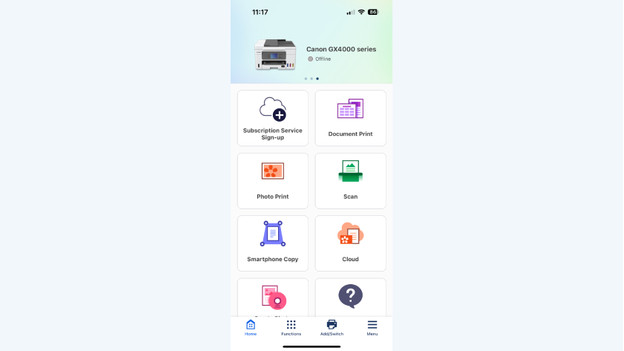
The Canon PRINT app will ask if you want to look for an available printer. Tap OK. Choose the network you want to connect the printer to. Your printer is now connected to your smartphone. Via the app, you can perform various tasks such as scanning documents, printing photos and documents, and even order ink.
Step 5: print files and photos
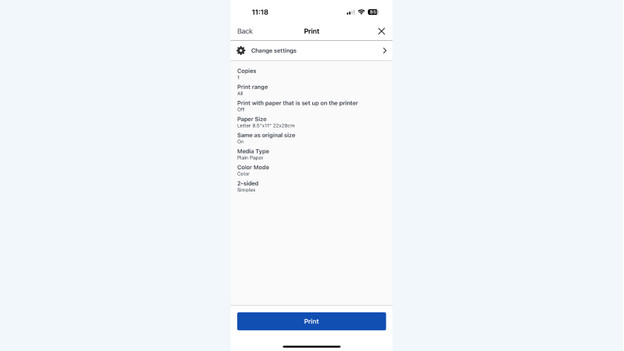
In the home screen of the Canon PRINT app, tap Print Photo or * Print Document*. Choose whether you want to print from a device or from Google Cloud, for example. Select your photo or document. You'll see a preview and then tap Next. You can still change settings in the next screen. Finally, tap Print.
Step 6: scan files and photos

With the Canon PRINT app, you can scan documents too. Tap Scan in the app at the bottom left to start the scan function. Place your document or photo on the scanner of the printer and tap Scan in the app. You'll now see a preview of your scan on your smartphone. Does it look good? You can save it in the folder or service you selected.


