How do you connect your Canon printer to WiFi?
Connect to WiFi in 3 ways

There are different ways to connect your Canon printer to WiFi. Connect your printer via the touchscreen, via the WPS button on your router, or via the WiFi network of the printer itself.
- Connect your printer with touchscreen
- Connect your printer without touchscreen
- Connect via WiFi Direct
Connect your printer with touchscreen

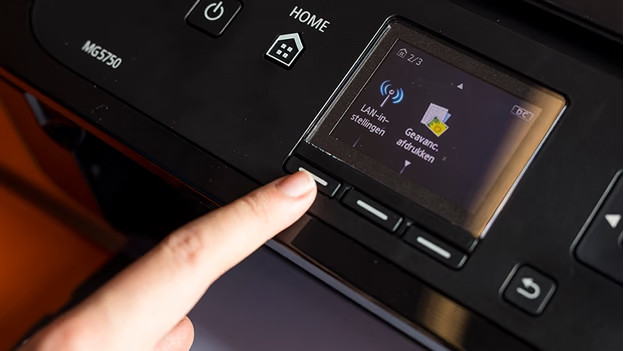
Does your Canon printer have a touchscreen? This is how you connect your printer to WiFi:
- On your printer, go to 'Settings', 'Device settings', and then 'LAN settings'.
- Select 'Standard settings' or 'Set up without cable'.
- Select the name of your network. This is called SSID.
- Enter the password of your WiFi network.
- Tap 'OK'.
- Your printer will be connected after about 1 minute.
Connect your printer without touchscreen

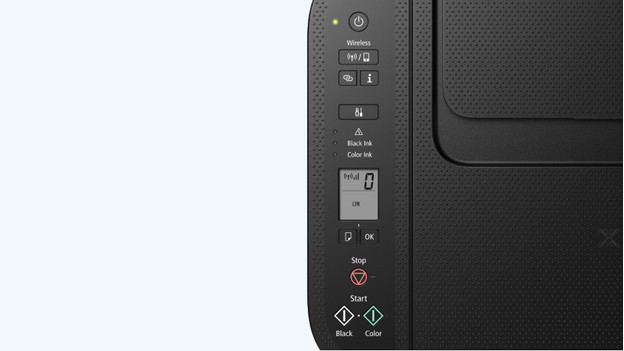
Some Canon printers don't have a touchscreen, but do have a display. You can connect such a printer with the WiFi protected setup (WPS) button. You can find this button on your router.
- Place your printer near your WiFi router.
- Switch on the printer.
- Press the network button. Hold it until the network icon on the display starts blinking.
- Press and hold the WPS button for about 3 seconds.
- Wait for the network icon to stop blinking. This takes about 1 minute.
- Your printer is now connected.
Connect via WiFi Direct

Does your Canon printer have WiFi Direct? Connect your computer or mobile device to your printer easily without a router.
- Switch on the printer.
- On your printer, go to 'Settings', 'Device settings', and then 'LAN settings'.
- Go to 'WiFi Direct'.
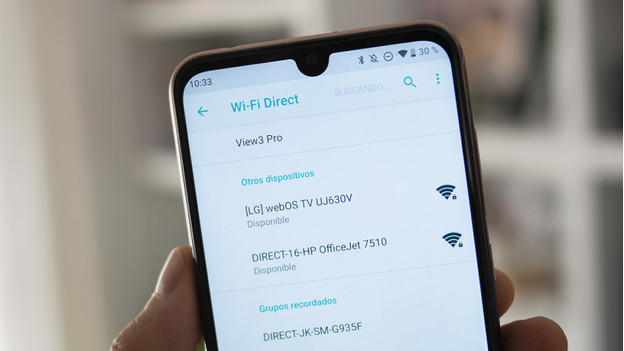
- On your mobile device or computer, go to the WiFi connections and tap the printer with 'Direct' in the name. For example, DIRECT-XXXX-TS5100series.
- Enter the password. You can find it under 'LAN settings' on your printer.
- Your device is now connected to the WiFi network of the printer.


