
5 tips for when your iPad doesn't charge
Solve charging problems
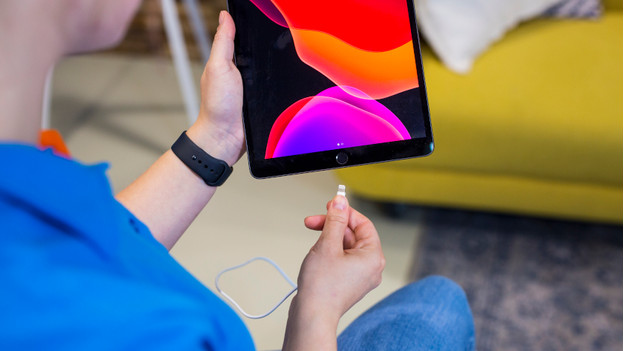
With the following tips, you can solve common charging problems.
1: reconnect the cable and charger 2: clean the charging port 3: use a charger with the right power 4: only connect Apple certified accessories 5: use a cable with the right connector
Tip 1: reconnect the cable and charger
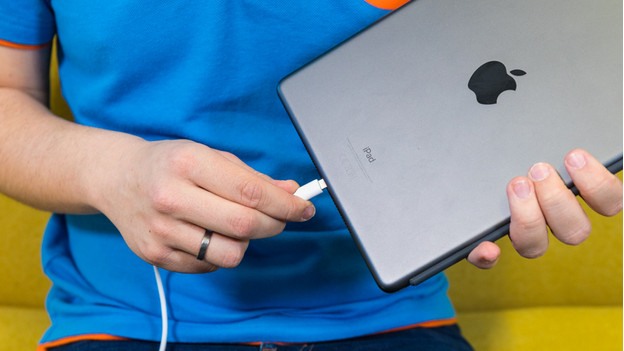
1: connect your iPad with the included cable. 2: connect the cable to the included charger or a different power source. 3: you'll see a lightning symbol while it's charging in the top right of the status bar. If the iPad is turned off, you'll see a large battery symbol on the screen.
Tip 2: clean the charging port
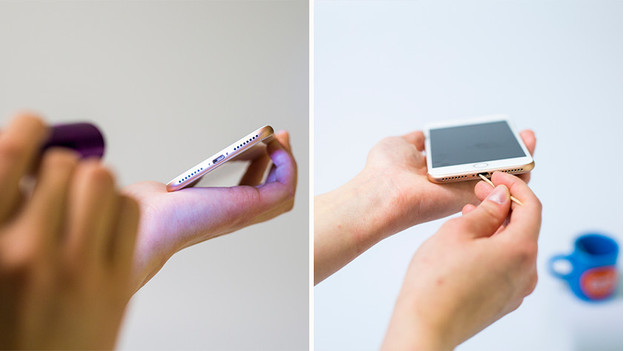
Gently clean the charging port by blowing into it or by using a little brush. Do you need help? Make an appointment at a Coolblue store near you. When you're done cleaning, you can reconnect the charger and check if the iPad charges again.
Tip 3: use a charger with the right power
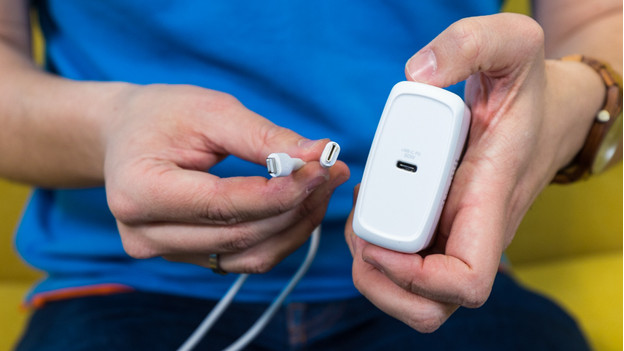
Always use the included charger, so you're sure the charger has the right power. If you don't have it anymore, you can by another charger. We recommend an Apple certified charger with at least 20W power.
Tip 4: only connect Apple accessories
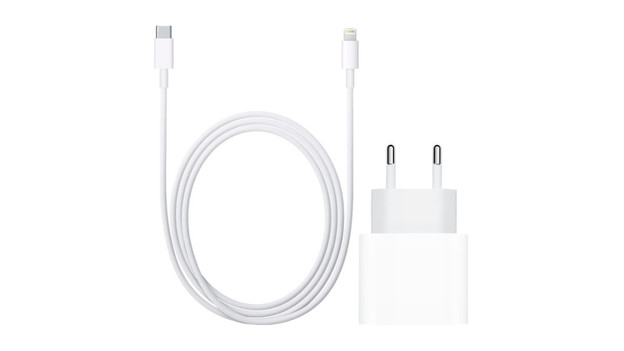
Accessories that aren't Apple certified don't work optimally, and they can damage the device. You'll get a notification if you connect non-certified accessories. That's why you should always use the included cable and charger. Don't you have them anymore? On our site, you can find Apple original and Apple certified accessories.
Tip 5: use a cable with the right connector
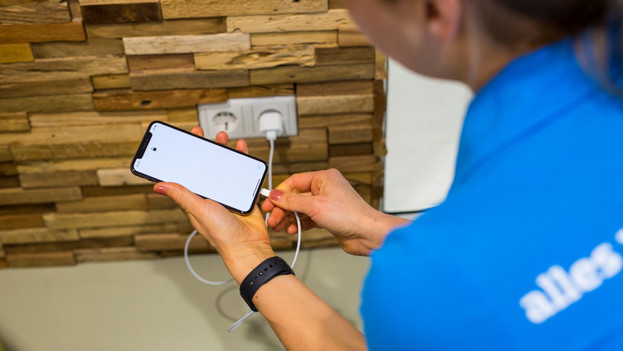
Be sure to check which charging port your iPad has. An iPad (up to 2021), iPad Mini (up to the Mini 5), and iPad Air (up to 2019) have a Lightning connector, which only works with a Lightning cable.
An iPad Air (2022), iPad Pro (2020 and newer), iPad Pro (2018 and newer), and iPad Mini 6 have a USB-C connector, which only works with a USB-C cable.


