
4 tips for an accurate hart rate measurement with your Garmin watch
4 tips to measure your heart rate
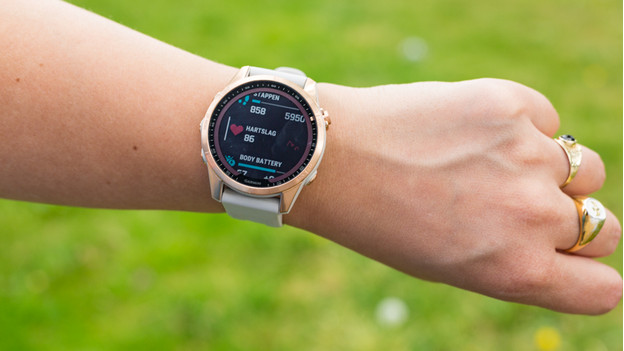
Follow these tips to measure your heart rate more accurately.
- Tip 1: wear the watch in the right place
- Tip 2: regularly check for updates
- Tip 3: check the icon
- Tip 4: check the lights
Tip 1: wear the watch in the right place
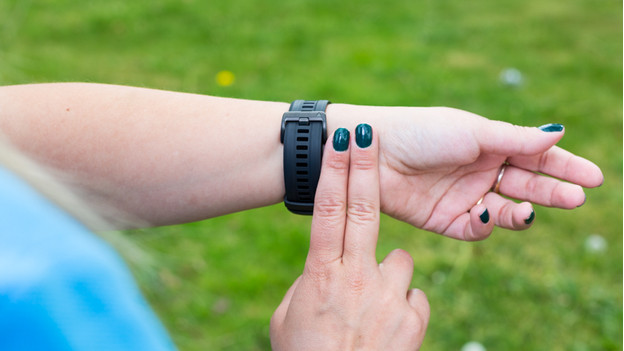
A Garmin smartwatch measures your heart rate via your wrist. Make sure that the watch is in the right spot on your wrist. If should be tight enough, so it doesn't slide. Wear your watch just past your wrist joint. This means you can fit about 2 fingers between the smartwatch and your wrist bone. Tattoos can interfere with the heart rate measurement. That's because the ink and the pattern can block the light that measures your heart rate. In that case, wear your watch on the other arm.
Tip 2: regularly check for updates

Check if your Garmin smartwatch has the latest software. You can check this via Garmin Express. You do have to install Garmin Express on your computer or laptop first. Next, connect your watch via a cable. Garmin Express will update the software, if that's necessary.
Tip 3: check the heart rate icon
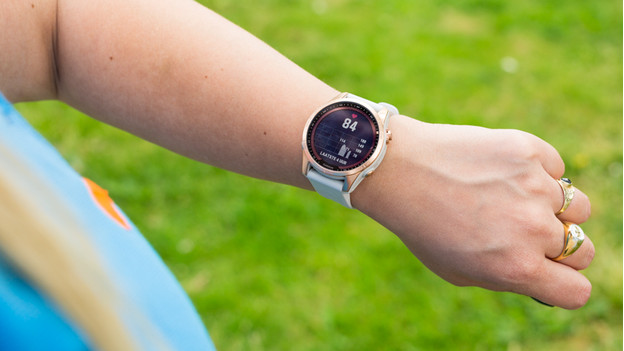
Open the heart rate screen from the menu of your Garmin watch. If it measures your heart rate, the heart beat icon doesn't move. Do you see 3 lines below the heart icon? The sensor is looking for your heart rate. Wait until your watch found your heart beat, and you'll see a number.
Tip 4: check the lights
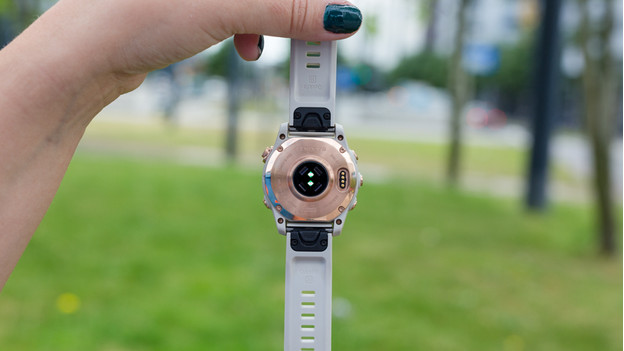
You can check the lights at the bottom of the watch to see if the heart rate reading works. The green lights at the bottom of the watch are the light sensors of the heart rate reading. If the lights work properly, you'll see them flash briefly when you take off the watch. Then, they'll switch off. Don't see any lights at all? The sensors may be broken.


