Get started with your Logitech G Pro X Wireless
Set up the Logitech G Pro X Wireless in 3 steps

Read how to set up the Logitech G Pro X Wireless in 3 steps so you can quickly game with excellent sound.
Step 1. Connect the microphone.
Step 2. Connect the headset.
Step 3. Download the software.
Step 1: connect the microphone

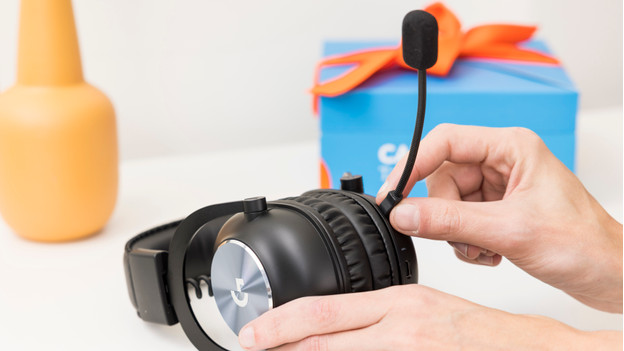
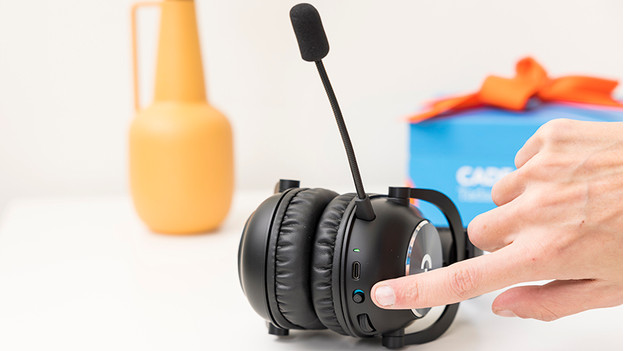
First, connect the microphone to your new headset. All you have to do is plug the microphone into the left ear cup. The input for the microphone is on the front of the ear cup.
Step 2: connect the headset

Connect the Logitech G Pro X Wireless via the steps below.
- Plug the USB dongle into your console or PC.
- Flip the switch on the left ear cup to turn on the headset.
Your headset is now connected to your PC or console.
Step 3: download the software

The last step is to set up the Logitech G-Hub. This software is only available on the PC, and it's important for your microphone and audio settings. In addition, you can update your headset and other Logitech G devices via this software. This way, you can be sure you'll get the latest updates. Download the Logitech G-Hub via the link below.


