How do you transfer files from macOS to your Synology NAS?
Connect your Synology NAS to your MacBook in 3 steps

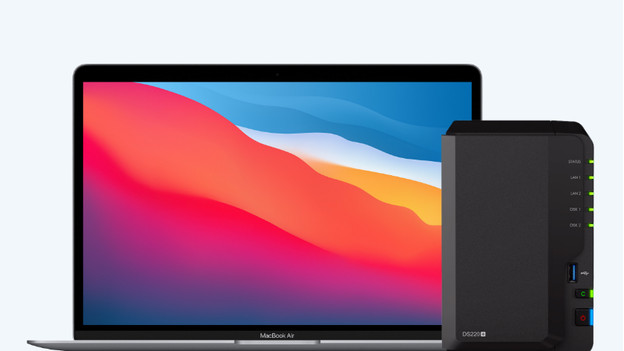
You can easily connect a Synology NAS to your MacBook. To help you as well as possible, we've listed all of the steps for you.
- Step 1. Open the setup wizard
- Step 2. Enter the IP address and save the server
- Step 3. Connect your NAS and MacBook
Step 1: open the setup wizard

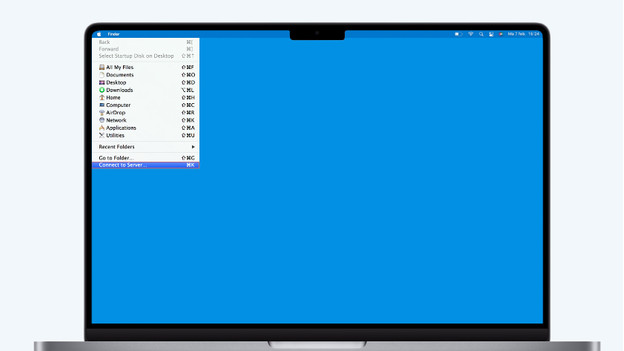
With the setup wizard, you can set it up quickly. Open Finder and click 'Go' in the menu at the top. Choose 'Connect to server' in this fold-out menu. You'll find this option at the bottom of the menu. Continue with the setup from here.
Step 2: enter the IP address and save the server

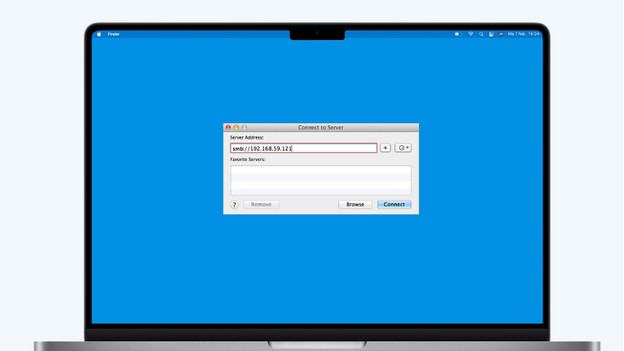
Enter the server of your Synology NAS in this window. Type smb:// in the 'Server Address' field, followed by the IP address of your Synology NAS. Go to find.synology.com on your MacBook to find the IP address. Here, you'll see the IP address of your NAS on the second line. Enter this in the corresponding field and click 'Connect'. Does your workplace have more than 1 server and want to save the IP address? Click the plus next to the field. This way, you save the server for the next time you want to connect to this NAS.
Step 3: connect your NAS and MacBook

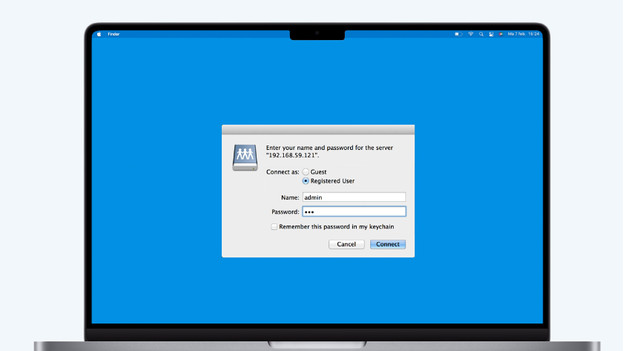
After you press 'Connect', a pop-up window appears. Enter the username and password of your NAS and click 'Registered user'. If you don't, you have to log in as a guest with less editing rights. Click 'Connect'. Was this successful? The NAS will appear in Finger, under 'Shared'. The name of the NAS is the same as that of the IP address you entered. Your Synology NAS is now ready for use from your MacBook.


