How do you set up TP-Link powerline adapters?
Set up your TP-Link repeater in 3 steps:

You want to set up your TP-Link powerline adapters. Follow these 3 steps:
- Connect the main adapter to your router
- Link the adapters
- Create 1 WiFi network in your home
Step 1: connect the main adapter to your router

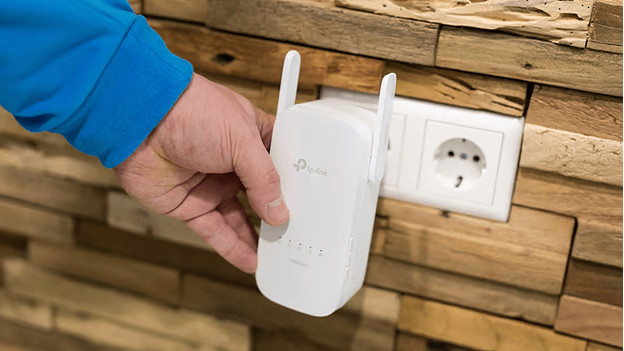
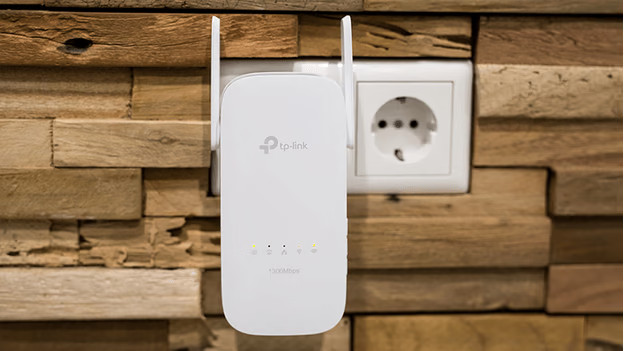
Connect your first powerline adapter to your router with an Ethernet cable. Then, plug it into a socket. The lights for 'Power', 'Ethernet', and 'Powerline' are now on. These are the first three lights from the left.
Step 2: pair 1 or more adapters

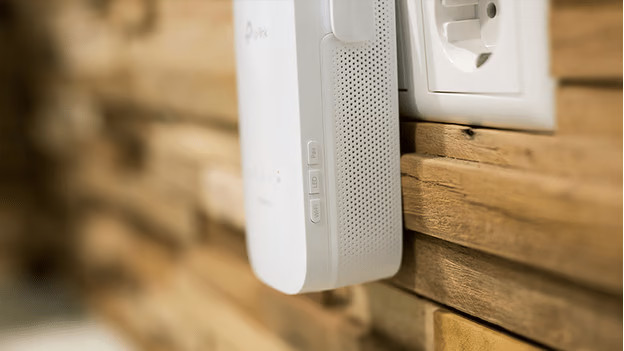
Plug the other powerlines into a socket within reach of your main adapter. These adapters pick up the signal and transmit it. Now, press the 'Pair' buttons on the side of both adapters within 2 minutes. Wait a minute until the second light from the left also lights up. Is the Powerline light green now? The signal is good enough. Is it red? Place the adapter a little closer to the other adapters. Repeat this process for all your powerlines.
Step 3: one WiFi network in your home

After the first connection, you can plug the adapter into any socket in the house. The only condition is that the sockets must belong to the same group. If that's not the case, place the adapters within reach of the other adapters. Isn't the connection working? Enter the name of your adapter via the TP-Link Utility software.


