How do you set up an Arlo IP camera?
What do you need?

- A base station (the Arlo Pro 4 doesn't have a base station)
- 1 or multiple IP cameras
- Access to your WiFi network
- A network cable (not necessary with an Arlo Pro 4)
- A free socket close to your router (not necessary with an Arlo Pro 4)
- A smartphone, laptop, or desktop that's connected to the same network as the IP camera
Step 1: start the base station
Many Arlo IP cameras work with a base station. The Arlo Pro 4 doesn't, so you can skip this step in that case. Plug the power cord into the socket. Then plug a network cable into the base station. Plug the other end of the network cable into the router. Turn on the base station by pressing the on/off button. Give the base station some time to start up. After about 2 minutes, the lights will turn on. Your base station is now connected to the internet.
Step 2: connect to the app

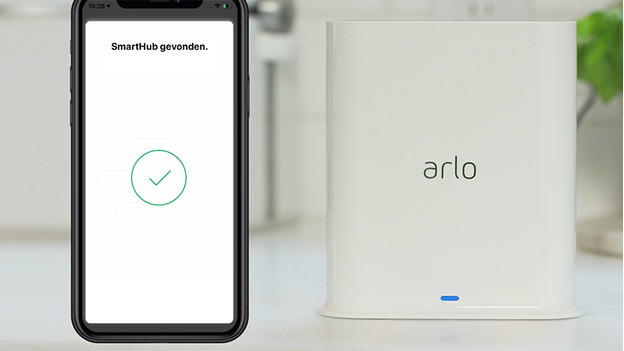
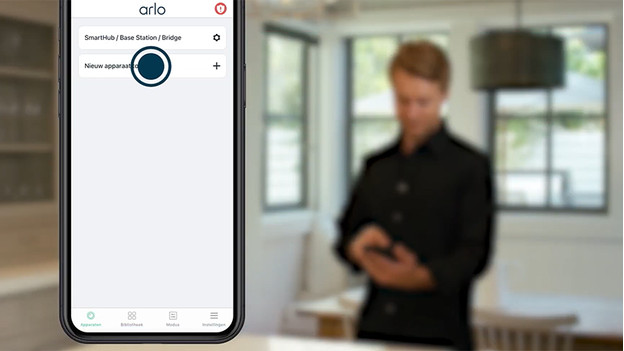
You can now connect the base station to the app. Download the app and choose 'add new device'. Do you have a base station? Connect it to that first. Make sure the base station is connected to the same network as your phone. Give the base station a name. Afterwards, the app will search for updates and update the firmware automatically.
Step 3: set up the IP cameras

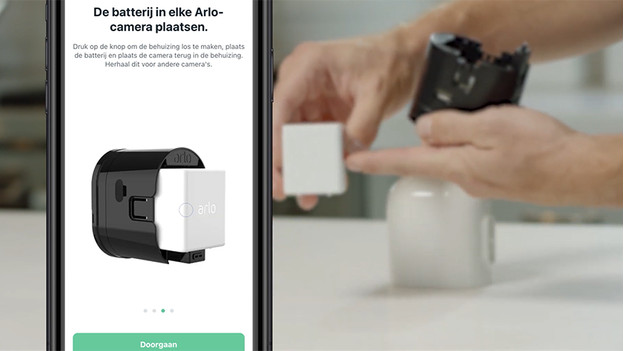
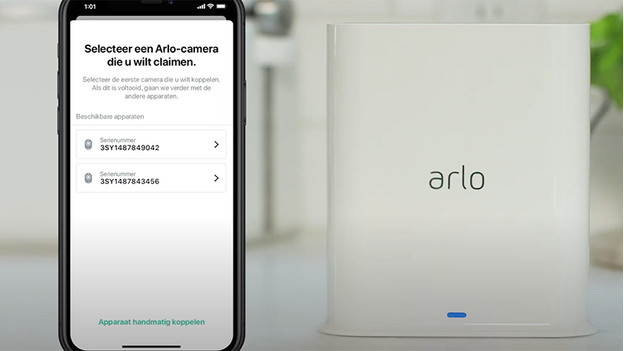
Follow the steps in the app. You'll be asked to put a battery in the camera. Remove the camera and place the battery with the logo pointing upwards. The app will automatically search for cameras it recognizes. Choose the serial number of the camera you're trying to connect. Do this for each camera you want to connect.
Note: can't find your camera? Perform a reset first. You can do so by pressing and holding the reset button with a paperclip for more than 10 seconds. When the lights blink red, you can stop. Wait for the lights to turn green. Afterwards, synchronize the cameras again and follow the steps below again.
Step 4: Place the cameras

To guarantee the best connection, don't place the cameras further than 90m from the base station. This applies to an open space. Are there many walls between them? Place them closer. Keep in mind that you don't place them too close together. For a good connection, there has to be at least a 3m distance between the base station and the cameras. Don't place the cameras closer than 2m from each other.
Setup of the Arlo Pro 4
The Arlo Pro 4 doesn't have a base station. You can connect it to the internet directly via the app. Download the Arlo app and create a new account. Choose to add a new device and choose 'Cameras'. Choose the Pro, and then the Pro 4. Make sure you're connected to your WiFi network and continue. Afterwards, place the battery in the Arlo Pro 4 and follow the steps in the app. When the light turns blue, keep the QR code that appears in the app in front of the camera. Does it make a sound? That means the camera is connected.


