How do you set up a Chromecast?
Set up a Chromecast in 3 steps
You can set up the Chromecast with these steps. In this article, we'll give you tips on how to properly set up the Chromecast.
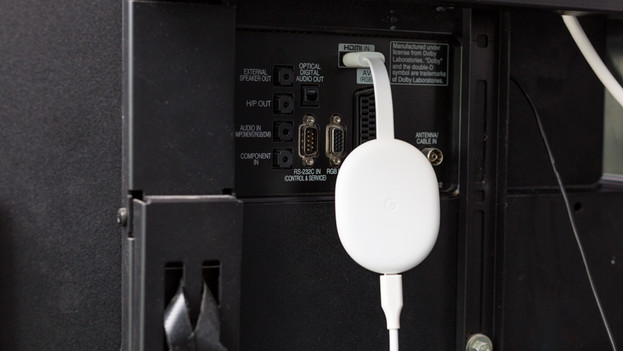
- Step 1. Connect the Chromecast to your television.
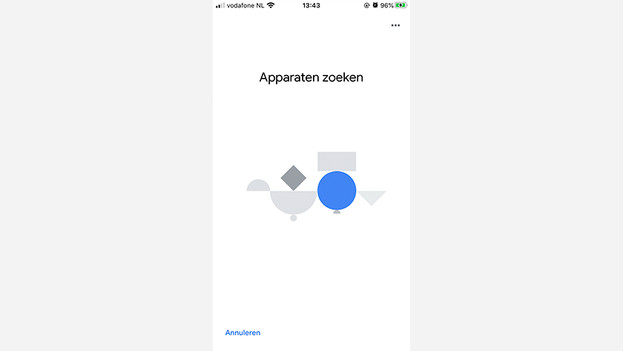
- Step 2. Connect the Chromecast to your smartphone or tablet.
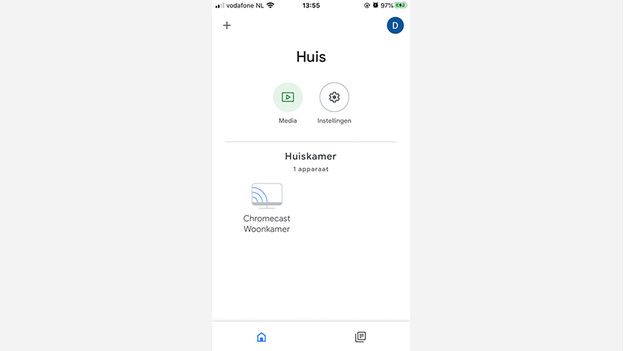
- Step 3. Set your preferences and you're done.
Step 1: Connect the Chromecast

Connect the HDMI cable of your Chromecast to your television. Then, plug the Chromecast 4K into the socket. With the V3 version, you only have to do this if you want to be able to turn on the TV with voice commands later. You can recognize the V3 by the black color of the media plyer. Make sure that there are batteries inside the remote of your Chromecast 4K. Then, connect your smartphone or tablet to the network you want to connect your Chromecast to. When your smartphone connects to the Chromecast, the media player automatically connects to the network you're smartphone is connected to.
Step 2: connect the Chromecast to WiFi

Install the Google Home app and go to 'Devices'. Choose 'Add' on the right, followed by 'Google Nest or other device'. You can then choose the house you're at or add a new house. The app will scan for your Chromecast right away. Do you still see 'Looking for device' after 2 minutes? Delete the Google Home app and download it again. This way, you revert the app to factory settings. Read the article below if the problem persists due to internet problems.
Step 3: Set your preferences

Your Chromecast is now connected. Choose the room your Chromecast is in, which is useful if you have multiple televisions in the house. Then, indicate which apps you often use with the Chromecast 4K. You can also adjust the many of the Chromecast 4K by pressing and holding the apps a bit longer.
Done!
You're ready to cast. Want to see what you can do with your Chromecast? Check out our article with the best apps for the Google Chromecast.


