
How do you set up Nikon SnapBridge?
Connect your camera to SnapBridge in 5 steps
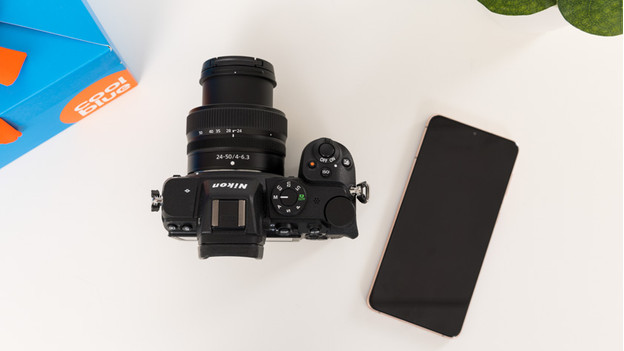
Connect your camera to SnapBridge in 5 steps
Step 1: download SnapBridge
Step 2: follow the steps in the app
Step 3: turn the WiFi on your camera on
Step 4: connect your phone to the camera
Step 5: done connecting
Step 1: download the SnapBridge app
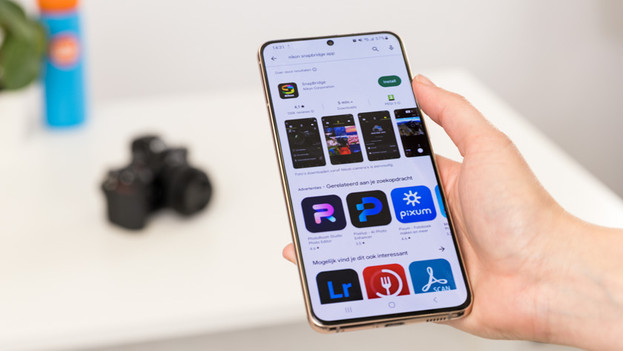
Before you can use SnapBridge, you'll first need to download the app. Note: the app store offers 2 versions of this application. Choose SnapBridge. Don't select SnapBridge 360/170, as that's only suitable for the Nikon Keymission 360 and 170 action cameras.
Step 2: follow the steps in the app
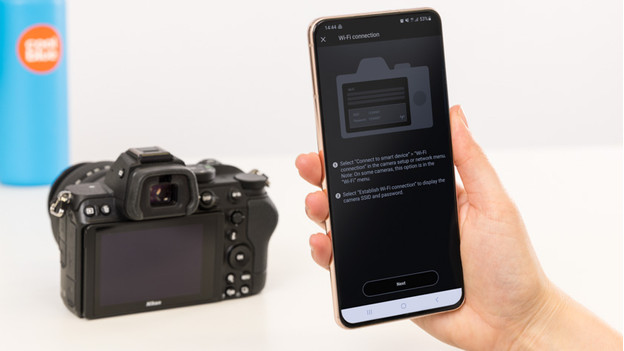
Once you open the app, go to 'Remote device'. You can see the steps to connect it here. If you follow these steps, you'll see a list of devices you can connect to.
Step 3: go to WiFi connection on your camera
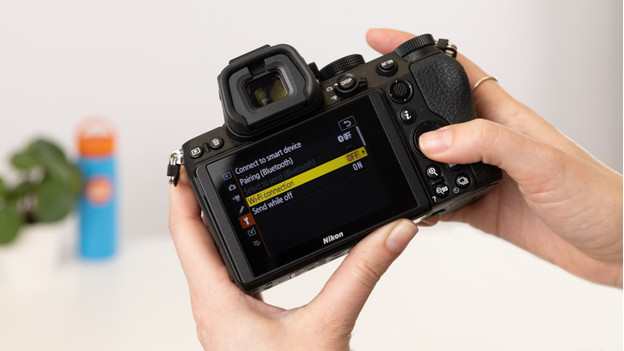
In the menu of your camera, go to the option 'Connect to WiFi'. You can find it under the tab with the tools icon. Wait until the SnapBridge home screen appears. Press 'OK' and the device will transmit the wireless signal. The name of your camera and a password will now appear on your screen. You need this password to connect.
Step 4: connect your smart device to the camera
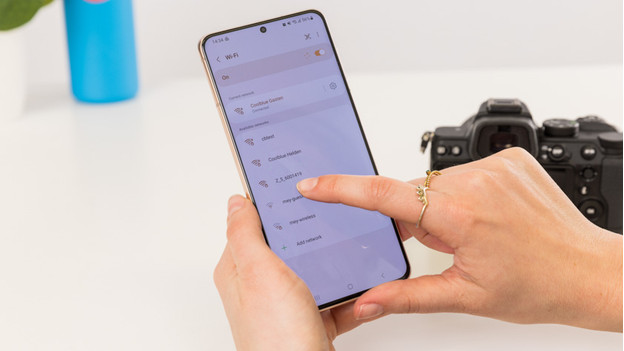
Turn on the WiFi function on your smart device and search for devices. In the list with available devices, you can find your Nikon camera. Select it. Your phone will now ask for a password, which you can find on the display of your camera. After you've entered your password, your phone will connect to the camera.
Step 5: get started
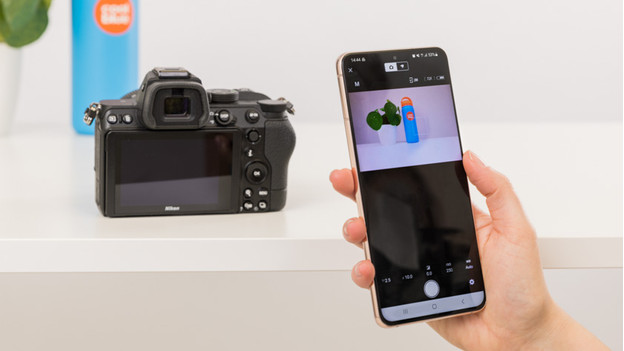
Your camera and smart device have now been connected. The camera will now automatically transfer photos to SnapBridge on your smart device.


