
Get started with latte art
Get started with latte art

If you follow these steps, you'll definitely be able to make a figure. Keep in mind that you probably won't succeed the first time. But with enough practice, you'll get the hang of it.
- Step 1: choose the right milk for your coffee.
- Step 2: prepare a fresh espresso.
- Step 3: froth the milk at the right temperature.
- Step 4: tap out the bubbles.
- Step 5: create latte art.
Step 1: choose the right milk for your coffee

It's important to choose the right milk for your cup of coffee. Whole milk contains a lot of protein and fat. This gives you a firm foam layer. Do you prefer to use oat milk, soy milk, or coconut milk? Keep in mind that these don't froth as well. In the article below, you can read about the quality difference of the milk foam of different types of milk.
Stepp 2: prepare a fresh shot of espresso

If you're getting started with latte art, you need a shot of espresso. The fresher the espresso, the easier it is to make latte art. You have to swirl your espresso cup when the espresso is done. Swirling means making circular motions with your cup to stir the espresso. This way, you mix the coffee and crema properly. This ensures the right foundation for your latte art.
Step 3: froth the milk at the right temperature
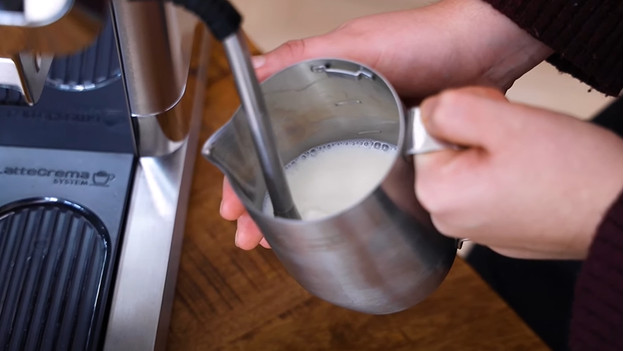
If you froth milk with a manual steam wand, keep 2 things in mind:
- Make sure that the foam layer isn't too firm or too liquid. You'll find the best balance here. The further you pull the steam wand out of the pitcher, the more foam you create.
- Carefully monitor the temperature of the milk. The perfect temperature of your milk is between 60 and 70°C. When your pitcher is nice and hot, you can stop frothing.
An automatic steam wand or milk frother regulates the temperature automatically.
Step 4: tap out the bubbles
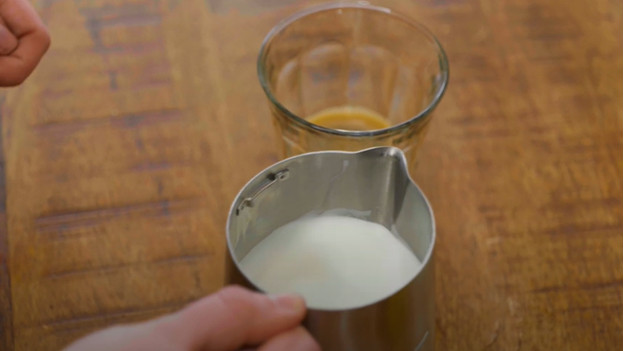
After you froth the milk, you'll probably see that there are some bubbles. This makes it more difficult to make latte art. If you tap the pitcher on the counter 3 times, most bubbles will disappear. Then, swirl the milk until the milk foam is smooth and shiny.
Step 5: create latte art
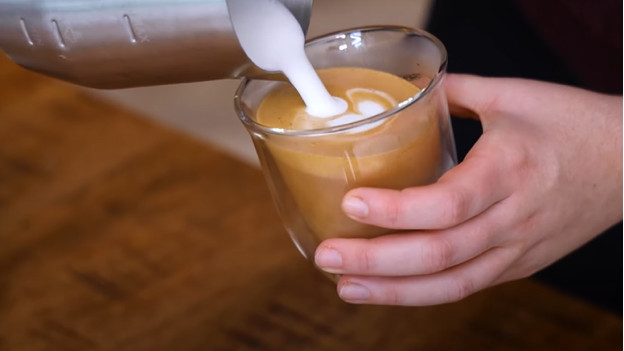
The higher you hold the milk pitcher above your cup, the more milk comes out. The lower you hold it, the more foam you pour out. Make a circular motion and slowly pour the milk into the cup. If you have 1 to 2cm left in your cup, pour the milk into it as if you're pushing it into the coffee. This creates a circle. When the circle is clearly visible, raise the milk pitcher and pour through the circle to create a line. You've made a heart now. If you make multiple hearts in a row, you get a tulip.


