
How do you set up a computer power supply unit in your desktop?
What do you need?
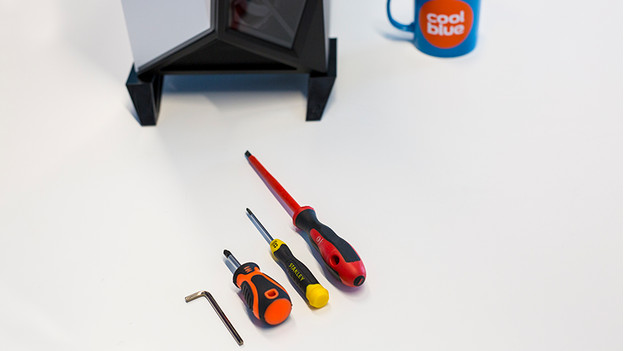
- Tools to open the computer case.
- An antistatic wrist strap.
- A desktop computer.
- A computer power supply unit
- A cup of coffee
1. The basics

Turn off your computer completely and don't put it on standby. Next, remove all cables, starting with the power cable. Are all cables disconnected from your PC? Press the power button once more so that all the power remaining in the circuit also disappears.
2. Avoid a static shock
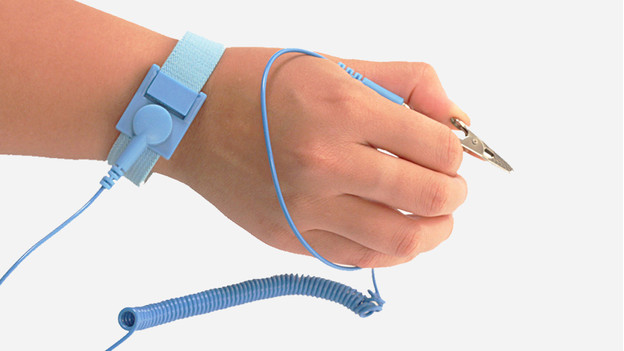
When you're replacing a computer component, it's important you're not statically charged. Since a power supply converts power, the risk is even greater. An electrostatic shock, no matter how small, can be disastrous for the components in your PC. That's why it's best to always wear an antistatic wrist strap. You can also discharge yourself by regularly holding your hands against the radiator, for example.
3. Open your computer case

Place the computer case on the table on it's right side. You could use a cotton towel to protect the side and to keep the case from moving around. Turn the back of the computer case towards you. You'll see 2 or 3 large screws there. Remove these and slide this side of your PC away. You'll now see the motherboard and components of your PC.
When you're replacing your power supply unit, you have to remove both sides. Place the PC upright and remove the right side of the case the same way. This is necessary because your PSU is attach to your PC on two sides.
4. Locate the power supply unit
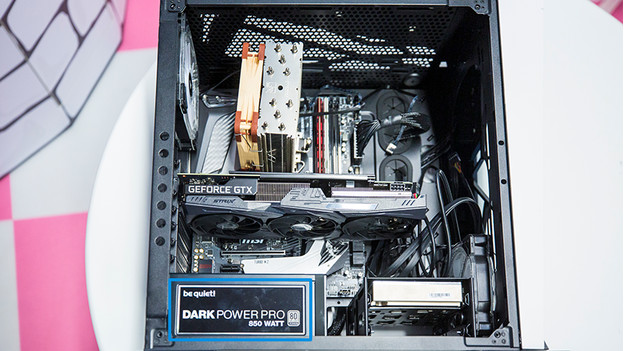
Where your current computer power supply unit is currently installed, depends on the computer case you're using. The PSU is always on the back, but it can be located either at the top or at the bottom. You've probably already seen the exact location when you pulled the connector out of your computer. The power cord you pulled out of your PC is connected to the power supply unit.
Wasn't there a power supply unit in your PC because you have an empty computer case? Check the manual of your computer case.
5. Remove your current power supply unit
Skip this step if you're building a new PC
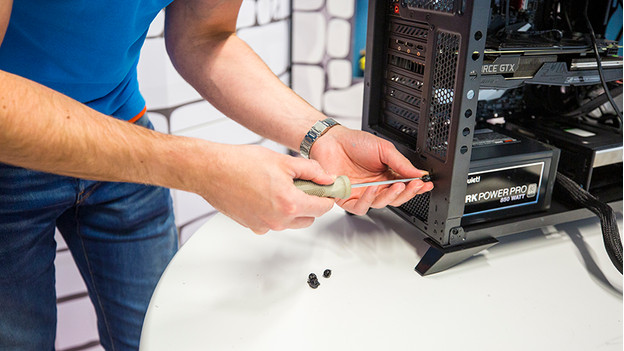
Before you get started with the screwdriver, it's important you remove all of the cables. Start with the thick cable that connects to your motherboard and continue with the rest of the components. Once you've removed all cables, you can unscrew the screws of the power supply unit. Next, you remove the unit from the case.
Note: sometimes, you need to remove it at a certain angle. If you're not sure, check the manual of your computer case.
6. Set up the new power supply unit in your computer
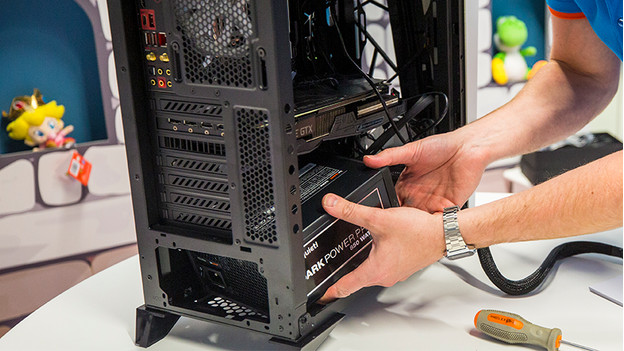
Does your new computer power supply unit have detachable power cords? It may sometimes be more practical to plug them into your PSU before you install it. Always use the included cables of the PSU. Slide or click the new PSU in place with the power connector and fan to the back of the case. You can do this in the same way as when you remove it, if necessary at an angle. Then, tighten the screws well on all sides. When you install it, make sure you place the PSU in a way that the power input is aligned with the opening for it on the back of your computer case. Now that you've installed the PSU, you can reconnecting the power cords to all your components. Do this in the same order as when you removed the cables. Is this a new PC? Check the manual. Do this again for the wide connector for your motherboard. Neatly hide the cables by running them through the cable ducts in the case. Make sure you never let the cable touch a moving component.
Note: it's important to properly connect and click all cables into place. Cables that haven't been connected properly can cause a short circuit.
7. Use it
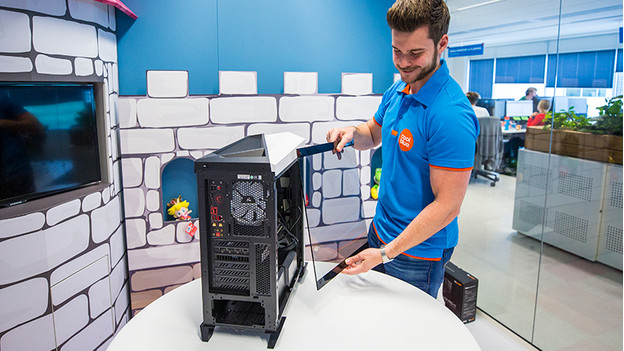
Slide the sides of your computer case back in place and connect it right away. Was your PC fully installed before? You can boot your operating system the way you usually would.
Won't your PC turn on? Check if all of the cables are connected correctly and if your power supply has a hardware button that needs to be turned on.


