
How do you solve setup problems with your Logitech G headset?
Solve setup problems Logitech G headset
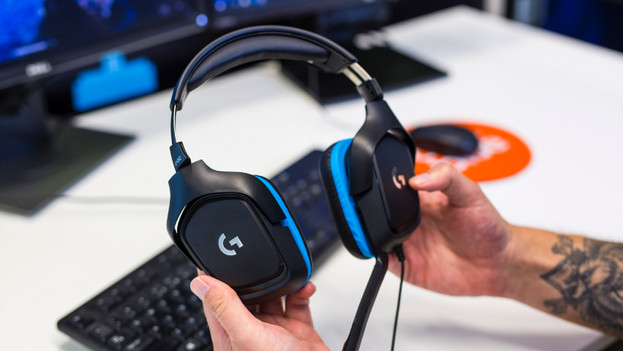
Adjust the Windows settings of your computer correctly. Follow the 4 tips below and solve setup problems with your headset.
Tip 1. Solve hardware problems
Tip 2. Troubleshoot
Tip 3. Adjust sound settings
Tip 4. Reinstall Logitech Gaming software
Tip 1. start your PC without connecting
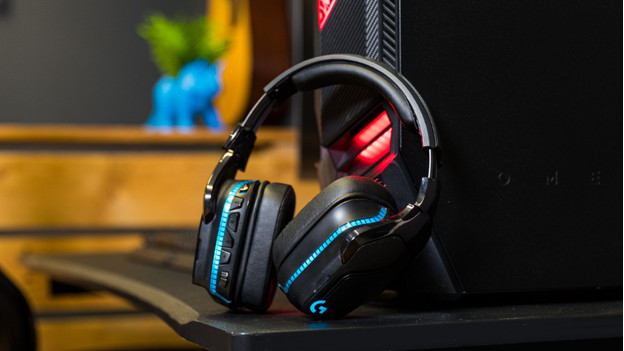
Start your computer without connecting the dongle or cable of the Logitech G headset to the PC. When you connect the USB dongle or cable to the PC while it boots, it might interfere with other connected devices. When the PC is booted, you can plug the dongle or cable of the Logitech gaming headset into your computer.
If your Logitech G headset still won't connect, you can go to the next solution below.
Tip 2: troubleshoot
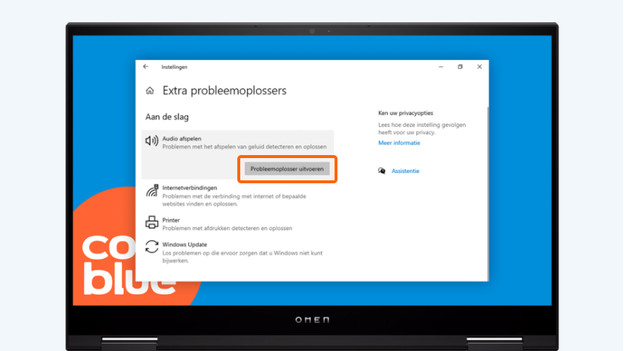
With the Windows troubleshooter for audio, you can easily solve sound problems. Via these 3 steps, you can easily troubleshoot.
- Type 'troubleshoot' in the Windows search bar, and click 'Additional troubleshooters'.
- Click 'Playing audio'. Then, click 'Run the troubleshooter'.
- Follow the instructions on your screen to solve the problems found.
If your Logitech G headset still won't connect, go to the next solution below.
Tip 3: adjust the sound settings
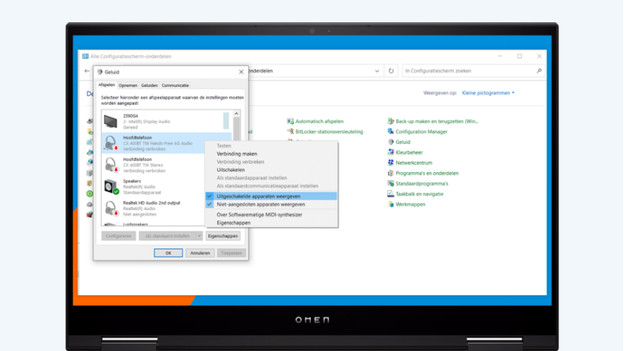
Set up your Logitech G headset as the default playback device. If you don't, it's possible the sound won't come out of your headset. Follow the instructions below to check and adjust your sound settings.
- Type 'control panel' in the Windows search bar and click 'Control panel'.
- Select 'Small icons' next to 'View by', and click 'Sound'.
- Right click an empty space and check 'Show disabled devices'.
- Make sure your Logitech G headset is enabled. If that's not the case, right click it and click 'Enable'.
- Next, click your Logitech G headset. Then click 'Set as default'.
Now that you've chosen the right settings, the Logitech G headset should work correctly. If that's not the case, you can continue with the last tip to solve problems with the Logitech software.
Tip 4: reinstall the Logitech Gaming software
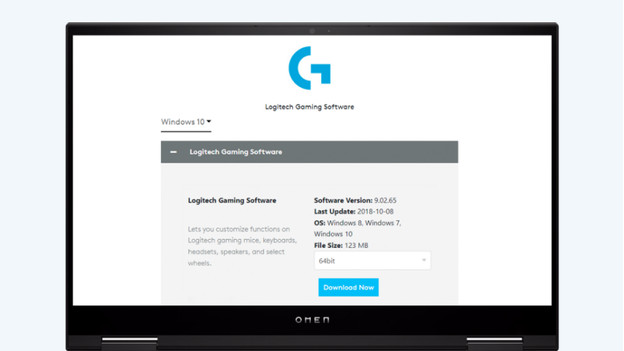
The Logitech Gaming software helps you to adjust your Logitech gear. In some cases, this software can introduce bugs and errors with the headset, so it doesn't work properly. To solve connection problems, you can reinstall the program.
- On your keyboard, press the Windows logo and the letter 'R' at the same time. You'll see a 'Run' window appear on screen. Type 'appwiz.cpl' and click 'OK'.
- Look for 'Logitech Gaming Software' in the list, and click 'Remove/change'.
- Follow the instructions on the screen to remove it completely.
- On your keyboard, press the Windows logo and the letter 'R' at the same time. The 'Run' window will open again. Type 'devmgmt.msc', and click 'OK'.
- Double click 'Sound, video, and game controllers'.
- Right click your Logitech G gaming headset and click 'Remove device'.
- Check 'Remove the driver software for this device', and click 'Uninstall'. Restart your computer. Download the Logitech Gaming Software again via support.logi.com.
You Logitech G headset will now connect to the PC and it'll correctly play sound via your headset.


