How do you set up the Meta Quest VR headset?
Set up the Meta Quest VR headset in 5 steps
In this article, we'll go through the following steps:
- Step 1. Unbox
- Step 2. Download the Meta app
- Step 3. Create a Meta account
- Step 4. Connect the VR headset
- Step 5. Put on the Quest VR headset and use it
Step 1. Unbox the VR headset

When you open the box of the Meta Quest VR headset, you'll find a manual, a VR headset, 2 controllers, a charger, a charging cable, and a spacer for people with glasses. The first thing you should do is fully charge the Meta Quest VR headset with the charger and the charging cable.
Step 2: Download the Meta app

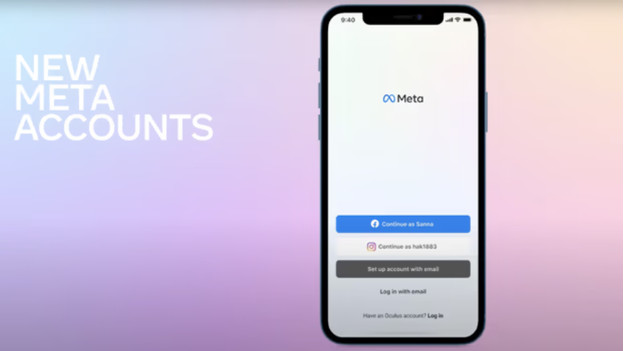
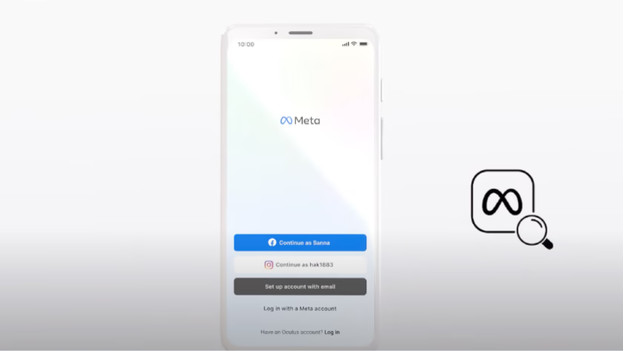
Take your phone and go to the Google Play Store or the Apple App Store. Search for 'Meta app' and download the Meta app. After the installation, you can open the app. You don't need a Facebook account anymore to use the Meta Quest. You now need a Meta account and a Meta Horizon account.
Step 3: Create a Meta account

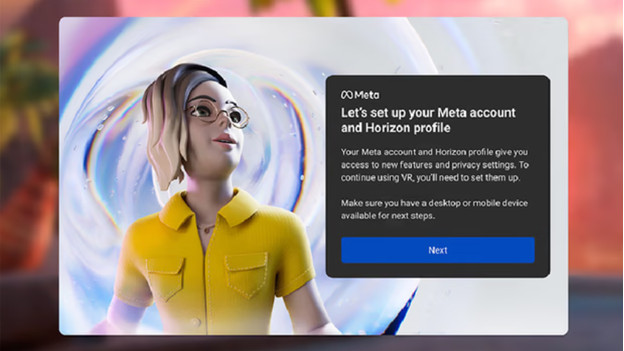
To create a Meta account, you only need a name, date of birth, phone number, email address, and payment information. Follow the steps until you get the message that you created an account. After you create a Meta account, you have to create a Meta Horizon account. That's a social media platform for the Metaverse. Go through all the steps and complete the creation process.
Step 4: Connect VR headset

Turn the Meta Quest VR headset on and hold it near your phone. Make sure the Bluetooth on your phone is enabled and connect the phone to the VR headset via the Meta app. Don't close the app while it's connecting.
Step 5: Put on the Meta Quest VR headset and use it

Put on the VR headset and follow the instructions on the screen. During this process, you'll also connect the headset to the WiFi. After, the Quest VR headset will start updating the software. The VR headset makes a sound when the update is done. Keep the Meta app open during this process. Is the process done? The Meta Quest VR headset has been set up and is ready for use.


