
How do you set up a Telenet TV box or Digicorder?
Set up the Telenet TV receiver in 7 steps
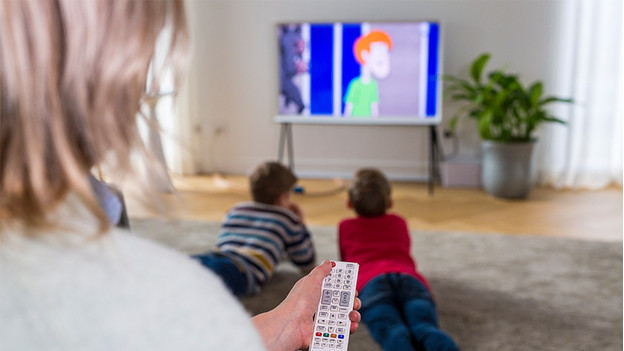
Make sure that you have the box, the HDMI cable, the coax cable, and the power cable on hand.
Step 1: connect the coax cable to the main connector.
Step 2: connect your coax cable to the Telenet TV receiver.
Step 3: connect the receiver to the TV.
Step 4: connect an Ethernet cable to the receiver (optional).
Step 5: provide the receiver with power.
Step 6: select the right source on the TV.
Step 7: check whether you're receiving channels.
Step 1: connect your coax cable to the main connector
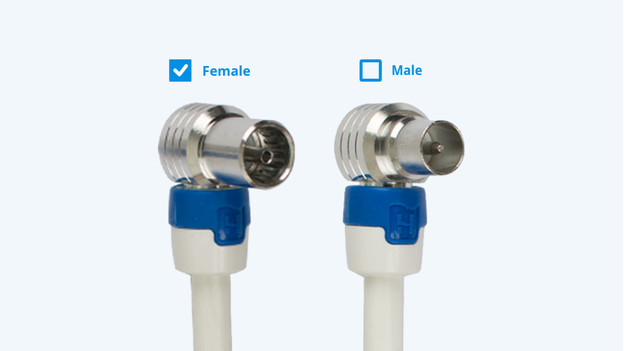
Connect the female end of the coax cable to the main connector. Is the main connector not close to the TV and do you need a long cable? Make sure the cable isn't longer than 10m, because the TV could lose signal quality. Do you have a wall socket with only one connector and is it being used? Buy a splitter separately.
Step 2: connect your coax cable to the Telenet TV receiver
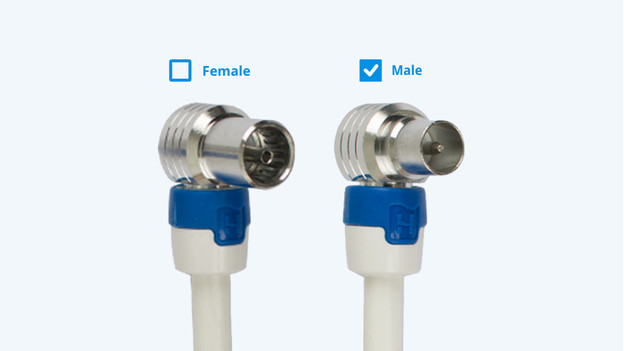
After that, connect the male end of the coax cable to the Telenet receiver. With most receivers, the connector is on the left side on the back of the box. Above this input, it usually says 'Coax in'.
Step 3: connect the receiver to the TV
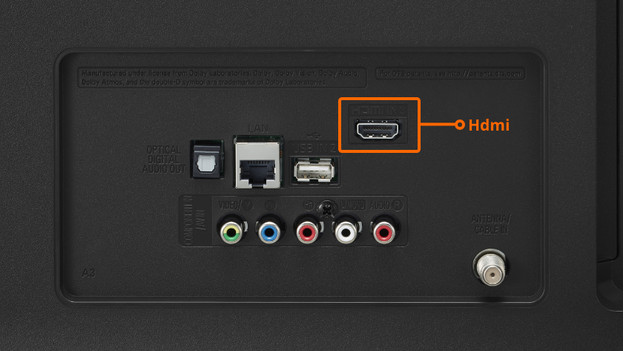
You can now connect the receiver to the TV with the HDMI cable. You can find the HDMI input on the receiver below the text 'HDMI'. Plug one end of the cable into this input. The other end of the cable goes into one of the HDMI inputs of your television.
Do you have an older TV without an HDMI connector? You can also connect the TV box with a SCART cable. It's not included by Telenet, so you have to buy it separately.
Step 4: connect an Ethernet cable to the receiver (optional)
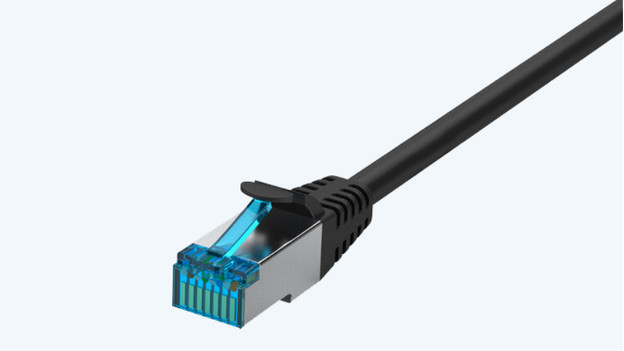
Connect an Ethernet cable to the receiver if you want to connect the Telenet TV box or Digicorded to the internet wired. Prefer to connect the receiver wirelessly? You can do this via the TV after the setup. You'll have to sacrifice speed and quality of the internet functions of the Telenet TV receiver if you do this.
Step 5: connect the receiver to a power source
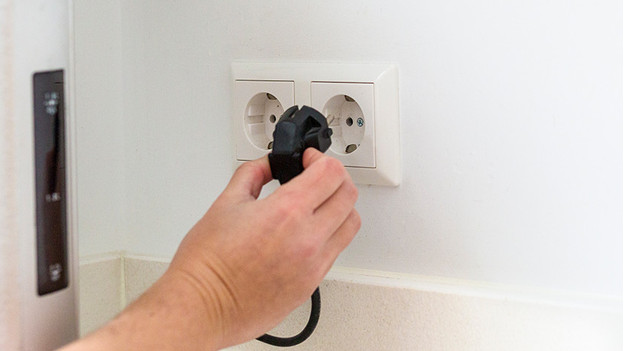
Use the included power cord to connect the receiver to a power source. You can usually find the connector for the power grid on the right side on the back of the receiver. This is labeled 'Power' and has a round shape. You can now plug the connector into the socket.
Step 6: select the right source on your TV
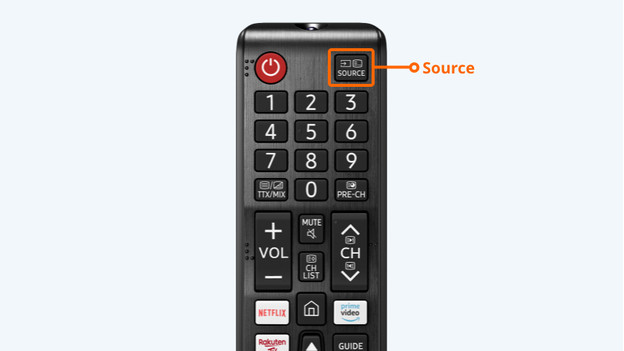
Turn on the receiver and the television. Select the right source with the remote of your TV. You can do this via the 'Source' button. This one often has the icon of a screen with an arrow pointed to the right, and it's often labeled 'Source' or 'Input'. You can now choose the right HDMI connector of your TV. Check which HDMI connector of your TV you can connect the cable to. You can find the number of the HDMI input next to it on your TV.
Step 7: check if you're receiving channels
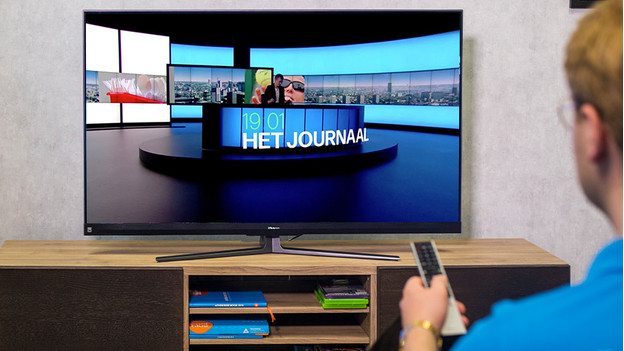
If you select the right source, you'll probably see a channel right away. You can now check if you're receiving all the other channels that are part of your subscription. Can you zap though the channels and do you see them all? Good! Now, sit back and watch TV. Do you see a black screen, are you missing channels, or is the image quality low? Click below for some tips to help you solve the problem.
Is your Telenet TV box still not working
Did you go through all of these steps, but is it still not working? Contact Telenet. They'll help you continue the setup and will give you advice.


