How do you set up a TP-link Tapo IP camera?
Step 1: download the app

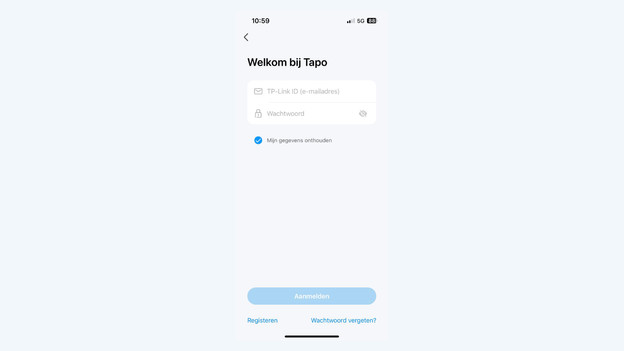
First, you have to install the TP-Link Tapo app on your smartphone or tablet. You can find this app in the App Store or Google Play Store. After you've installed the app, create a TP-Link ID. You need to enter an email address for this. You'll then receive an activation link via email. After that, you can log in via the app to connect your camera.
Step 3: turn on the camera

Plug the adapter of the camera into a socket in the room where you want to mount it. Make sure there's a stable WiFi signal in this room, so the camera has a good connection with the network.
Step 3: add your camera in the app

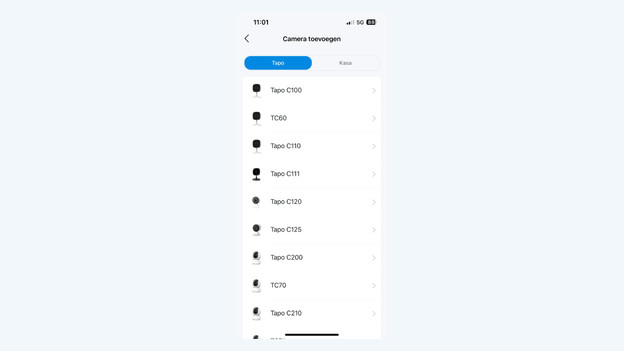
In the app, you tap the camera icon. After, you select 'Add a device'. The app will ask you to plug your camera into a socket. Tap 'Next' once you've done this. Wait for the light on the camera to start blinking orange and green intermittently.
Step 4: connect to the camera

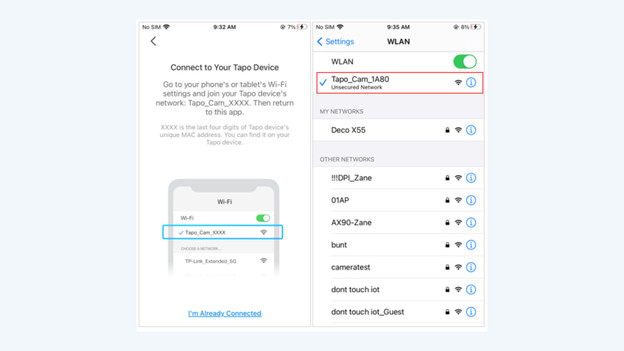
To connect to the camera, you go to the settings of your phone or tablet. Tap 'WiFi' and select the camera from the available networks. it'll be listed under the name ‘Tapo_Cam_XXX’. Once you've connected, you return to the Tapa app.
Step 5: connect the camera to your home network

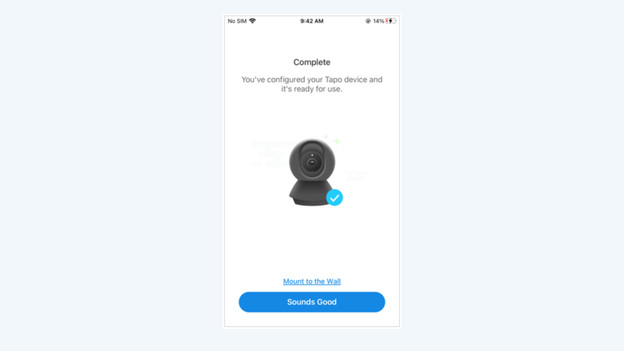
Back in the app, you select the WiFi network to connect to the camera and you enter the password. The camera now connects to your router. This can take a while. Is it successfully connected? Give the camera a name, like 'nursery'. Finally, you can choose if you want to receive motion detection notifications.


