How do you set up G-Sync on your monitor?
Set up G-Sync in 2 steps

Do you have an NVIDIA video card and a G-Sync (compatible) monitor? G-Sync will adjust the refresh rate of your monitor to the number of frames produces by your video card. That way, you'll never experience screen tearing. You can set this up the following way:
Step 1. Install and update NVIDIA drivers
Step 2. Set up G-Sync
Step 1: install and update the drivers

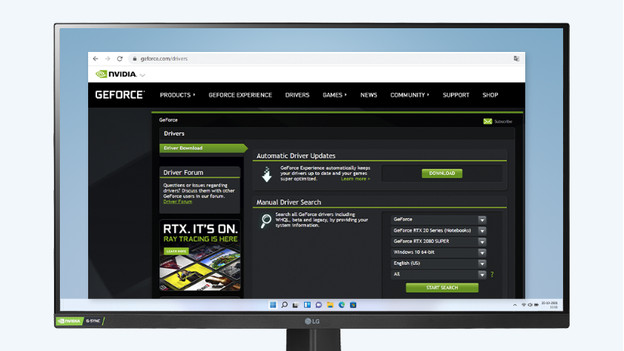
- Install and update the NVIDIA drivers via the link at the bottom of this paragraph.
- Go to your desktop, right-click, and choose NVIDIA Control Panel.
- Select 'Set up G-Sync' in the menu on the left (Set up G-Sync).
- Check 'G-Sync', 'Turn on G-Sync Compatible'.
- Choose if you want to only display G-Sync 'full screen', or also in 'screen in screen'.
Step 2: set up G-Sync

Select your monitor with G-Sync and check 'Settings' for the selected screen. Via 'Image', select the option 'G-Sync Indicator' if you want to check whether G-Sync works in-game. Click 'Apply' and close the Control Panel. Your games will now be smooth and without screen tearing or stutters.
No G-Sync? Set up V-Sync

Just like G-Sync, V-Sync ensures the refresh rate of your monitor matches the fps of your video card. The difference is that V-Sync isn't developed by the manufacturer of the video card. As a result, there's a delay of a few milliseconds in image transmission.
- Go to your desktop, right-click, and choose 'NVIDIA Control Panel'.
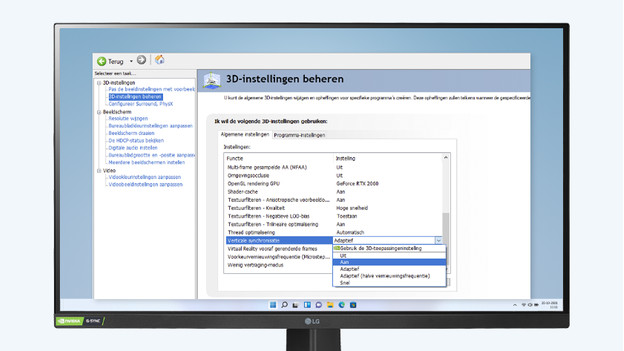
- Navigate to 'Adjust 3D-settings'.
- Search for the option 'Vertical Synchronization (V-Sync)', and turn it on.
- Click 'Apply' and close the Control Panel.
- Games will now be smooth and won't display screen tearing or stutters.


