How do you install the BlueBuilt stacking kit?
Install the BlueBuilt stacking kit in 5 steps
You can install your BlueBuilt stacking kit easily with the following steps:
- Step 1. Level the washing machine
- Step 2. Stock the anti-slip parts and place the stacking kit
- Step 3. Attach the belt
- Step 4. Place the dryer
- Step 5. Tighten the belt
Step 1: level the washing machine
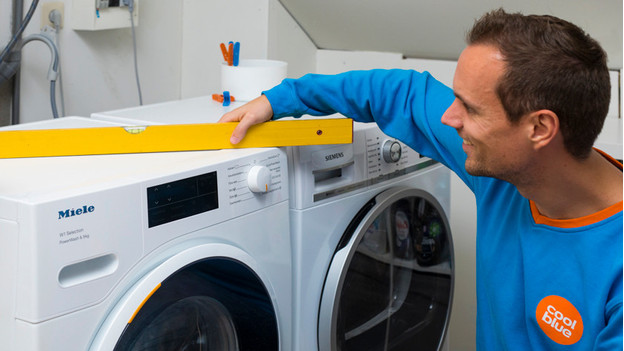
First, make sure the washing machine stands firmly on the ground. This way, you make sure the dryer won't wobble. Take a spirit level and put it on the washing machine. Is the bubble of the spirit level not in the middle? Adjust the stands of the washing machine until the machine is level.
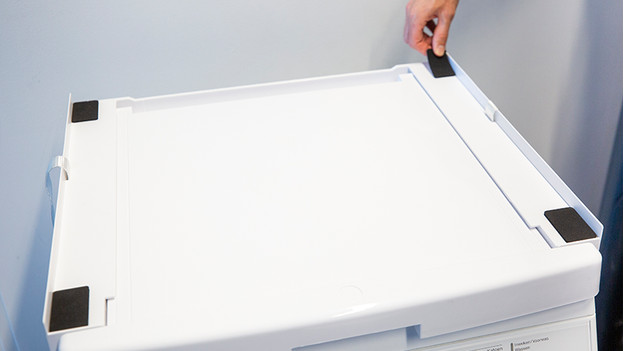
Step 2: stick the anti-slip parts and place the stacking kit
-
Stick onto the outer edge of a Samsung appliance
-
Place the plastic strips
-
Stick on the anti-slip parts
-
Stick onto the outer edge of a Samsung appliance
-
Place the plastic strips
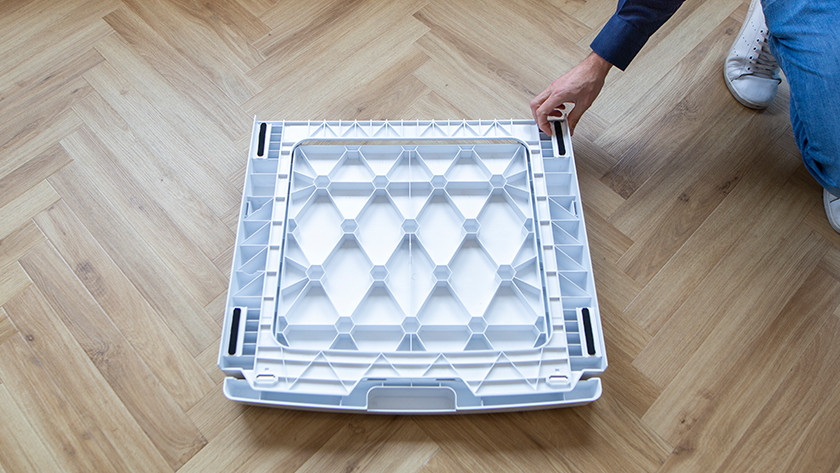

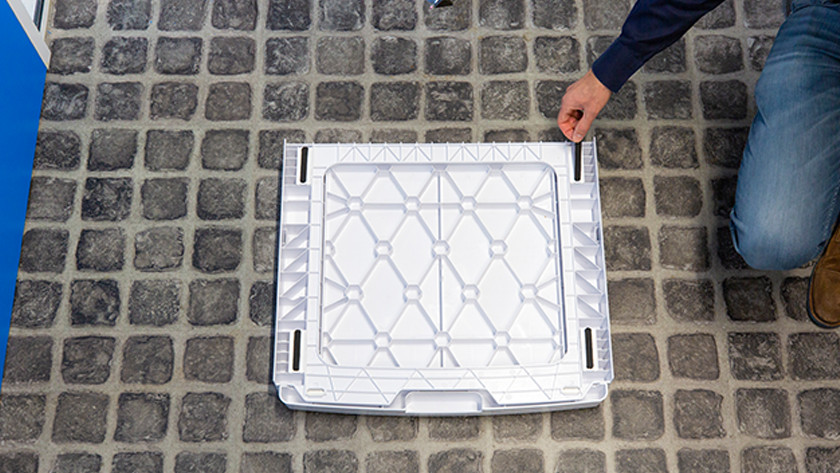
Now that your washing machine stands firmly in place, start with the stacking kit. Turn the stacking kit over and place the white plastic strips in every corner. Second, stick the anti-slip parts onto them. Do you have a Premium BlueBuilt stacking kit? You don't have plastic strips and you only have to stick the anti-slip parts onto the corners. Do you have a Samsung washing machine? Place the strips and anti-slip parts completely against the outer edge of the stacking kit. When you're done, put the stacking kit on the washing machine.
Step 3: attach the belt
-
Put the belt through the washing machine
-
Put the belt through the slit in the stacking kit
-
Put the belt through the washing machine
-
Put the belt through the slit in the stacking kit
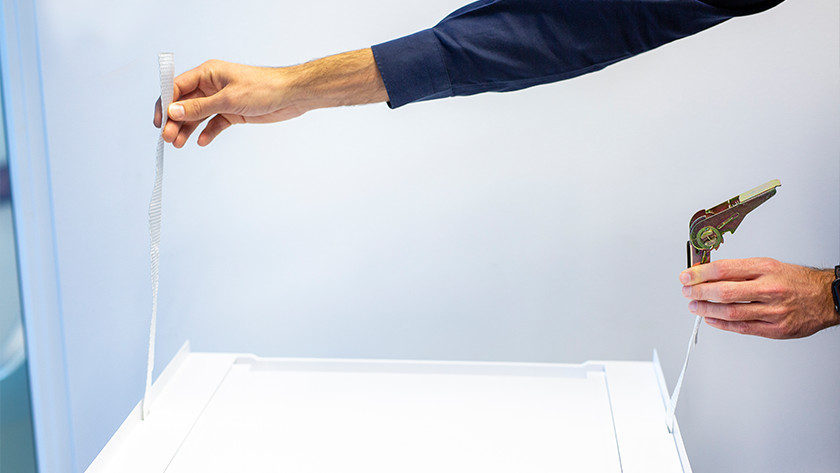
Roll our the belt and make sure the handle of the strap tensioner points outwards. Put the bottom of the belt through the slit on the right of the stacking kit. Do this from top to bottom. Run the belt underneath the washing machine and make sure it's in the middle of the washing machine. Now, run the belt through the slit on the lift of the stacking kit from bottom to top. Let it dangle and go to the next step.
Step 4: place the dryer
When the stand of your dryer are in all the outer corners, place the dryer on the stacking kit. Isn't that the case? Unscrew the stand from the dryer. Place the anti-slip parts in the corners of the stacking kit. You can now safely place the dryer on the stacking kit, with the corners on the anti-slip parts.
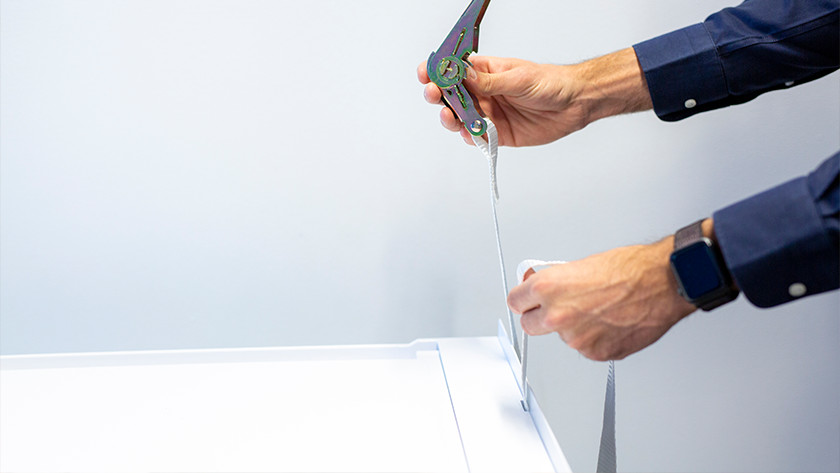
Step 5: tighten the belt
-
Place the protective cover
-
Put the belt through the middle slit
-
Tighten the belt with the belt tensioner
-
Place the protective cover
-
Put the belt through the middle slit
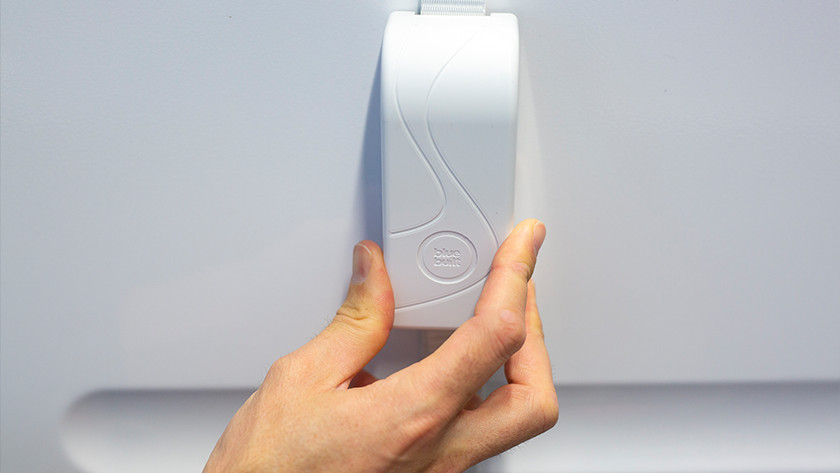

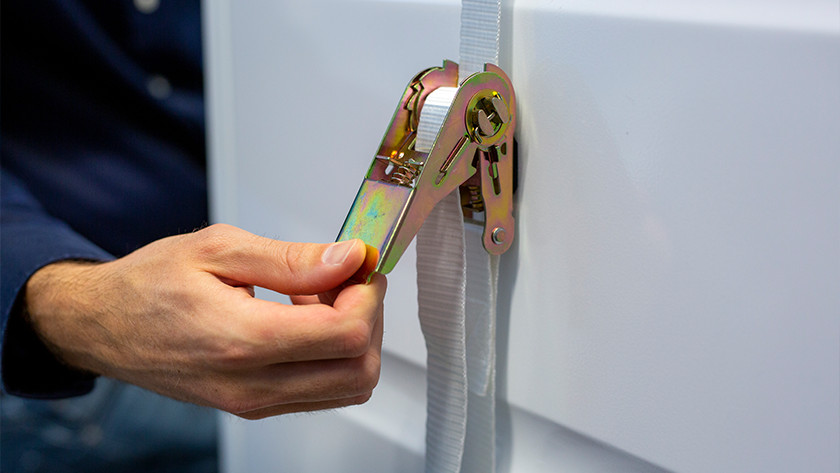
When your dryer is on your washing machine, tighten the belt around the top of the dryer. Decide if you want to tighten the belt on the top or the side of the dryer. Open the belt tensioner, run the belt through the middle slit and pull it through all the way. Keep pulling until the belt is tightened. Move the handle up or down to tighten the belt more. When the belt is completely tightened, place the plastic cover over the belt tensioner and you're done with the installation.