
How do you install the adjustable BlueBuilt speaker stand?
Install the speaker stand in 6 steps
You can install your new adjustable BlueBuilt speaker stand via the following steps. This'll only take you 15 minutes.
Step 1: collect tools and parts
Step 2: screw the feet in place
Step 3: attach the pole
Step 4: adjust the pole
** Step 5**: attach the speaker mount
Step 6: place the speaker onto the stand
Step 1: collect tools and parts
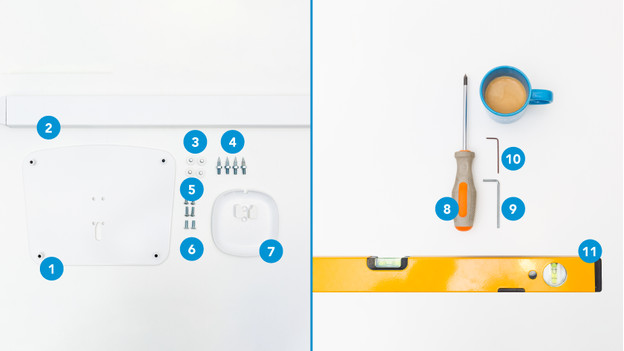
In the box:
- Base plate (1)
- Pole (2)
- Feet (3)
- Spikes (4)
- Bolts (5) (6)
- Speaker mount (7)
- Large hex key (9)
- Small hex key (10)
Things you need to have yourself:
- Phillips screwdriver (8)
- Spirit level (11)
Step 2: screw the feet into place
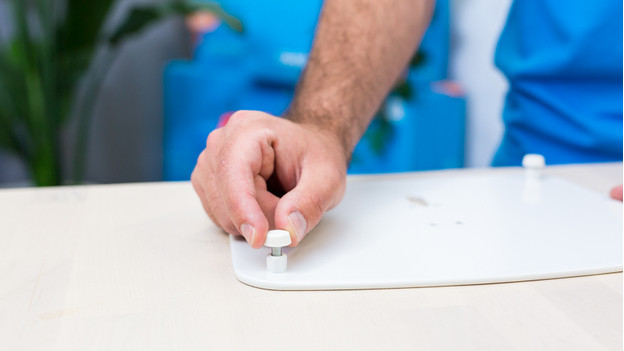
Put the base plate (1) on the ground upside down and screw the feet in place in the 4 corners. Do you want to place the speaker stand on carpet? Use the spikes (4) instead of the feet.
Step 3: attach the pole
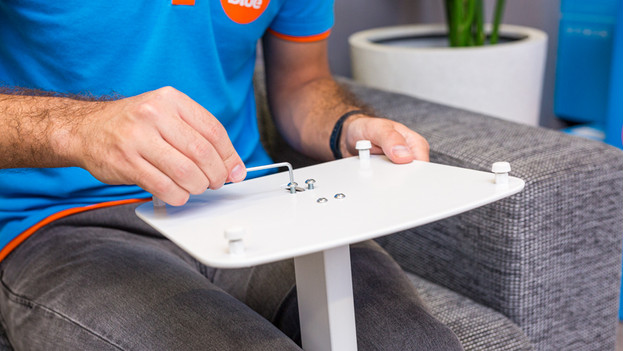
Put the pole (2) on top of the base plate (1) and secure it with the bolts (5) and the included large hex key (9). Make sure the smooth side of the pole (2) faces forward.
Step 4: adjust the pole
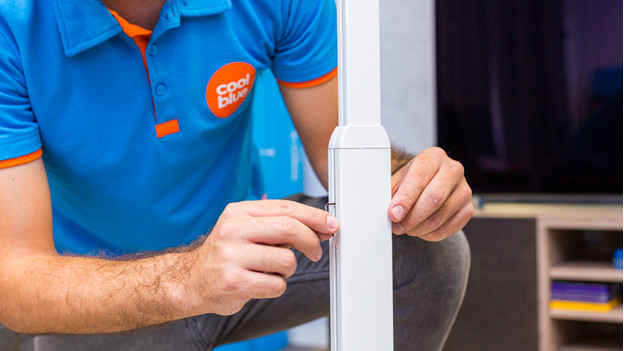
The pole (2) already has 2 small bolts. Unscrew them with the small, included hex key (10) and adjust it to your desired height. There's also a small bolt at the bottom of the pole. You won't need it, so you can throw it away.
Step 5: attach the speaker mount
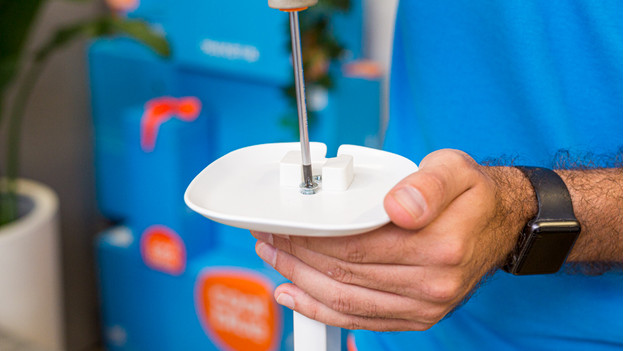
You attach the speaker mount (7) to the pole (2) with the bolts (6). Use the Phillips screwdriver (8) to tighten them. Keep in mind that the cutout of the mount is facing backwards, so you can use it for the cable of the speaker.
Step 6: place the speaker
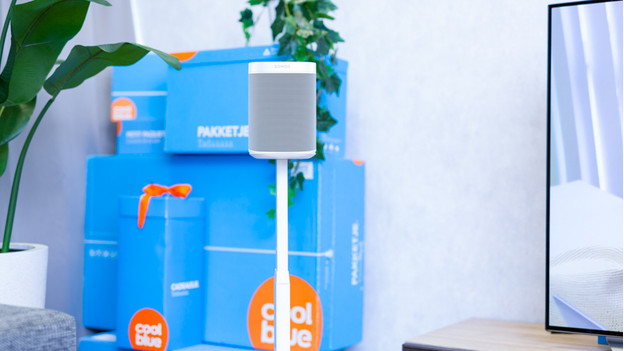
Put the speaker in the desired place and place it on the stand. Pull the cable through the cutout and hide it neatly. Done. Grab a cup of coffee (or any drink of choice), start your favorite movie or music, and enjoy the sound of your Sonos speaker.


