How do you connect your Meta Quest VR headset to a PC or laptop?
Connect your Meta Quest VR headset
You can connect your Meta Quest VR headset to your pc or laptop in various ways, like with a USB-C cable or wirelessly via Quest Link or Virtual Desktop. Keep in mind that you need a PC or laptop with at least the specifications below:
- Processor: Intel i5-4590/AMD Ryzen 5 1500X or higher
- Video card: GTX 1650, AMD 400 series or higher
- Memory: 8GB RAM or more
- Operating system: Windows 10
- USB ports: 1 USB port
For both ways, it's important that your PC or laptop is connected directly with an Ethernet cable. You Meta Quest VR headset also has to be connected to at least a 5GHz WiFi band. You only get this connection if you adjust the settings of your router. You also need the Meta Quest App on your PC or laptop.
Connect via cable
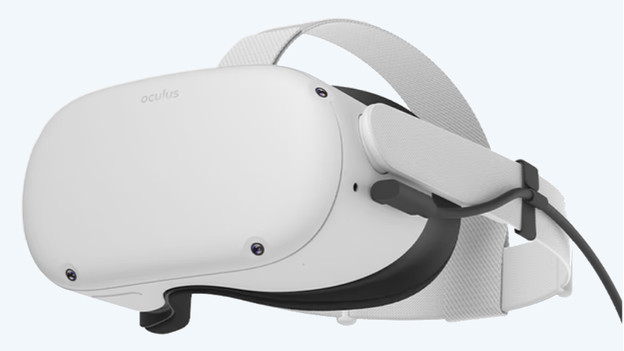
You can connect your Meta Quest VR headset to your PC or laptop wirelessly or via USB-C cable.
- Download the Meta Quest app on your PC or laptop and open the software after the installation.
- Connect the USB-C cable to your Meta Quest VR headset. Make sure the cable doesn't get stuck between the headband.
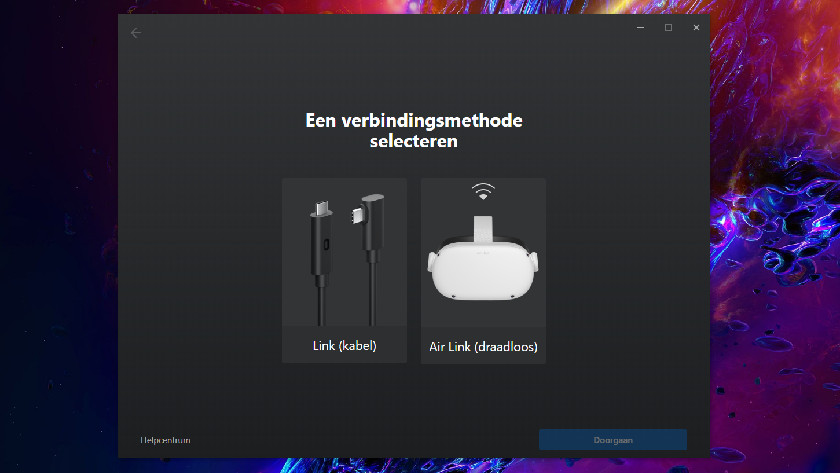
- Connect the other end to your PC or laptop and click 'Continue'.
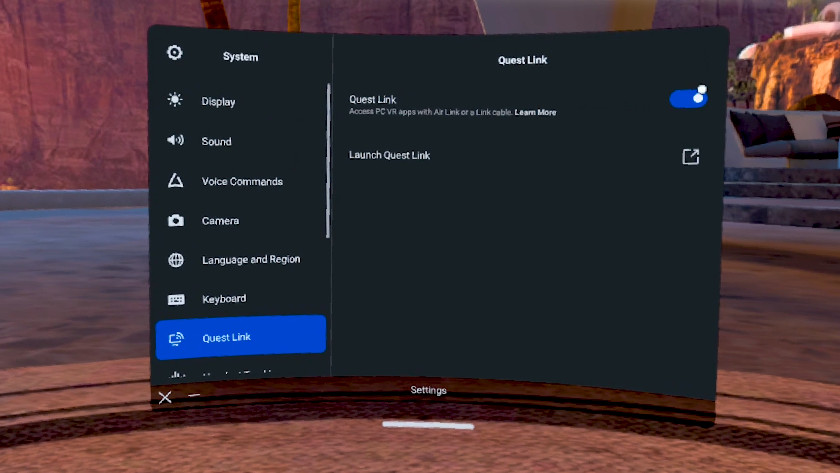
- Turn on your Meta Quest VR headset and go to your system settings via the menu. Scroll down and choose Quest Link.
- Go back to your home screen and open the settings via your fast menu at the bottom. Select 'Quest Link' and click the switch.
Connect wirelessly via Quest Link
-
Activate 'Quest Link' via your system settings
-
Turn on Air Link via your 'Fast settings'
-
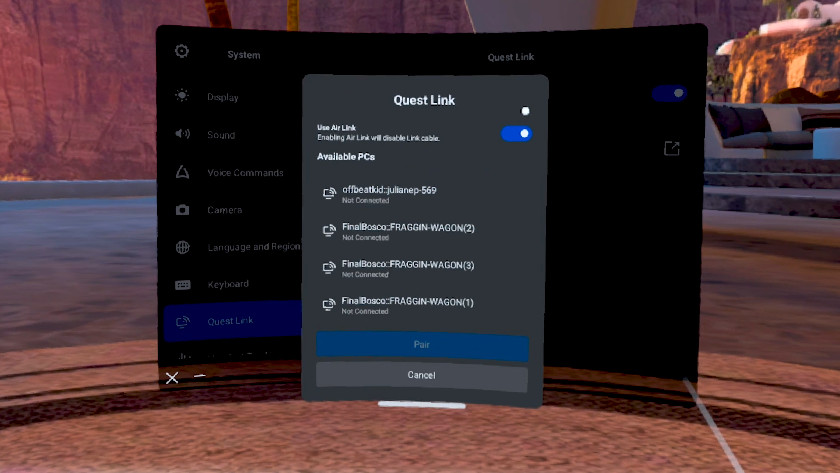
Select your PC or laptop from the list
- Download the Meta Quest app on your PC or laptop and open the software after installation. Next, click 'Air Link'.
- Turn on your Meta Quest VR headset, put it on, and go to the settings on the Meta Quest VR headset.
- Choose 'System' and scroll down to 'Quest Link'. Click on it and turn on 'Quest Link'. You now see Quest Link in your 'Fast settings'.
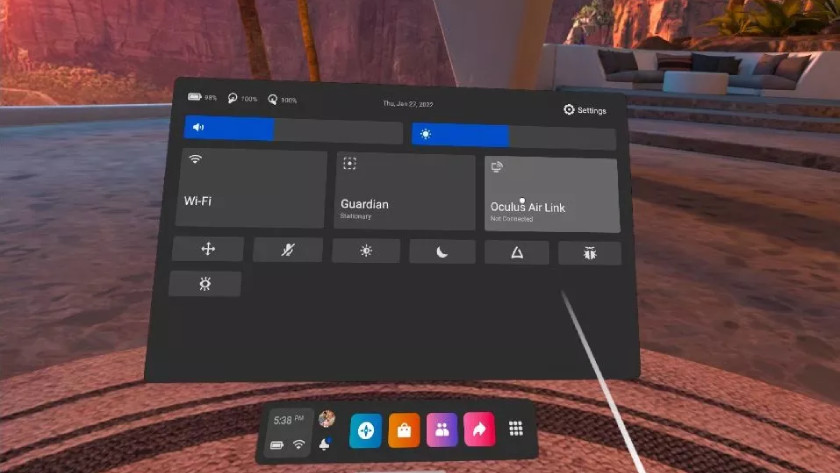
- Go back to your home screen and open the settings via your fast menu at the bottom.
- Choose 'Quest Link', enable 'Air Link' and select your PC from the list. If you can't find your PC, restart the Meta Quest app on your PC or laptop.
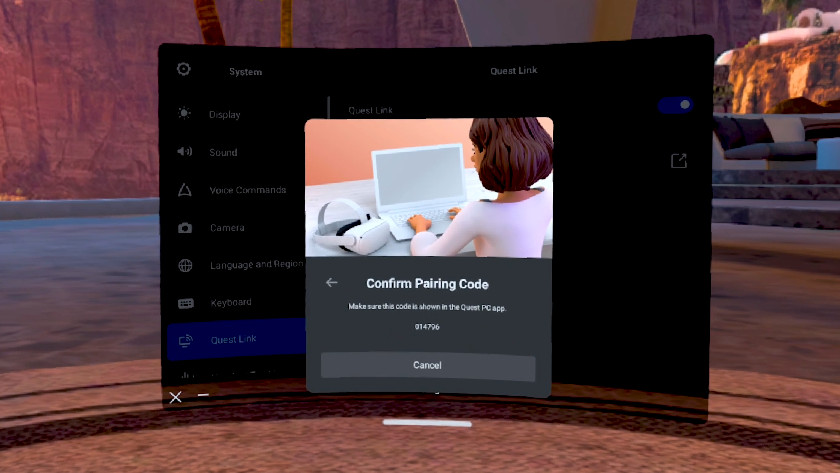
- Select your PC or laptop and check if the pair code matches the code you see on your PC.
- Click 'Confirm' on your PC or laptop and then 'Launch' on your Meta Quest VR headset.
Connect wirelessly via Virtual Desktop
-
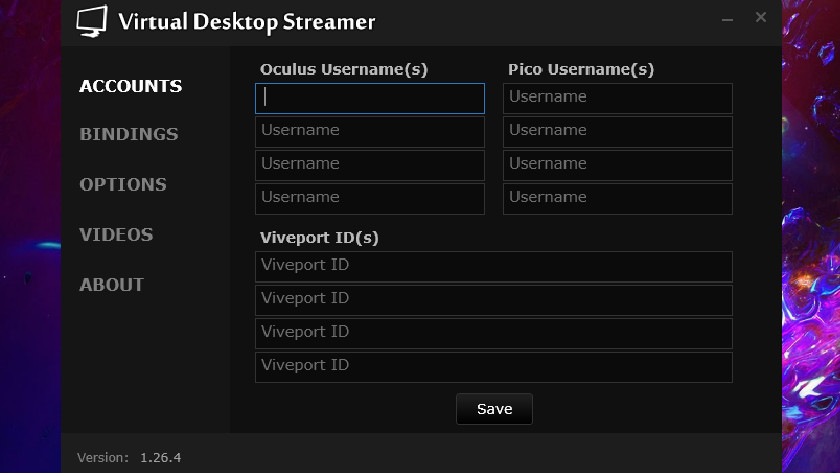
Give your VR headset a username
Virtual Desktop isn't free, but it does provide the best wireless connection quality. You can choose from various bitrates and resolutions, so you'll always see the best result on your VR headset. You can also use this software with other VR headsets.
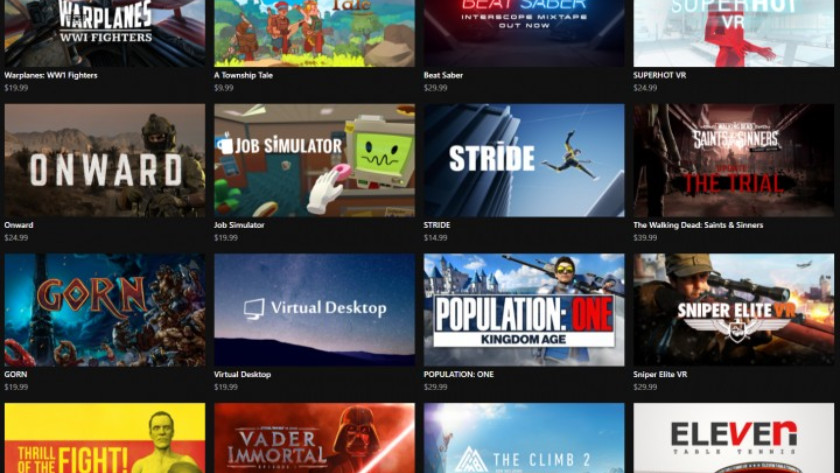
- Buy the 'Virtual Desktop' software via the Meta Store and install it on your Meta Quest VR headset.
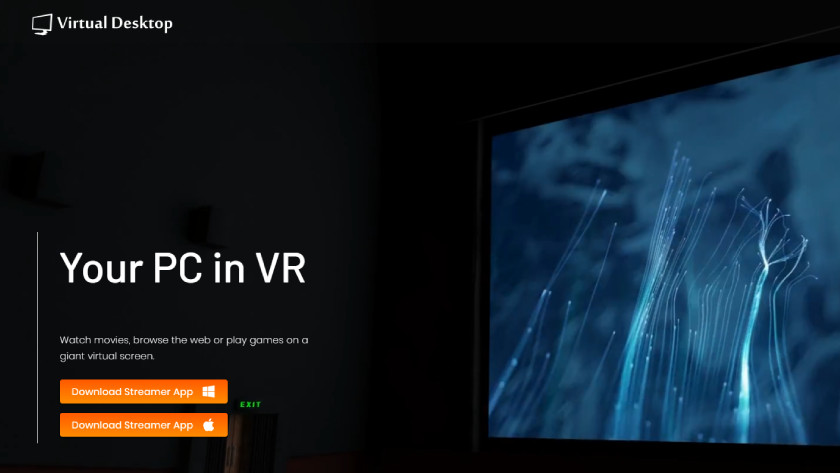
- Install the 'Virtual Desktop Streamer' app on your PC or laptop.
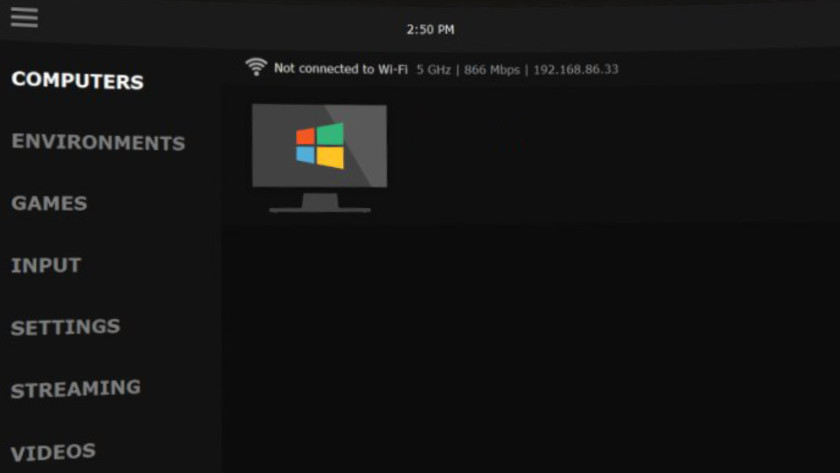
- Open the Streamer app on your PC and choose a username for your VR headset.
- Turn your Meta Quest VR headset on and put it on.
- Open 'Virtual Desktop' on your Meta Quest VR headset and connect to the name of your PC or laptop.
You can now adjust settings so you have the best virtual experience when you game.


