How do you use the Guide Mode on your Nikon SLR camera?
Step 1: set the dial to GUIDE
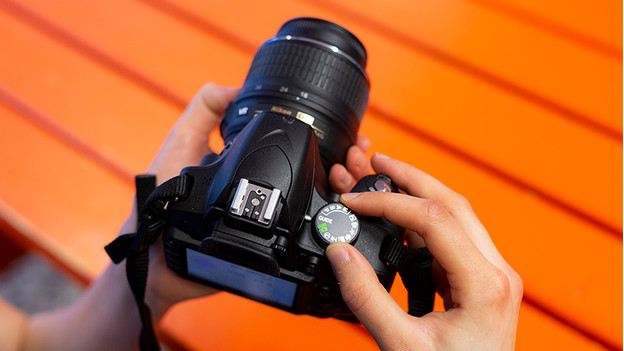
There's a dial at the top of your Nikon SLR camera. It has different settings for photographing. The Guide Mode is indicated as GUIDE. Rotate the dial and make sure the white stripe points at GUIDE. The camera will now probably ask you to extend the lens. You do this by turning the zoom ring while you press the button on the lens. The menu of the Guide Mode will now appear.
Step 2: choose a scene for your photo
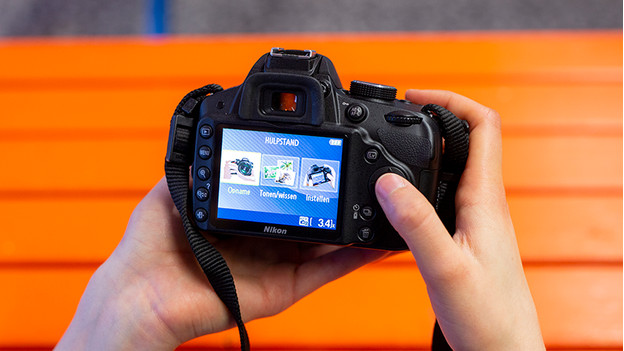
To take a photo, select 'Shoot' in the menu. You can then choose from simple and advanced controls. If you want comfort, choose the first option. Select the scene you want to capture. For example, a close-up or landscape. Once you've selected it, you can click 'Use the viewfinder' if you don't want to watch the subject via the screen. If you do want that, choose 'Use live view'.
Step 3: take a photo and view it
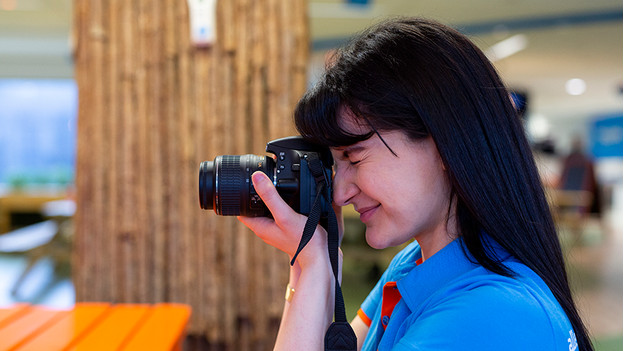
After you've selected the right scene and other preference settings, you can take the photo. You do this by pushing the shutter release button. Next, you go back to the Guide Mode by clicking the menu button. In the menu, choose 'View/delete'. You now get the option to view a single photo, multiple photos, or a slide show. If you want to view all the photos you took in 1 day, select 'Use a date'.
Step 4: retouch the photo
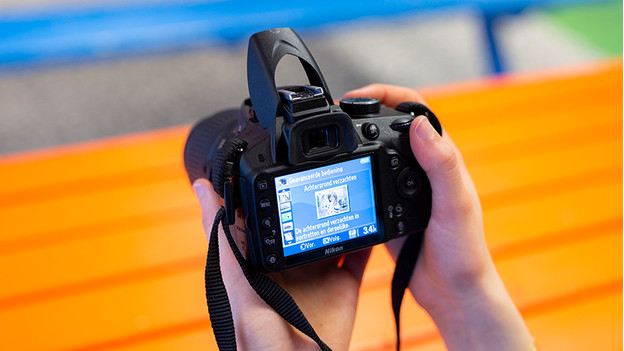
In the menu, you can find the editing options under 'Retouch'. When you click this option, you go to a selection menu. You can scroll through all your options with the navigation button. For example, you can choose to trim the photo or choose a selective color. If you've taken a night photo, you can choose 'Filter effects'. With this option, you can add star-shaped spots of light to light sources in the photo.
Step 5: adjust extra camera settings
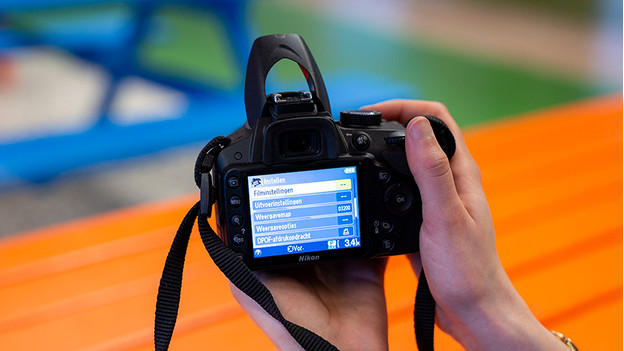
The Guide Mode also allows you to adjust extra settings via 'Setup'. Maybe you'd like to take photos in RAW for more freedom during editing. In that case, you can select 'NEF (RAW)' under 'Image quality'. In this menu, you can also choose the image size of your video. If you want to record a time lapse video, select '1920x1080; 60p'. Do you want to share your footage directly with your friends? Choose 'Connect to smart device' in this menu.