
How do you update a Chromebook?
Step-by-step approach

In this article, we'll explain how to update a Chromebook manually in 5 steps. We'll go through the following steps:
1: connect to the internet 2: go to settings 3: click 'About ChromeOS' 4: check for updates 5: restart your Chromebook
Step 1: connect to the internet
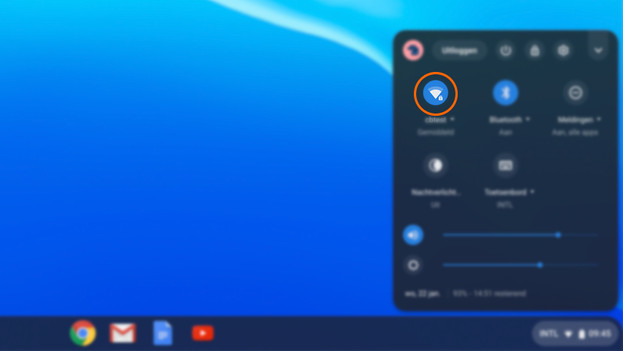
You need an internet connection to download the updates on your Chromebook. You connect the device to the internet vis WiFi or an Ethernet network cable. Click the WiFi icon at the bottom right in the menu to check whether it's connected to the internet.
Step 2: go to settings
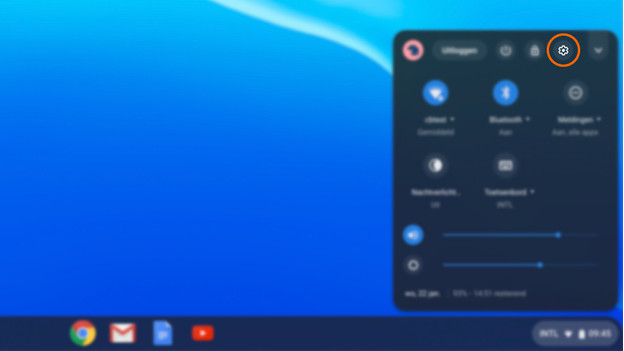
After you've connected it to the internet, click the time at the bottom right. This opens a new menu. At the top right of this menu, you'll see a gearwheel icon. This icon represents settings. Click the icon to go to the settings menu.
Step 3: about ChromeOS
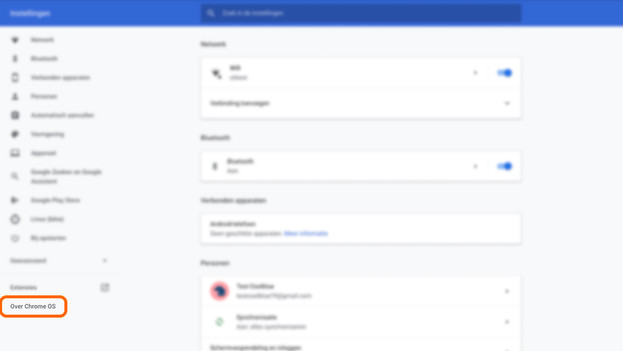
In the new settings window that opens, click 'About ChromeOS' at the bottom left. This opens an overview in the same window. Under 'Google ChromeOS' with the Chrome logo next to it, you can see which operating system version your Chromebook is using.
Step 4: check for updates
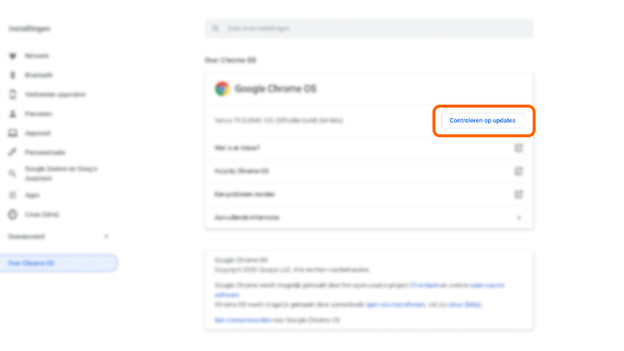
Next to the version number, there's a button with 'Check for updates' in blue letters. Click it to start checking for updates. If your Chromebook finds a software update, it'll be downloaded automatically. Is there no update available? You'll see the message 'Your Chromebook is up to date'.
Step 5: restart your Chromebook
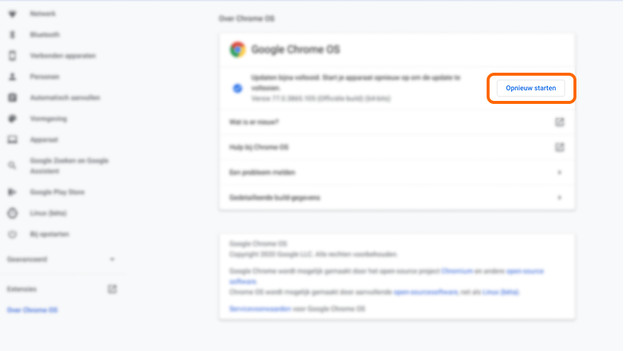
After the update have been downloaded, you'll be asked to restart your Chromebook. Click the blue letters 'Restart to update' next to the message 'Update almost complete'. Your Chromebook will now restart and download the updates. When you log in, you get the option to go through a tour that explains the new functions.


