How do you set up an Ezviz IP camera?
Set up your Ezviz IP camera
In this article, we'll help you set up your Ezviz IP camera with the following steps. The setup can differ slightly per product. Can't make it work? Watch the videos at the bottom of the article for an extra explanation.
- Connect the Ezviz camera.
- Create an account.
- Add the camera.
- Set the WiFi.
- Configure the camera.
- Save your footage.
Step 1: the preparation
Connect your Ezviz camera to the power grid. Place the IP camera somewhere with enough WiFi reception. You can test this by playing a video on your phone. If the video doesn't need to buffer, your reception is good. While you're booting the camera, you can install the Ezviz app. You'll find it in the app store on your phone. That way, you can get started right away.
Step 2: create an account
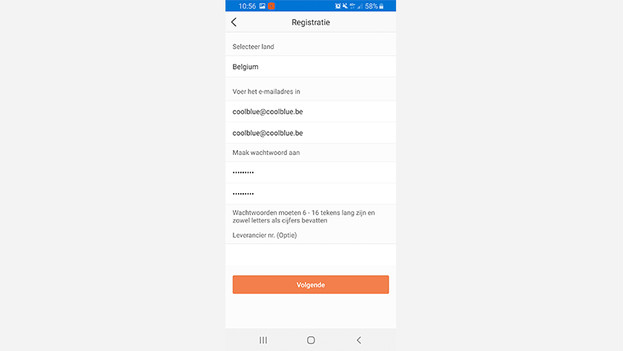
When you open the Ezviz app for the first time, you need to log in. Create a new account by tapping 'User registration'. Fill in your email address and your chosen password. Tap on 'Next' and request a verification code. You confirm your account with this. Ezviz will send you a 4-digit code via email. Enter this code and tap 'Next'. You're now logged in.
Step 3: add the camera

The app now shows you a white screen with a large plus sign. Tap this icon to add a camera. Then, scan the QR code at the bottom of the camera. The app will recognize the camera. Now, tap 'Next' to set it up. In the next screen, tap 'The device is starting up and works the first time'. This is how you can set up a new camera.
Step 4: connect to the WiFi
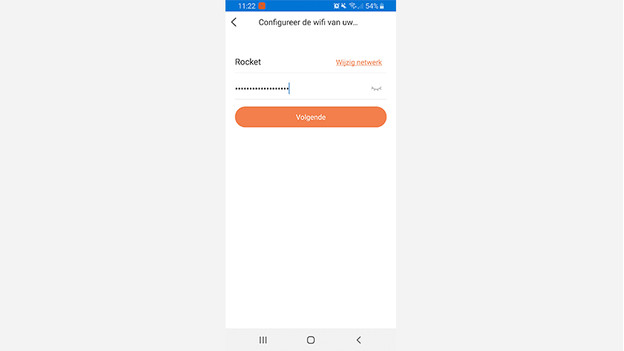
Now it's time to connect your Ezviz security camera to the WiFi. Make sure your phone is connected to the network you want to use for your camera. Enter the password to the network and press 'Next'. The camera will now be set up. This can take several minutes. Afterwards, the app shows you the first live feed from your camera.
Step 5: configure the camera
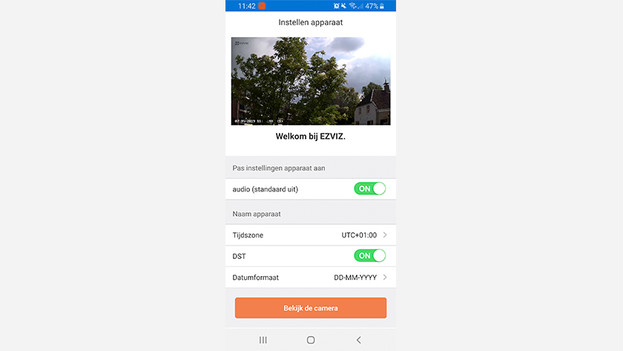
In this screen, you can adjust the basic settings of the camera. Choose a time zone and a name for your camera, for example. Press 'View device' to watch the live feed. By pressing the gear wheel icon in the top left corner, you can set up your other options. You can turn night vision on and off, for example. And you can choose when you want to receive a notification. You can set this up this under 'Alarm notifications'.
Step 6: save footage

Do you want to watch the footage of your Ezviz camera? Place a microSD card in the camera. This way, the camera will save all of the footage. You can watch it from all over the world. You install the card by selecting settings in the camera screen. Tap the gearwheel icon in the top right corner. Next, tap 'Storage status' and select 'Memory card'. Finally, tap 'Initialize' to make it suitable for the camera.
Watch the setup video for the Ezviz C3N
Watch the video about the Ezviz C3N for an extra explanation of the setup of this IP camera.
Watch the setup video for the Ezviz C6N
Watch the video about the Ezviz C6N for an extra explanation about the setup of this specific IP camera.