
How do you manually set up your camera?
Step 1: find the right setting
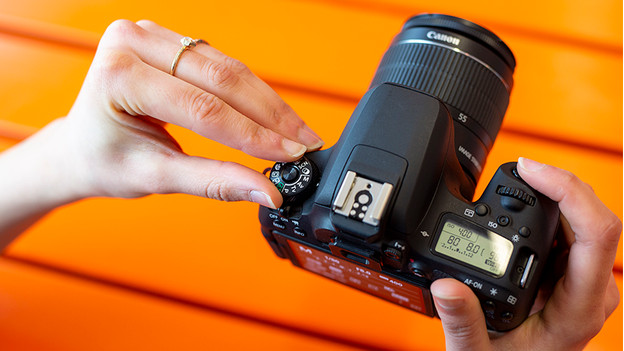
Turn on your SLR or mirrorless camera camera and turn the top of the camera towards you. There's a round dial with various settings on the top of the camera. Turn the dial to the 'M' setting. The M stands for manual module.
Step 2: determine the right aperture
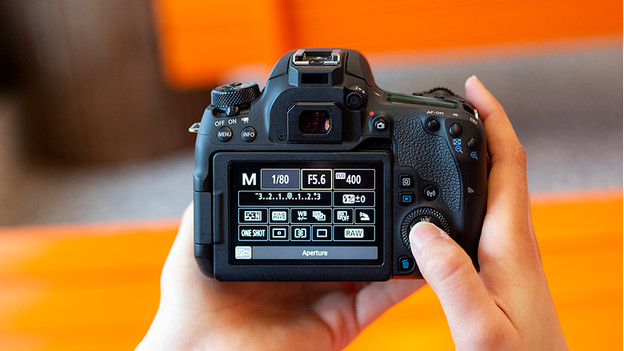
To determine the right aperture, look at the subject you're going to photograph. Are you taking a portrait photo? Choose a large aperture, indicated with a low aperture number. Are you taking a landscape photo? Choose a small aperture, indicated with a high aperture number. If you look through the viewfinder, you'll recognize the aperture values by the 'f' in front of them.
Step 3: turn the dial
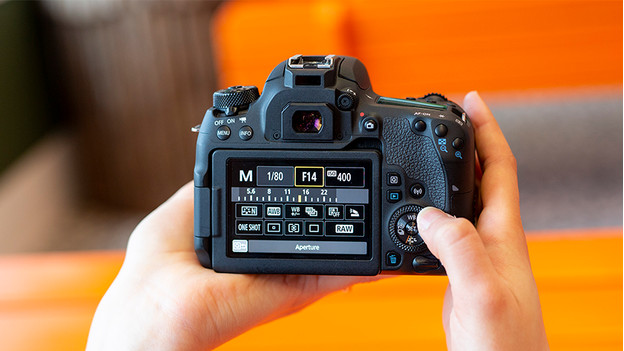
Once you've determined the right aperture number, rotate the wheel on the camera. With Canon cameras, you can often find this wheel on the front. With Nikon cameras, it's usually on the back. Turn the wheel to the left for a large aperture and to the right for a small aperture. Make sure you've selected the right aperture via the screen or viewfinder.
Step 4: determine the shutter speed
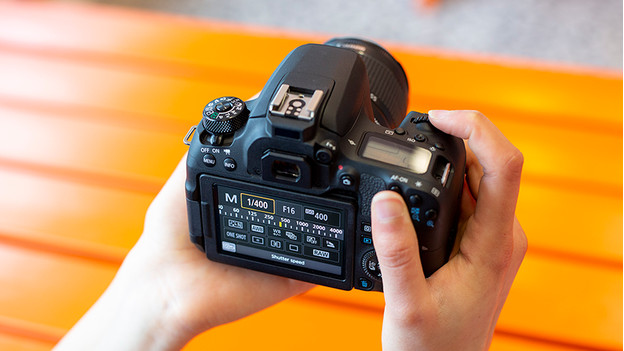
Most cameras have 30 to 1/4000-second shutter speeds. The less time you leave the shutter open, the more stiller the objects are captured. This freezes the movement of your subject. If you want to capture the motion, use a longer shutter speed. Turn the wheel next to the control button to set the shutter speed. You can see the shutter speed changing on the display and via the viewfinder of your camera.
Step 5: set the ISO value
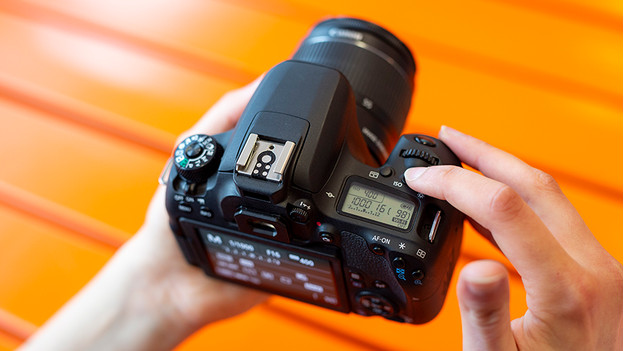
If you look through the viewfinder, you'll see a light meter at the bottom that indicates the ISO value. You can adjust the value with the ISO settings button. On Canon cameras, the ISO button is often on top of the device. With a Nikon camera, you can use the navigation buttons to set the ISO value via the menu. You determine the ISO value based on the light condition. Note: the higher the ISO, the more static the image is.
Step 6: set the white balance
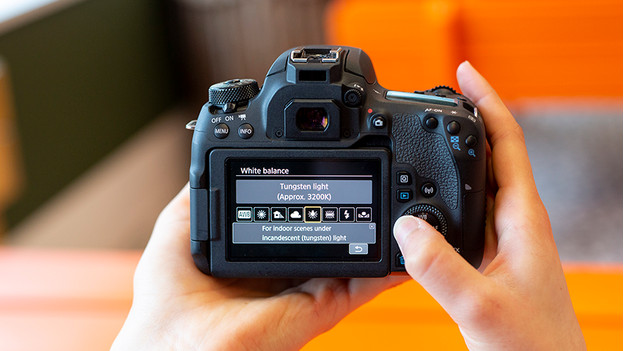
To manually set the white balance, adjust the Kelvin temperature value. The values your camera has range between 1000K with candlelight and 15,0000K with a clear blue sky. With a low Kelvin value, your camera chooses to add more blue to the photo. With a high Kelvin value, you camera adds more orange. Your display shows the different types of light that match your usage situation.
Step 7: take the photo
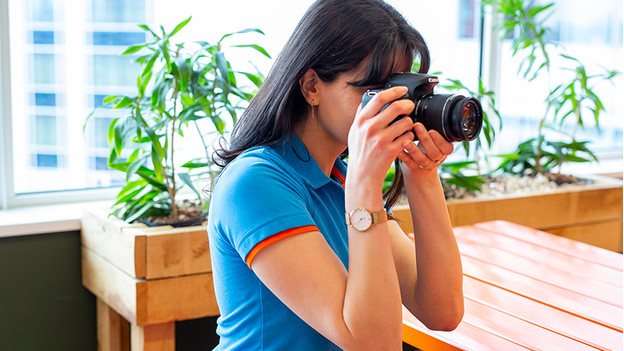
You now have complete control over your camera. Time to take a photo! Did you frame the subject and set the aperture, shutter speed, ISO, and white balance to your liking? Press the shutter release button halfway to focus the image. If your subject is clear, firmly press the button to take the photo.


