
How do you set up Imaging Edge Mobile?
Connect your camera to Imaging Edge Mobile in 4 steps
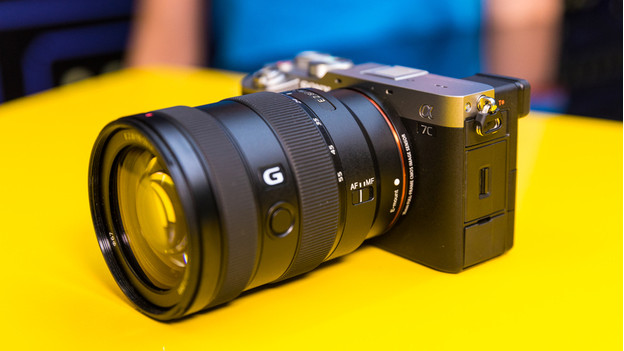
To connect your camera to the Imaging Edge Mobile app, you have to go through a couple of steps.
Step 1. Download the app
Step 2. Open the app
Step 3. Turn on WiFi
Step 4. Get started
Step 1: download the app
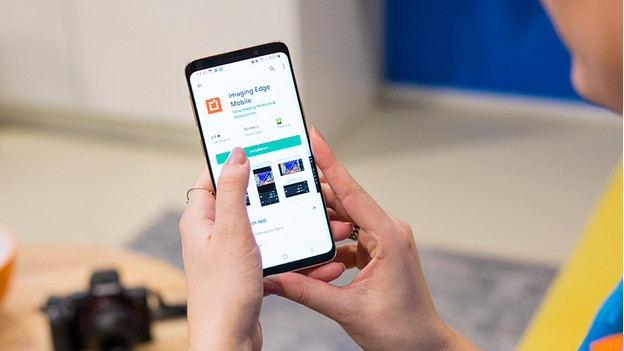
Before you can get started with the Imaging Edge Mobile app, you have to download it on your smartphone. If you have an iPhone or iPad, you go to the Apple App Store. If you have an Android smartphone or tablet, you download the app in the Google Play Store. Search for Imaging Edge Mobile and click install. The app has an orange logo with a white icon.
Step 2: open the app
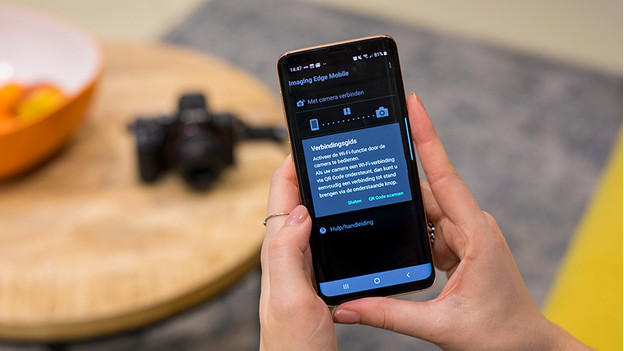
When you open the Imaging Edge Mobile app, you have to answer a couple of questions. You indicate whether photography is your occupation or a hobby and what type of photography you prefer. After, you'll find yourself in the main menu of the app. There's a button for the connection guide. This shortly explains how to connect your camera to your smartphone. You have 2 options to connect your camera, namely via WiFi or with a QR code.
Step 3: turn on WiFi on your camera
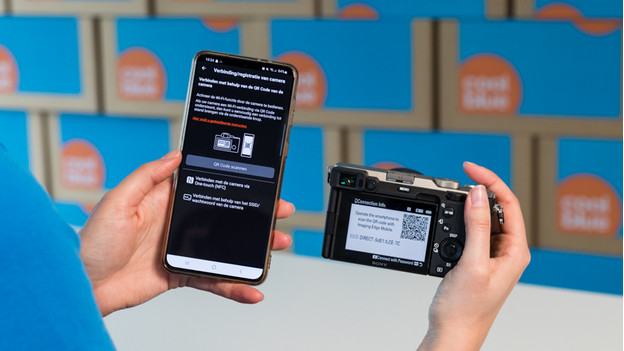
Open the menu of your camera and go to the icon with the checkered ball. Click 'Ctrl with Smartphone' and choose 'Connection'. You'll now see a QR code on the screen of your camera. Scan this code with your phone. You can do so by clicking 'Scan QR code' on your phone.
Step 4: get started with your camera
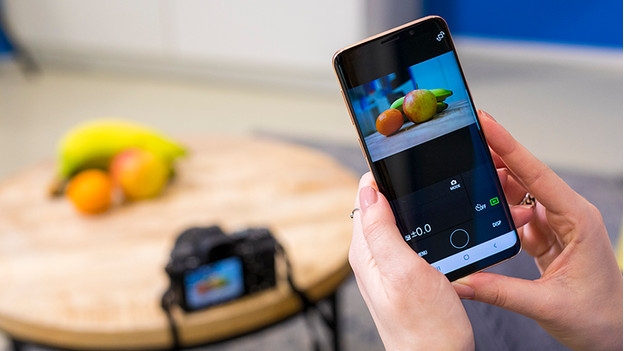
You'll now see the image from your camera on the screen of your smartphone. When you take a photo, the app saves it on your smartphone right away. You can select the storage location yourself. In addition, you can change settings, like the lighting and self timer, via your smartphone.


