
How do you set up an Epson printer?
Before you get started

The setup takes about 30 minutes. What do you need?
- An Epson printer
- The included cartridges or ink bottles
- A stack of A4 paper
- A computer
- Optional: a USB-B cable
Prepare the printer
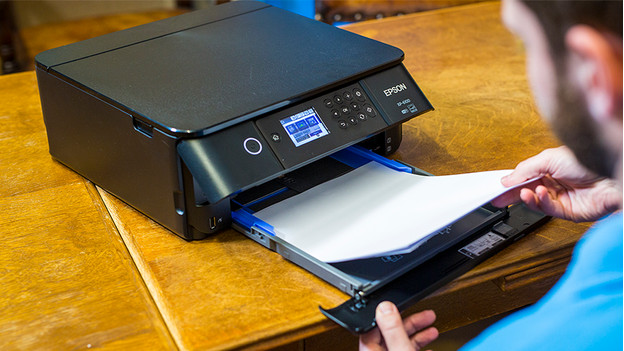
- Unpack the printer and remove all stickers and blue adhesive tape.
- Open the paper tray. In the case of the XP-6100, it's located at the bottom on the front of the printer. Load the paper tray with paper and gently push in the holders on the sides until they clamp the paper. Close the drawer.
- Connect the power cable to the back of the printer.
Step 1: select a language and country
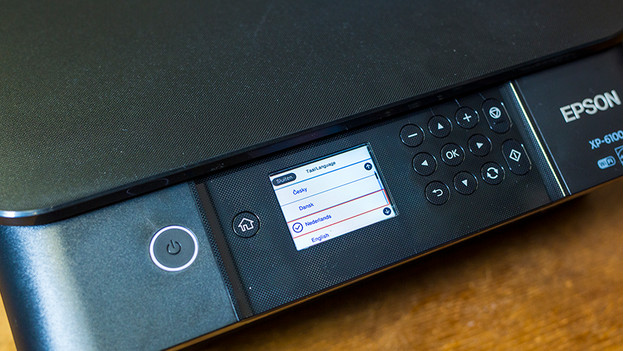
When you turn on the printer, it'll ask you which language you speak right away. Select the correct language and the printer will start processing. Next, the printer will ask you to insert the ink cartridges. In the case of the XP-6100, there are 5 cartridges. Make sure to insert the cartridges that came with the printer or the printer won't work. You should wait with opening the packaging until you're ready to install the cartridges and never shake the cartridges. EcoTank printers have an ink tank which you can refill with ink bottles. Do you have such a printer? You can skip step 2A and go to step 2B right away.
Step 2A: install the cartridges
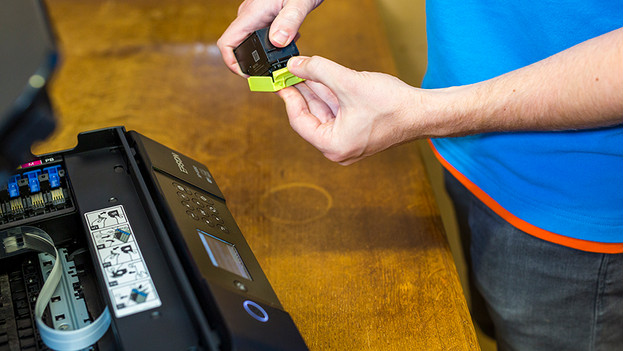
It's pretty easy to install the cartridges, but it should be done with care. First, lift the top lid of the printer. With the Epson XP-6100, it's located under the scanner unit. You lift it up with the levers on the side, after which the cartridge holder appears. Remove the cartridges from the packaging and make sure you place the right color in the right place. The color is labeled at the bottom of the cartridge. Remove the cap from the cartridge and gently push the cartridge into the holder until you hear a click. Close the lid when you have placed all the cartridges.
Note: most printers come with cartridges for setup. These cartridges contain less ink, and they're necessary for setup.
Step 2B: fill the ink tank with ink from the ink bottles
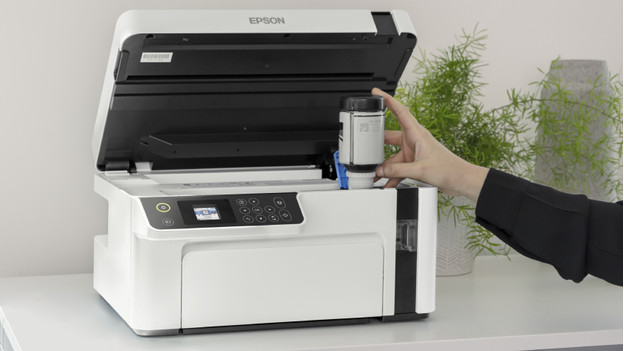
You can fill the ink tank of an EcoTank printer with the ink from bottles. Open the hatch of the ink tank and the lid of the color you want to fill. Hold the ink bottle upside down and twist the cap off the bottle. Place the bottle in the opening. The ink now flows into the tank, and it stops automatically when it's full. When you filled all the colors, close the openings with the caps and close the hatch of the ink tank.
Step 3: initialization and test print
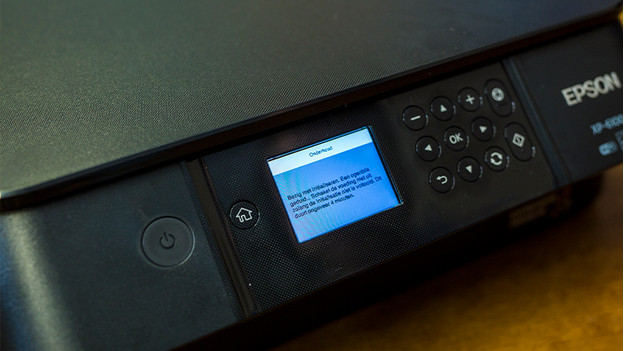
The printer will now start initialization. It takes the XP-6100 about 5 to 10 minutes, but this differs for other models. When the printer is done, it'll ask you to make a test print. You don't have to do that right away, you can do so later on. The test print is intended to detect clogs in the cartridge vents and to align the printer heads. This will also take 5 to 10 minutes. After, the initialization is complete.
The printer is now initialized, but it's not connected to a computer yet. First, choose how you want to connect the printer. Do you prefer to connect the printer...
- wirelessly via WiFi? Read step 4.1
- via a USB cable? Read step 4.2
- via a network cable? Read step 4.3
Step 4: choose a connection method
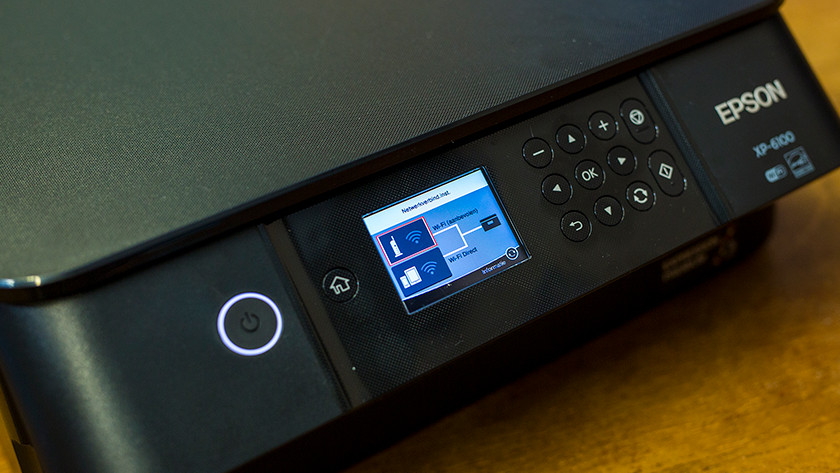
Step 4.1: connect your printer to the WiFi network
Look for the WiFi symbol. For the XP-6100, it's located at the top right of the screen. Next, select WiFi and press Start setup. Go to the WiFi Setup Wizard and choose the network you want to connect with. Enter the password if necessary and your printer will be connected to the internet. You can move on to step 5.
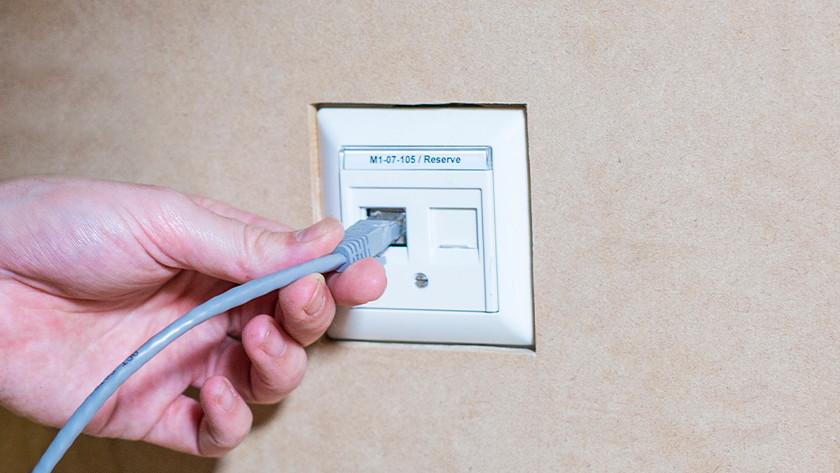
Step 4.2: connect your printer via a network cable
Do you want a stable connection and don't mind running a cable from your printer to your router? Connect the printer with a network cable. Plug one end of your Ethernet cable into the printer and the other end into your router. Click the network icon on the control panel of your printer to check whether your printer is connected to the network. You can now go on to step 5.
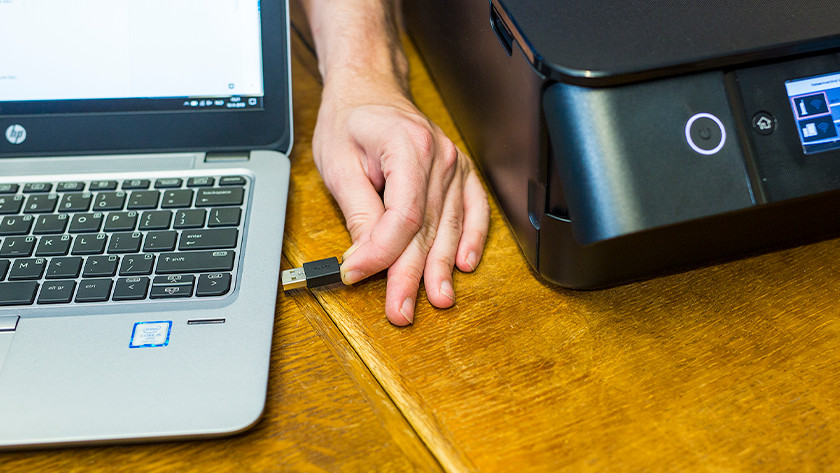
Step 4.3: connect your printer via a printer cable (USB-B)
If you prefer to connect the printer directly to your PC or laptop without using the internet, use a USB cable. Plug the standard, flat USB connector (USB-A) into your laptop or PC and plug the square USB connector (USB-B) into your printer. You can now go on to step 5.
Step 5: download the required software
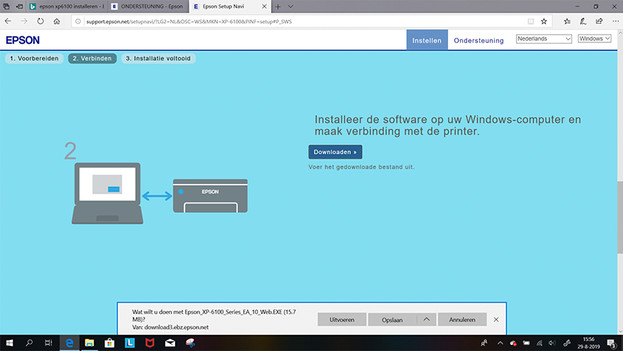
Your printer is now connected, so it's time to install the right software on your PC or laptop. Go to www.epson.sn. Enter the product name of your Epson printer and click enter. Next, you choose Get started. On the next page, you scroll down until you see Step 2 - connect. Click download and open the file from your browser or Explorer.
Step 6: install the required software
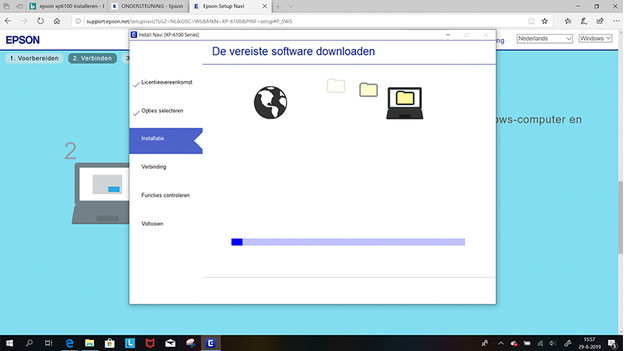
You'll have to accept the license agreement, as long as you do agree. Epson will automatically install the right software. This'll take a few minutes. After, you choose whether you want to connect the printer wirelessly via WiFi or via a USB cable. If you choose USB, follow the steps on the screen and skip the next step.
Step 7: connect your printer to your PC or laptop
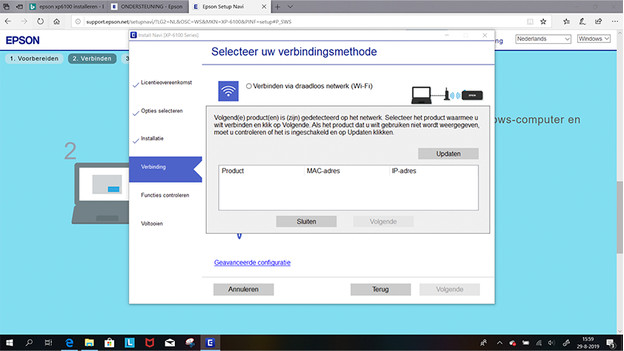
Want to connect the printer via WiFi? Select the right printer and click next. The Epson software will now connect to your printer. Did the software not find your printer? Check if your printer and computer are connected to the same network, reset the router, or reconnect your printer to the WiFi network. Did it work? If so, your printer will make a test print. Congratulations, your printer is now set up.


