How do you calibrate the compass of your DJI drone?
Step 1: go to an open outdoor location

Take your drone, smartphone, and controller outside. Go to an open location, somewhere without too many buildings or trees. This way, the compass has enough room to calibrate properly. Take off your watch and other jewelry. Metal can interfere with the calibration process.
Step 2: turn on the drone and remote

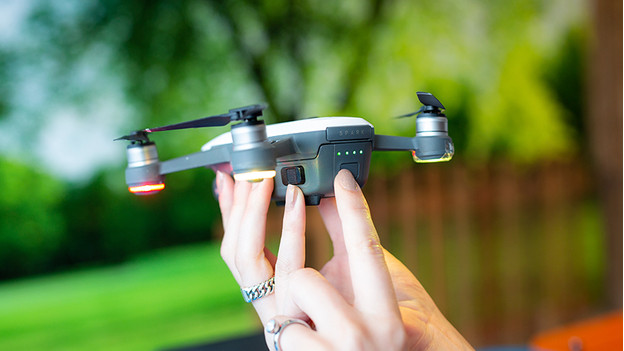
Next, you turn on the drone. Find the on/off button on your model. The location of this button can differ per DJI drone. For the DJI Mavic Air 2, the button is on the top. Press the button once shortly and then long. Wait for the green lights to come on. The lights below the propellers will also come on and you'll hear a start-up sound. The drone is now turned on. Do the same with the remote.
Step 3: go to the settings menu in the app

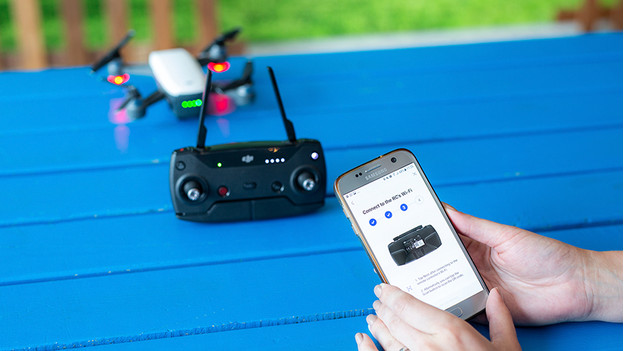
Connect your smartphone to the remote with the RC cable. Open the DJI app and connect to your drone. You might find yourself in the settings menu right away. Don't see the right menu yet? Search for the 3 dots in the top right corner of the screen. When you tap these, you open the settings menu. Choose 'Safety' and go to 'Compass normal*.
Step 4: start calibration

When you've selected Compass normal, you start the calibration. Hold the device horizontally. Next, you spin around your own axis while holding the drone. Once you get back to the starting point, you'll see the lights below the propellers turn green. Flip the drone on its side, so the nose is pointing down. Spin around your own axis once again until the lights turn green.


