
How do you set up Olympus Image Share?
Get started with Olympus Image Share
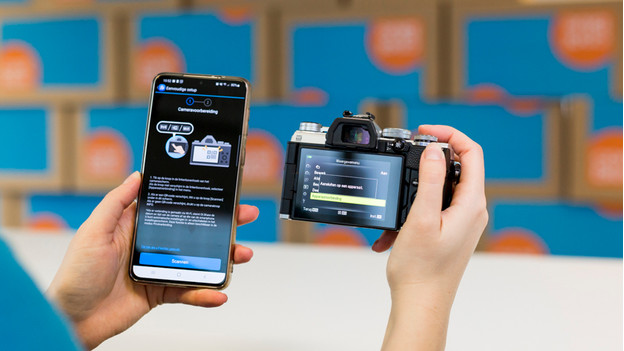
Do you want to control your Olympus camera remotely? You'll need the Olympus Image Share app for this. You can read how to do this here.
Step 1: download the app
Step 2: turn on WiFi or Bluetooth on your camera
Step 3: connect your smart device to the camera
Step 4: get started
Step 1: download the Olympus Image Share application
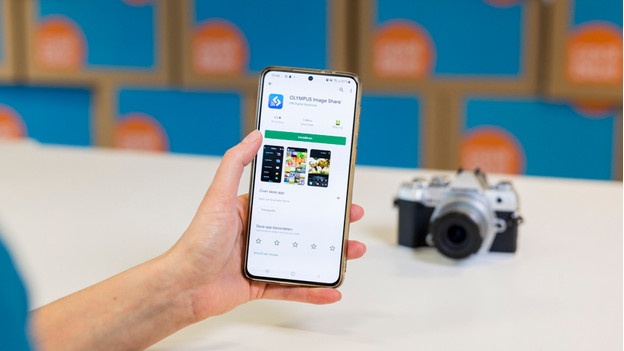
Turn on Bluetooth or WiFi on your smartphone or tablet. Download the Olympus Image Share app on the device. You'll find the app in the Google Play store or in the Apple App Store.
Step 2: turn on WiFi or Bluetooth on your camera
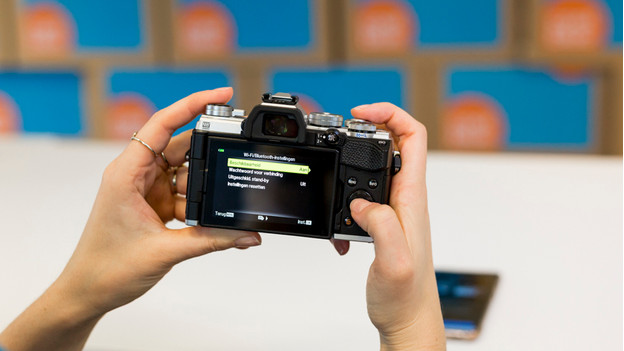
Grab your camera and go to the menu. Search for the network connections. You'll probably find them in the menu with the tools icon. Select 'Connect to smartphone'. Your camera display will now show a QR code.
Step 3: connect your smart device to the camera
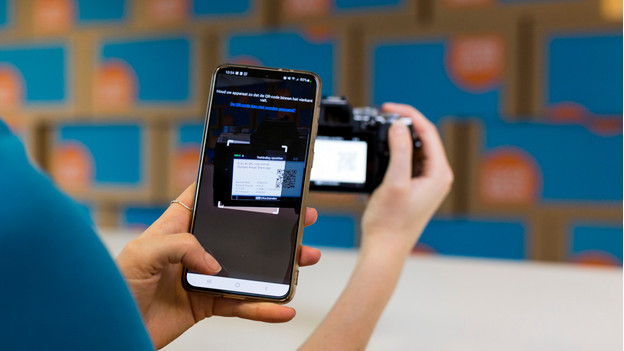
Open the Olympus Image Share on your smart device. At the bottom of the home screen of the app, you'll see a tab with a WiFi icon, a camera, and a Bluetooth logo. Click on this tab and select 'Easy setup', followed by 'Scan'. Scan the QR code that's being displayed on the screen of your camera. After the scan, tap 'Start the setup'. With iOS devices, you select 'Install' and 'Complete'. With Android devices, you select 'Connect'.
Note: if your iOS device has already been connected to a different WiFi network, it won't connect automatically. Open the WiFi networks on your smart device and connect to your camera.
Step 4: getting started
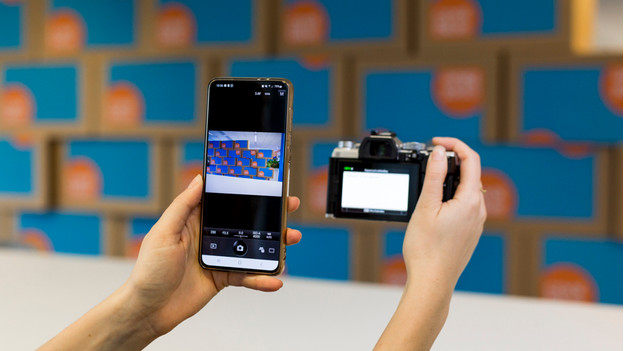
Your camera and smart device have now been connected. You can now control your camera remotely. Your camera will automatically send photos and videos to the Olympus Image Share app on your smart device.


