Getting started with your Polaroid instant camera
The steps in short
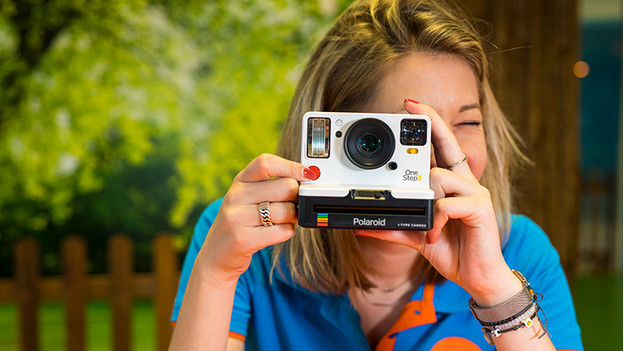
Before you print the first photo with your Polaroid camera, get the camera ready for use. You can read the steps you have to follow below.
-
Step 1: charge the battery
-
Step 2: put the photo paper in the camera
-
Step 3: set up the camera
-
Step 4: take a photo
Step 1: charge the battery
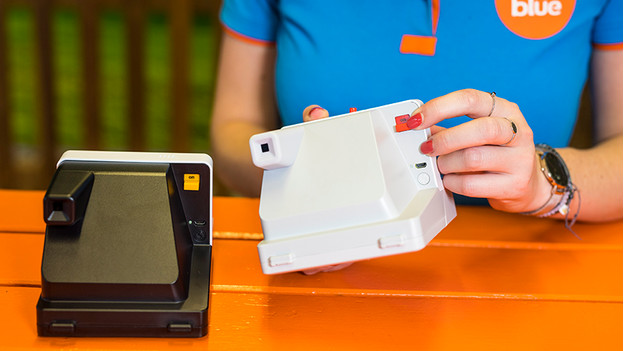
The instant cameras by Polaroid have a rechargeable battery, which you can charge with a USB cable. On the back of the camera, there's a micro USB port next to the on/off button. Before you take a photograph, make sure to check if the battery is charged. If the battery isn't charged, you won't be able to take any photos.
Step 2: put the photo paper in the camera
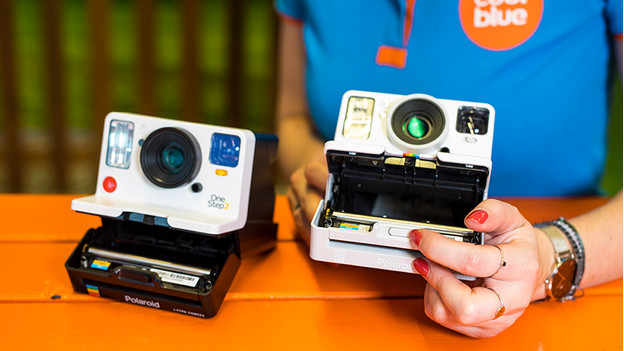
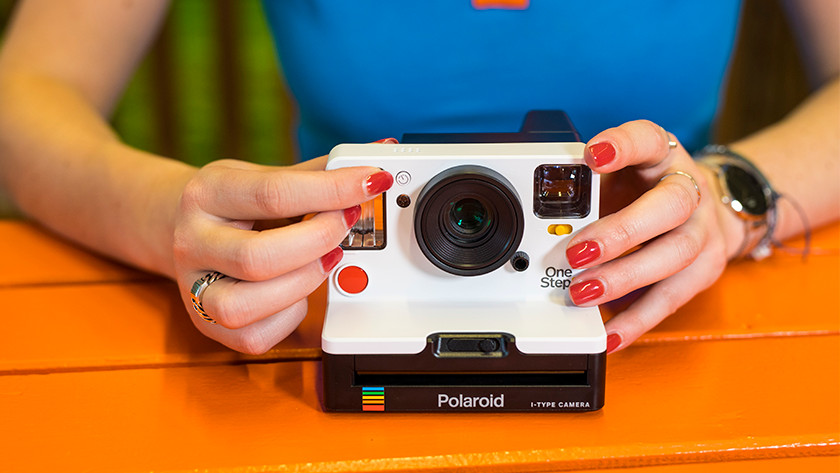
On the front of the camera, you'll see a slot where the photos are going to come out. This is also where you have to put in the paper before you start taking photos. You simply move the slides to the right to open the lid. You can now put in the photo paper. After that, you can close the lid again. You can now turn on the camera.
Step 3: set up the camera
-
Turn on Bluetooth
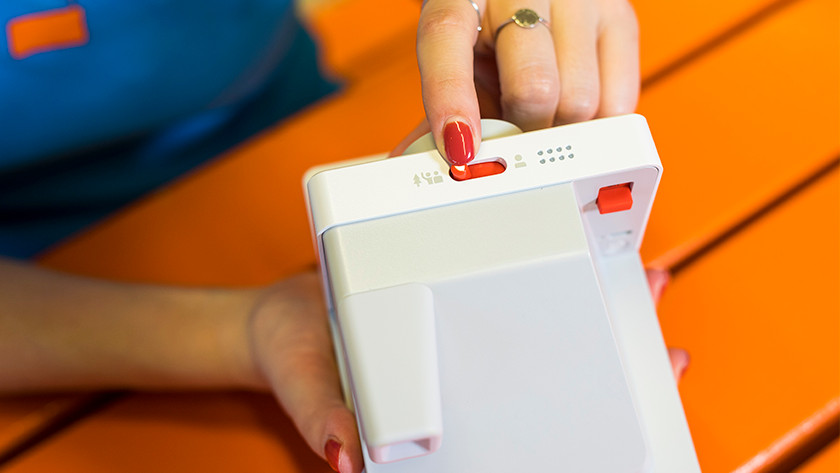
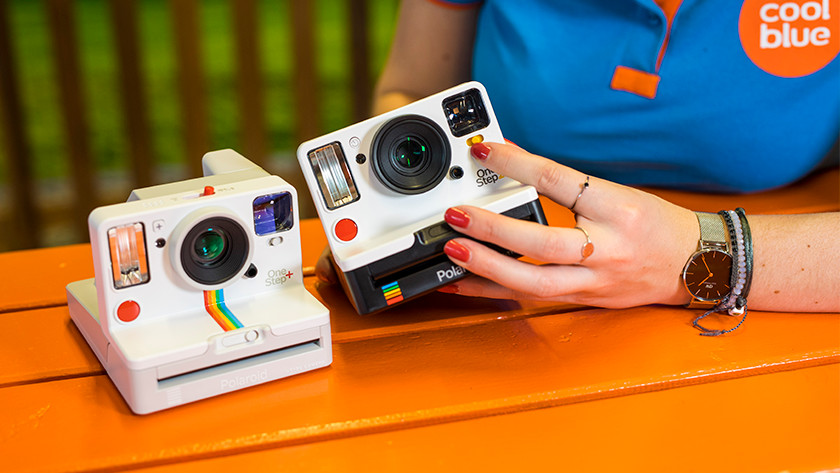
You can set up the camera in various ways. You could adjust the intensity of the flasher, for example. You can increase the intensity in a dark location and decrease it on a sunny day, for example. The Polaroid OneStep 2 has a self-timer button, so you can easily take group photos. If you have the OneStep+, you can connect it to the Polaroid app. The app provides different setting options and allows you to adjust the lens of the camera for portrait and landscape photography.
Step 4: take a photo
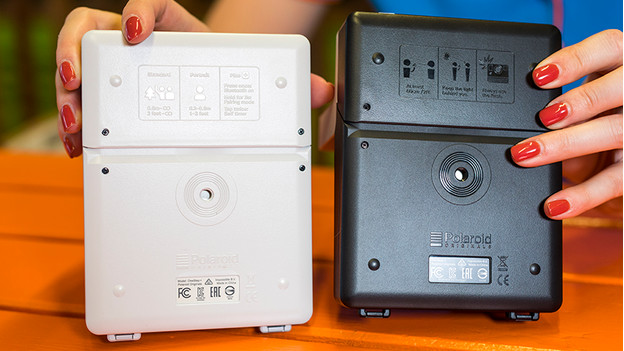
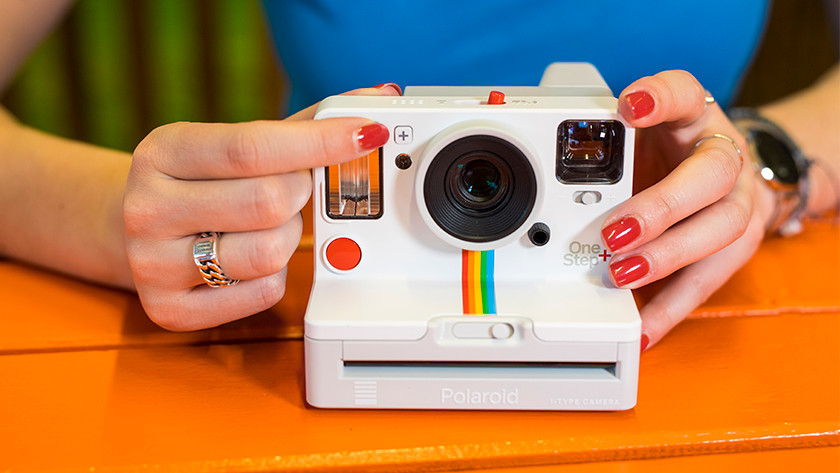
The camera is now ready for you to take the first photo. On the bottom of the camera, you'll find 3 tips to take a good photo. You can determine the frame of your photo via the viewfinder. Once you've done that, you can press the red button on the front of the camera. The camera will now slowly print the photo. You can take the photo out of the slot. Wait 10 to 15 minutes until the photo is completely developed.


