
2 tips to prevent calibration issues with your Thrustmaster racing wheel
Calibrate
The calibration process differs per platform, so we'll start with the explanation for your PC and then we'll explain how to calibrate the steering wheel on your console. We also recommend you make sure the racing wheel has the latest firmware.
Thrustmaster Calibration Tool
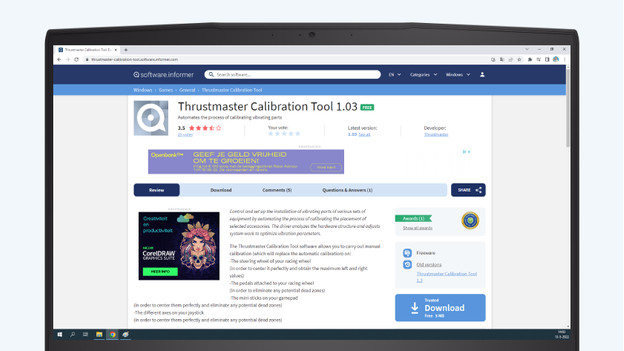
Is your Thrustmaster racing wheel having difficulty calibrating, or is calibration completely wrong? Thrustmaster has a useful tool to help you with this. It's a common problem that the motor of your racing wheel has a minor error. This tool helps you to reset the motor.
- Go to the link at the end of this paragraph.
- Download the Thrustmaster Calibration Tool.
- Go through the steps on your screen to calibrate your racing wheel and pedals again.
Calibrate the steering wheel on PC
Tip: read all steps before calibrating.
Tip 1: prepare your racing wheel
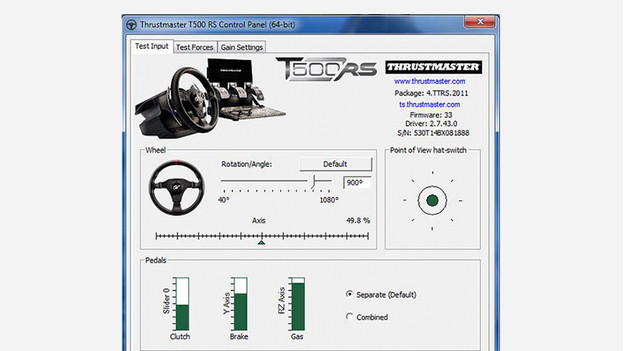
- Don't connect the wheel to your PC yet. Press the magnifying glass next to the Windows key and enter 'Thrustmaster Control Panel' there.
- Open the Thrustmaster Control Panel by clicking it.
- Navigate to the tab 'Test input'.
- Set the value for rotation angle to 1080 degrees.
- Place the axis in the middle at 50% by dragging it.
- Repeat this in real life with the steering wheel and make sure you place your steering wheel right in the middle.
- Close the Thrustmaster Control Panel.
Tip 2: calibrate your racing wheel
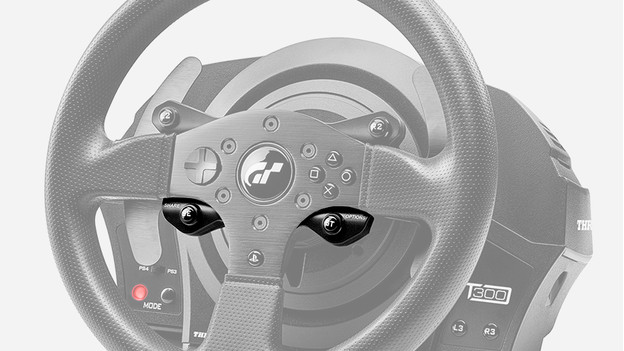
- Connect your Thrustmaster steering wheel directly to the USB port of your PC or laptop. It'll now start its own calibration phase.
- Once the calibration process is done, turn the racing wheel all the way to the right until it stops. Now return the steering wheel back to the exact center and keep it in that position.
- Press and hold the Share + Option + Mode buttons at the same time with your other hand for a couple of second. The light on your racing wheel will now change color briefly.
- The center point is calibrated.
Calibrate the steering wheel on PlayStation
Tip: read all steps before calibrating.
Tip 1: prevent calibration issues
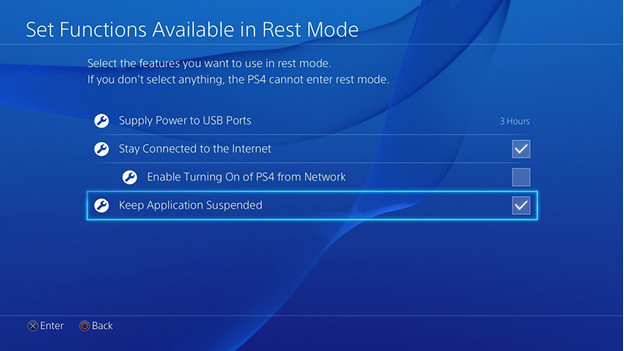
For racing on the PlayStation, there are a couple of steps to prevent calibration problems.
- In the menu of your PlayStation, navigate to 'Settings'
- Click 'Settings for energy saving'
- Go to 'Functions available in Rest Mode'
- In this menu, disable the option 'Keep Application Suspended'. That's because you must always connect your racing wheel before you boot your racing game. When it stays active in sleep mode, this can go wrong.
Tip 2: calibrate your racing wheel

- Start your PS4 and stay in the menu. Connect your Thrustmaster racing wheel and wait for the automatic calibration to complete.
- Once the automatic calibration is complete, you turn the racing wheel all the way to the right until it stops.
- Now return the steering wheel back to the exact center and keep it in that position. Press and hold the Share + Option + Mode buttons at the same time with your other hand for a couple of seconds.
- The light on your racing wheel will now change color briefly. That means it has determined the new center point.
- The center point is calibrated.
Calibrate the steering wheel on Xbox Series X and S
Tip: read all steps before calibrating.
Tip 1: update the firmware
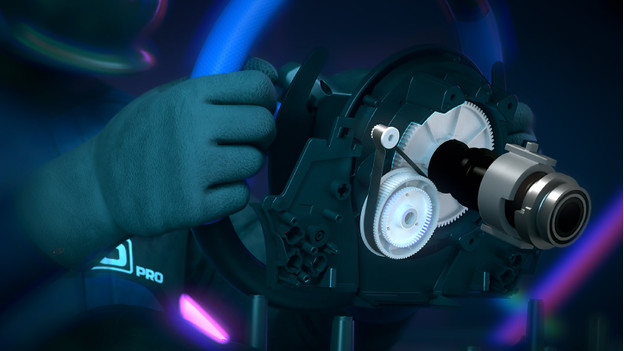
Before you start racing, it's a smart idea to update the firmware in the stand of the racing wheel. Click the button below to see how.
Tip 2: make the racing wheel ready for use
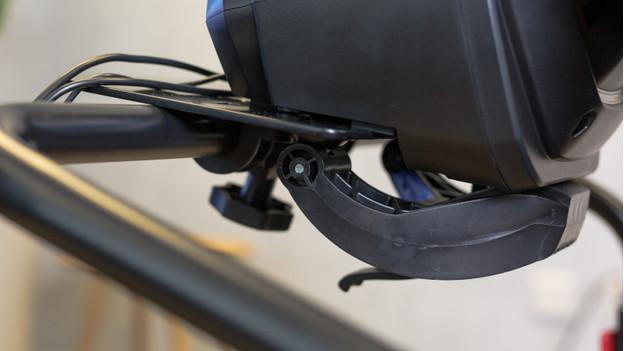
- Connect the pedal set to the connector at the back of the racing wheel stand.
- Connect the power cable to the connector at the back of the racing wheel stand.
- Connect the power cable to a socket with the right AC power.
- Connect the USB connector of the steering wheel to one of the USB ports on the console.
The racing wheel will now calibrate automatically. Make sure you don't touch the racing wheel during calibration.


