How do you set up your Astro A40/A50 for PC/Mac?
You just received your new Astro A40/A50 gaming headset. Before you can use it, you'll have to set it up first. To make the setup easy, I've created a step-by-step plan for each platform: PC, PS4, and Xbox One.
Step 1. Preparations
What do you need?
- A PC or Mac.
- The base station/AMP (Charging dock).
- The micro USB cable.
- A40/A50 headset (Note: the headset must be fully charge before the first use).
Step 2. Connecting to PC/Mac

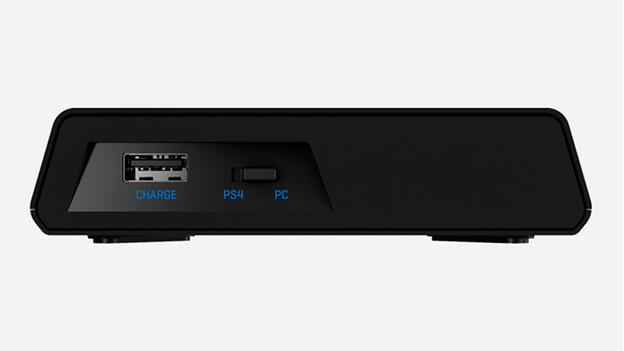
Slide the switch on the back of the base station to PC mode.
-
- Connect the base station to the PC/Mac so that it's powered via the included USB cable.
-
- Align the microphone with the microphone slot (the microphone should be folded) and place the headset in the base station.
-
- The LED indicator will color orange when the headset is being charged. If it doesn't, place the headset in the base station again.
-
- If the base station displays the charging status, the connection is successfully established.
-
- When all lights (4) of the battery level are on, it means the headset is fully charged.
Step 3. Configure the sound settings correctly

- Adjust the sound settings of your PC or Mac, so you can optimally use the headset.
- Follow the steps for Windows if you have a Windows PC, and follow the macOS steps if you have an Apple Mac.
Windows
- Go to Start and then to the Control Panel. Choose 'Sound'.
- A window appears with sound options. Go to the Playback Devices tab.
- Select 'ASTRO A40/A50 Game', right-click with your mouse once, and set it as the 'Default Device'.
- Select 'ASTRO A40/A50 Voice', right-click with your mouse once, and set it as the 'Default Communication Device'.
- Go to the Recording Devices tab.
- Select 'ASTRO A40/A50 Voice, right-click with your mouse once, and set it as the 'Default Communication Device'.
MacOS
- Go to Settings and select 'Sound'.
- Go to the Output tab and choose 'ASTRO A40/A50 Game'.
- Go to the Input tab and choose 'ASTRO A40/A50 Voice'.

Article by:
Giovanni
Gaming Expert.

